New Mantel & Live Edge Cherry End Table Highlights
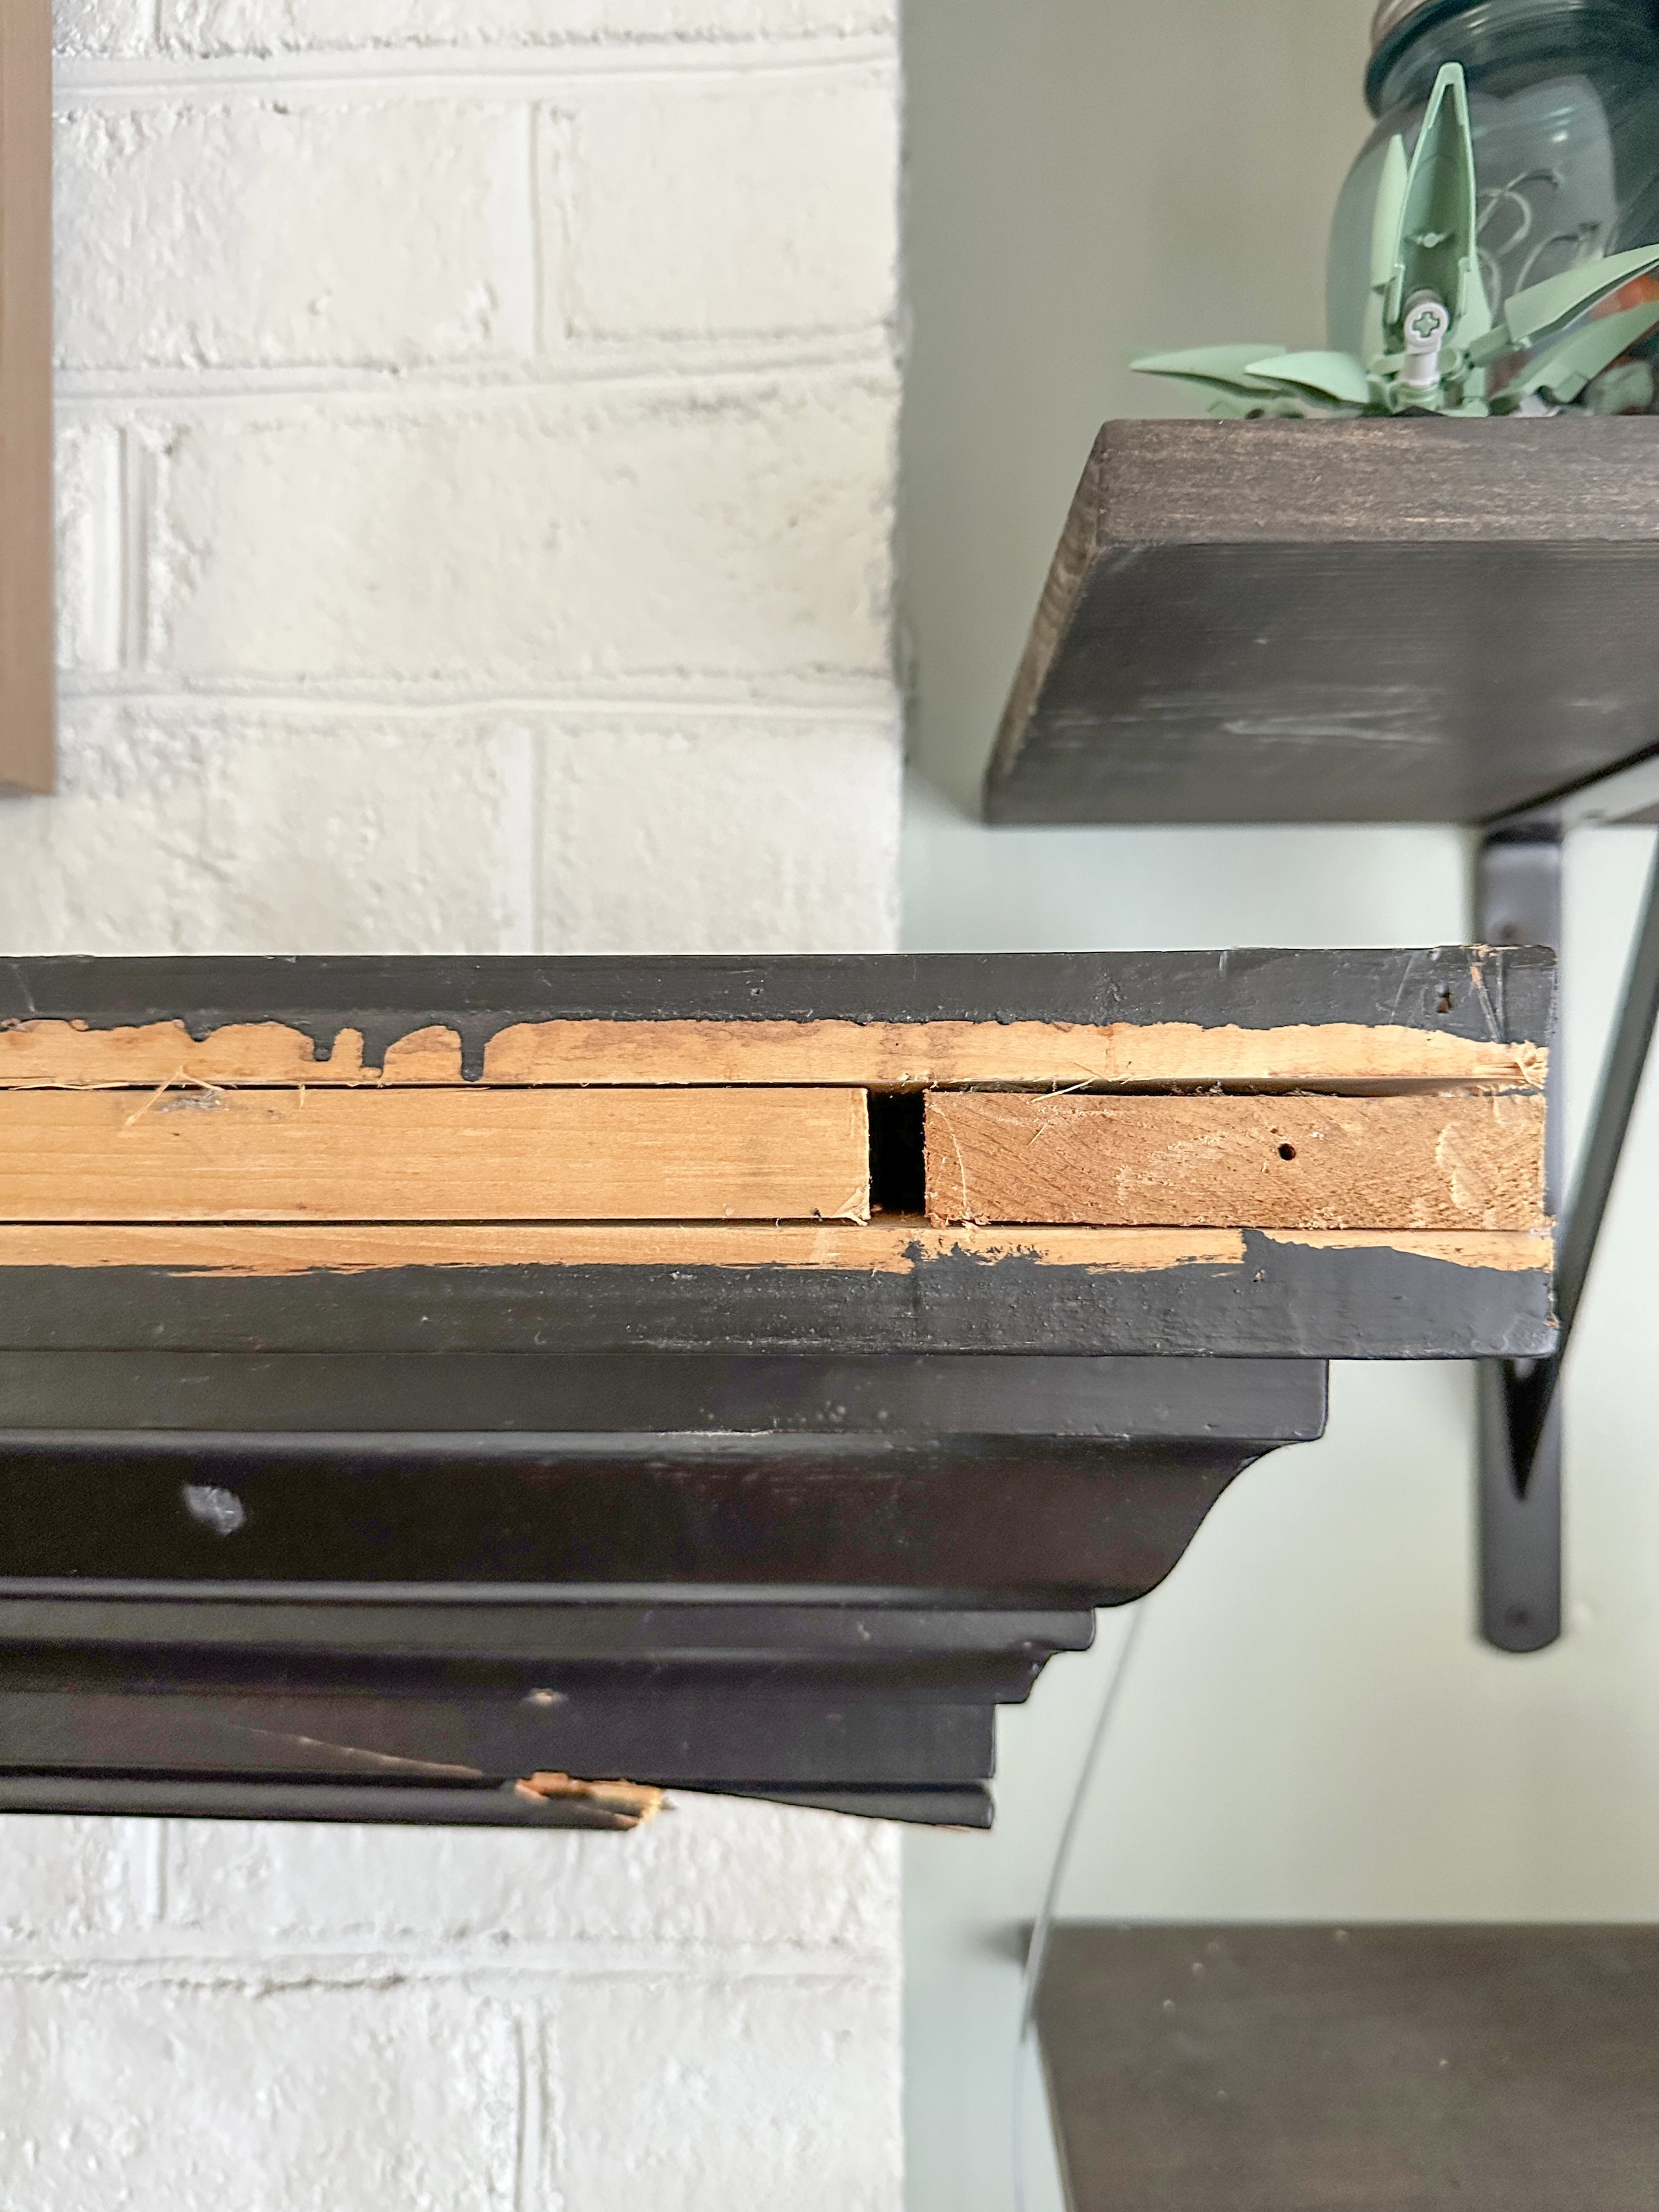
When I set out to redo my living room this year, I knew one of the things I wanted to remove was my mantel. It was uneven, poorly constructed from LOTS of trim, and too bulky for the space. My friend had built himself a gorgeous mantel during the pandemic so I reached out to see if I could get some help with one just like it.
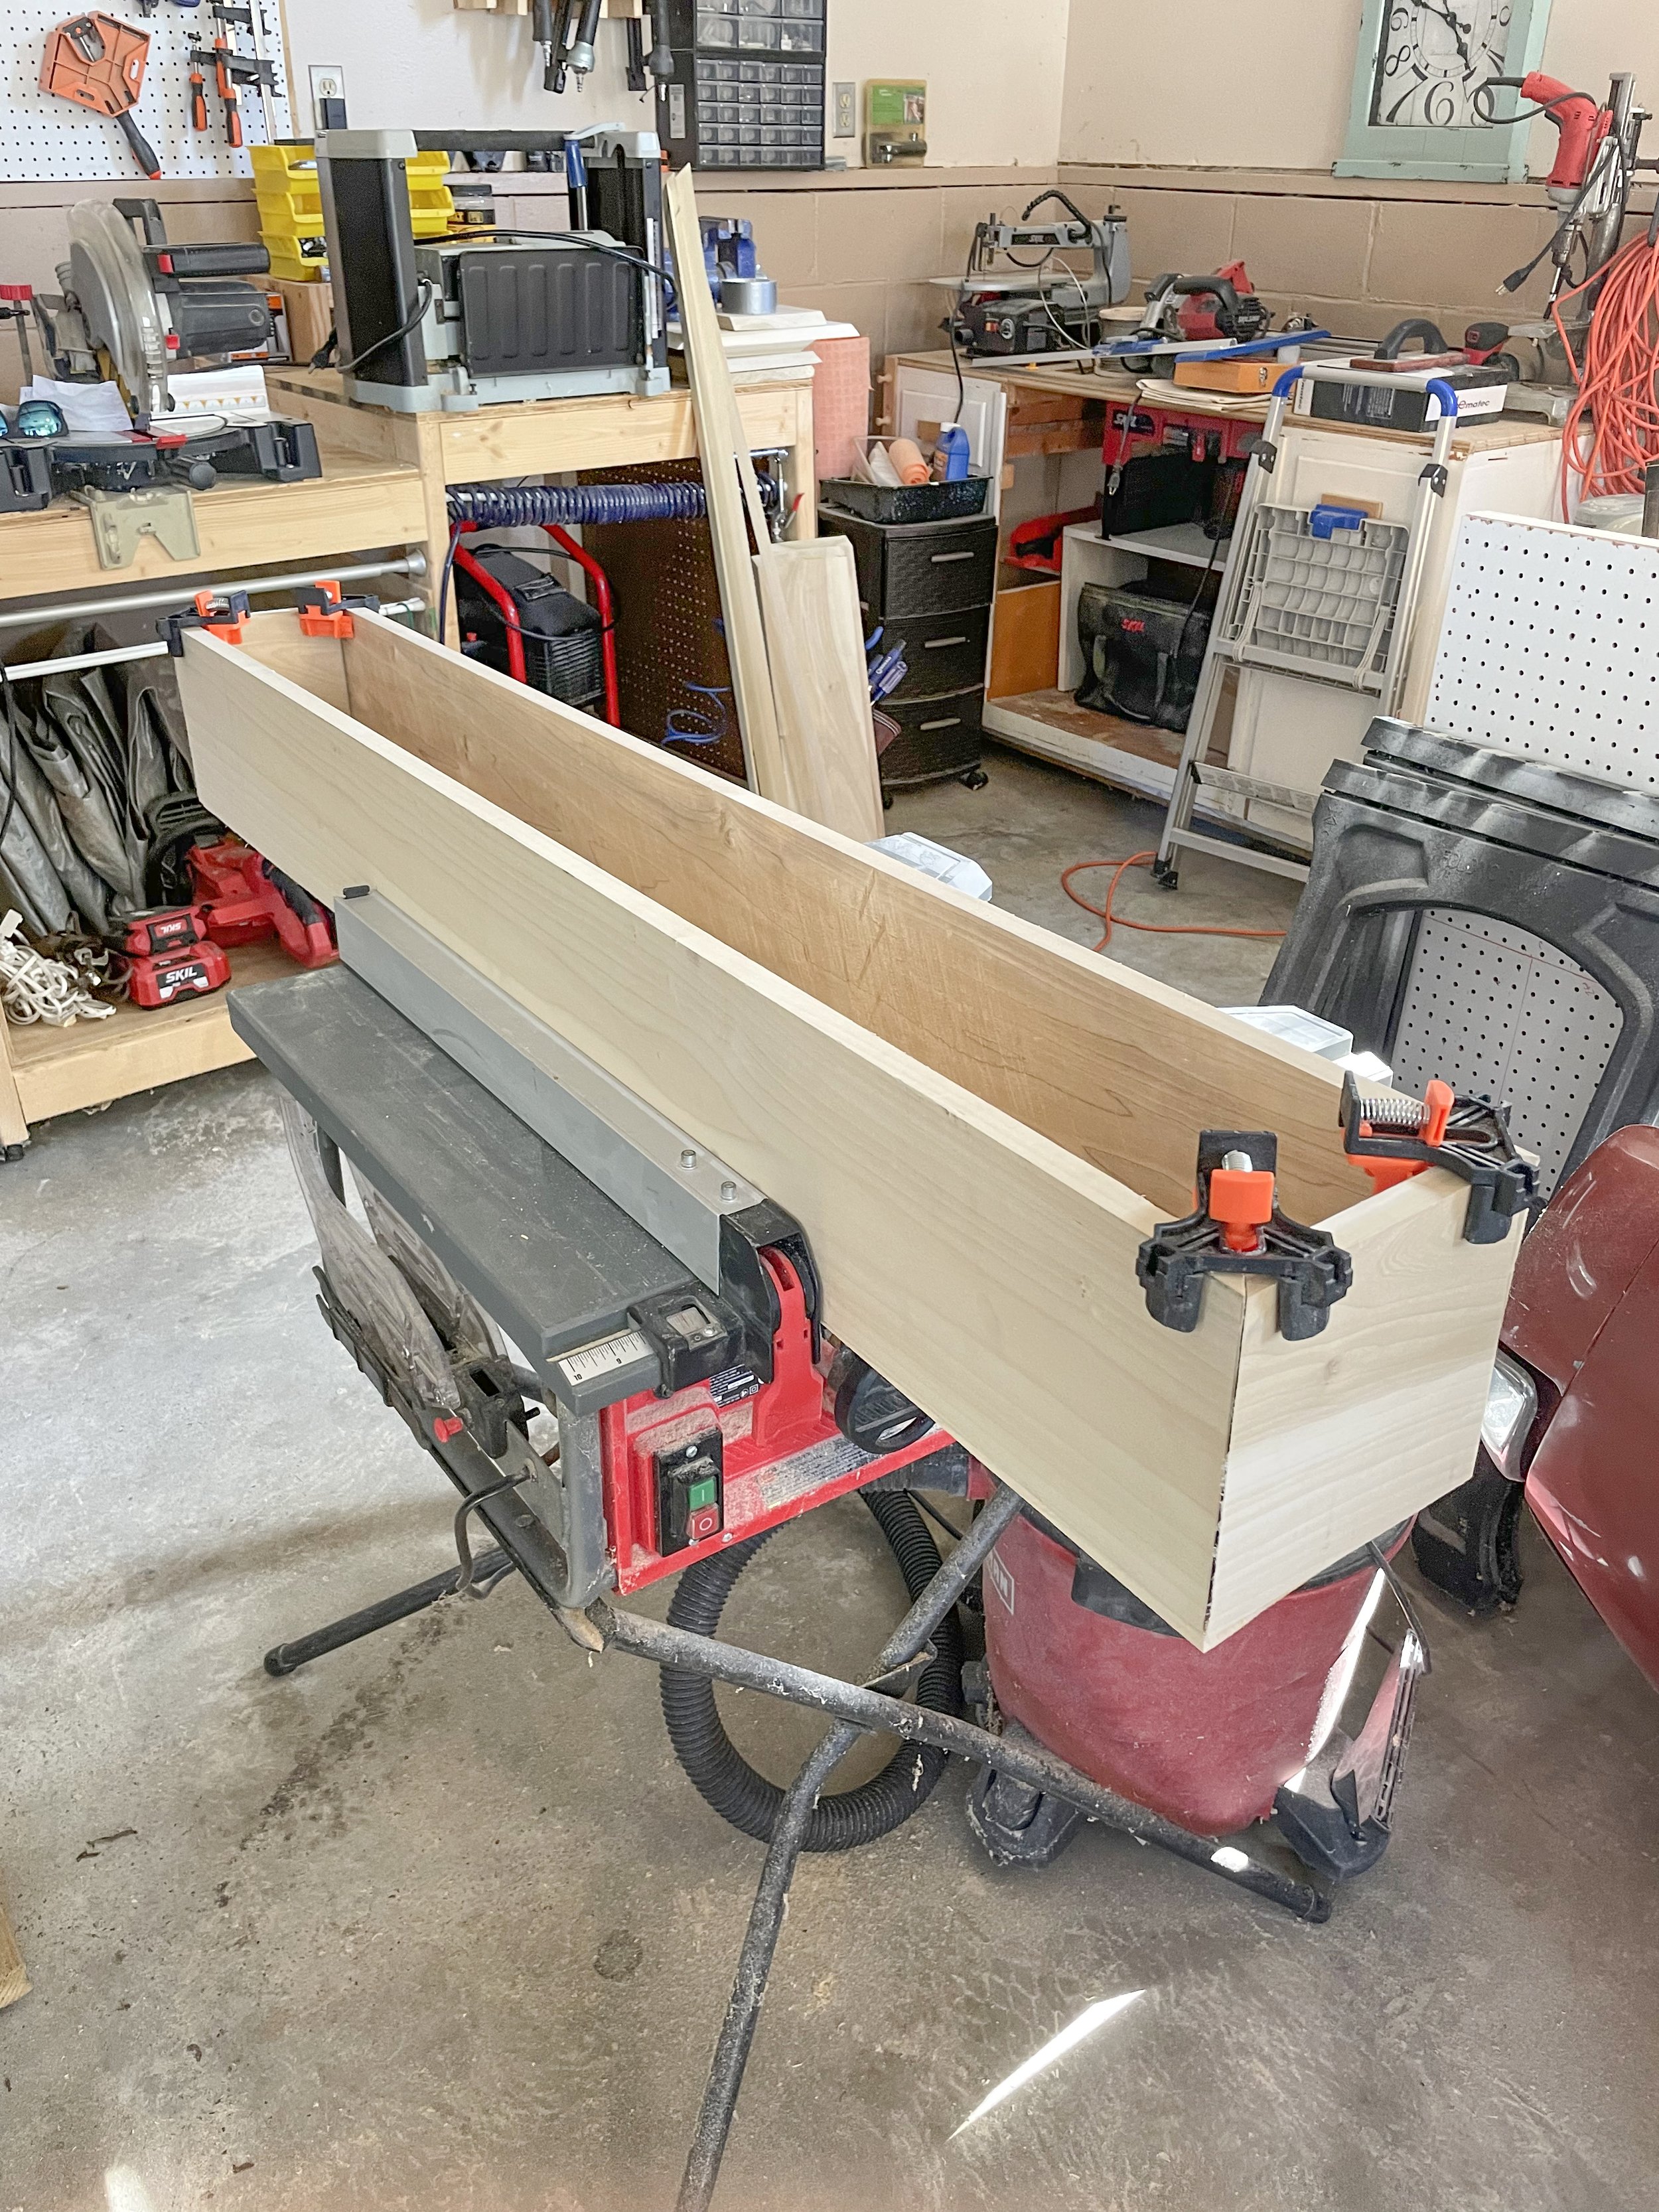
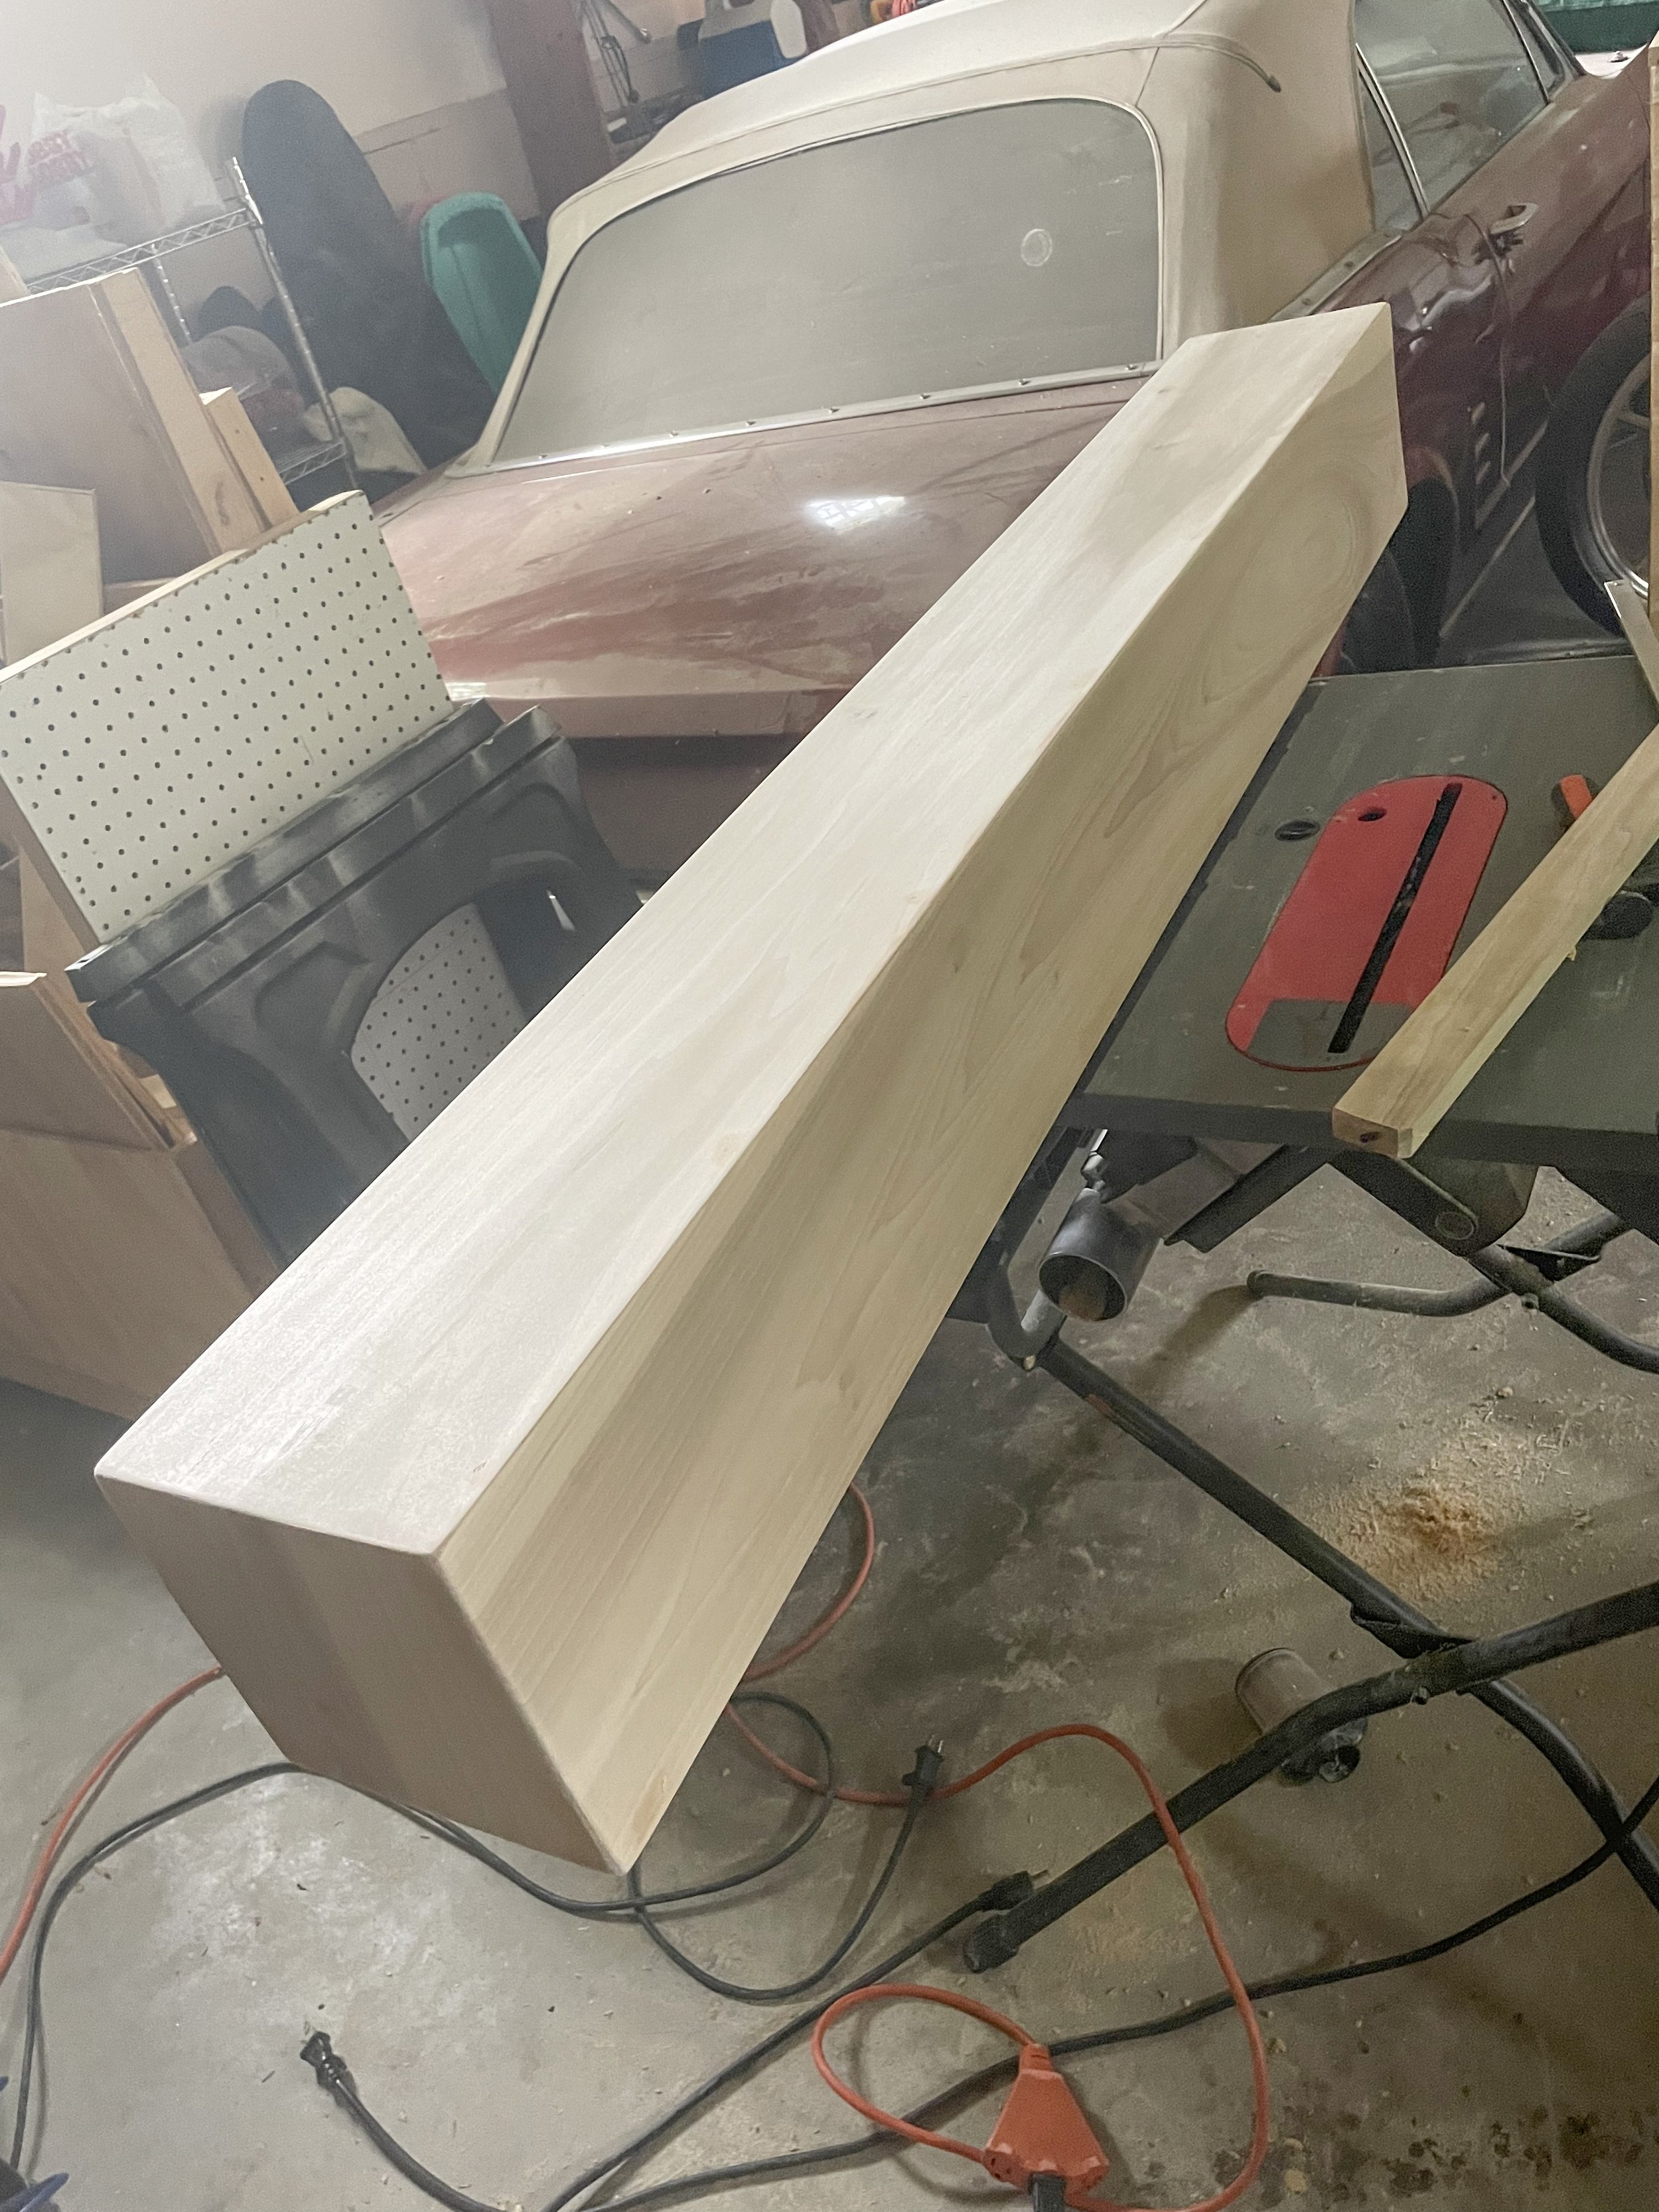
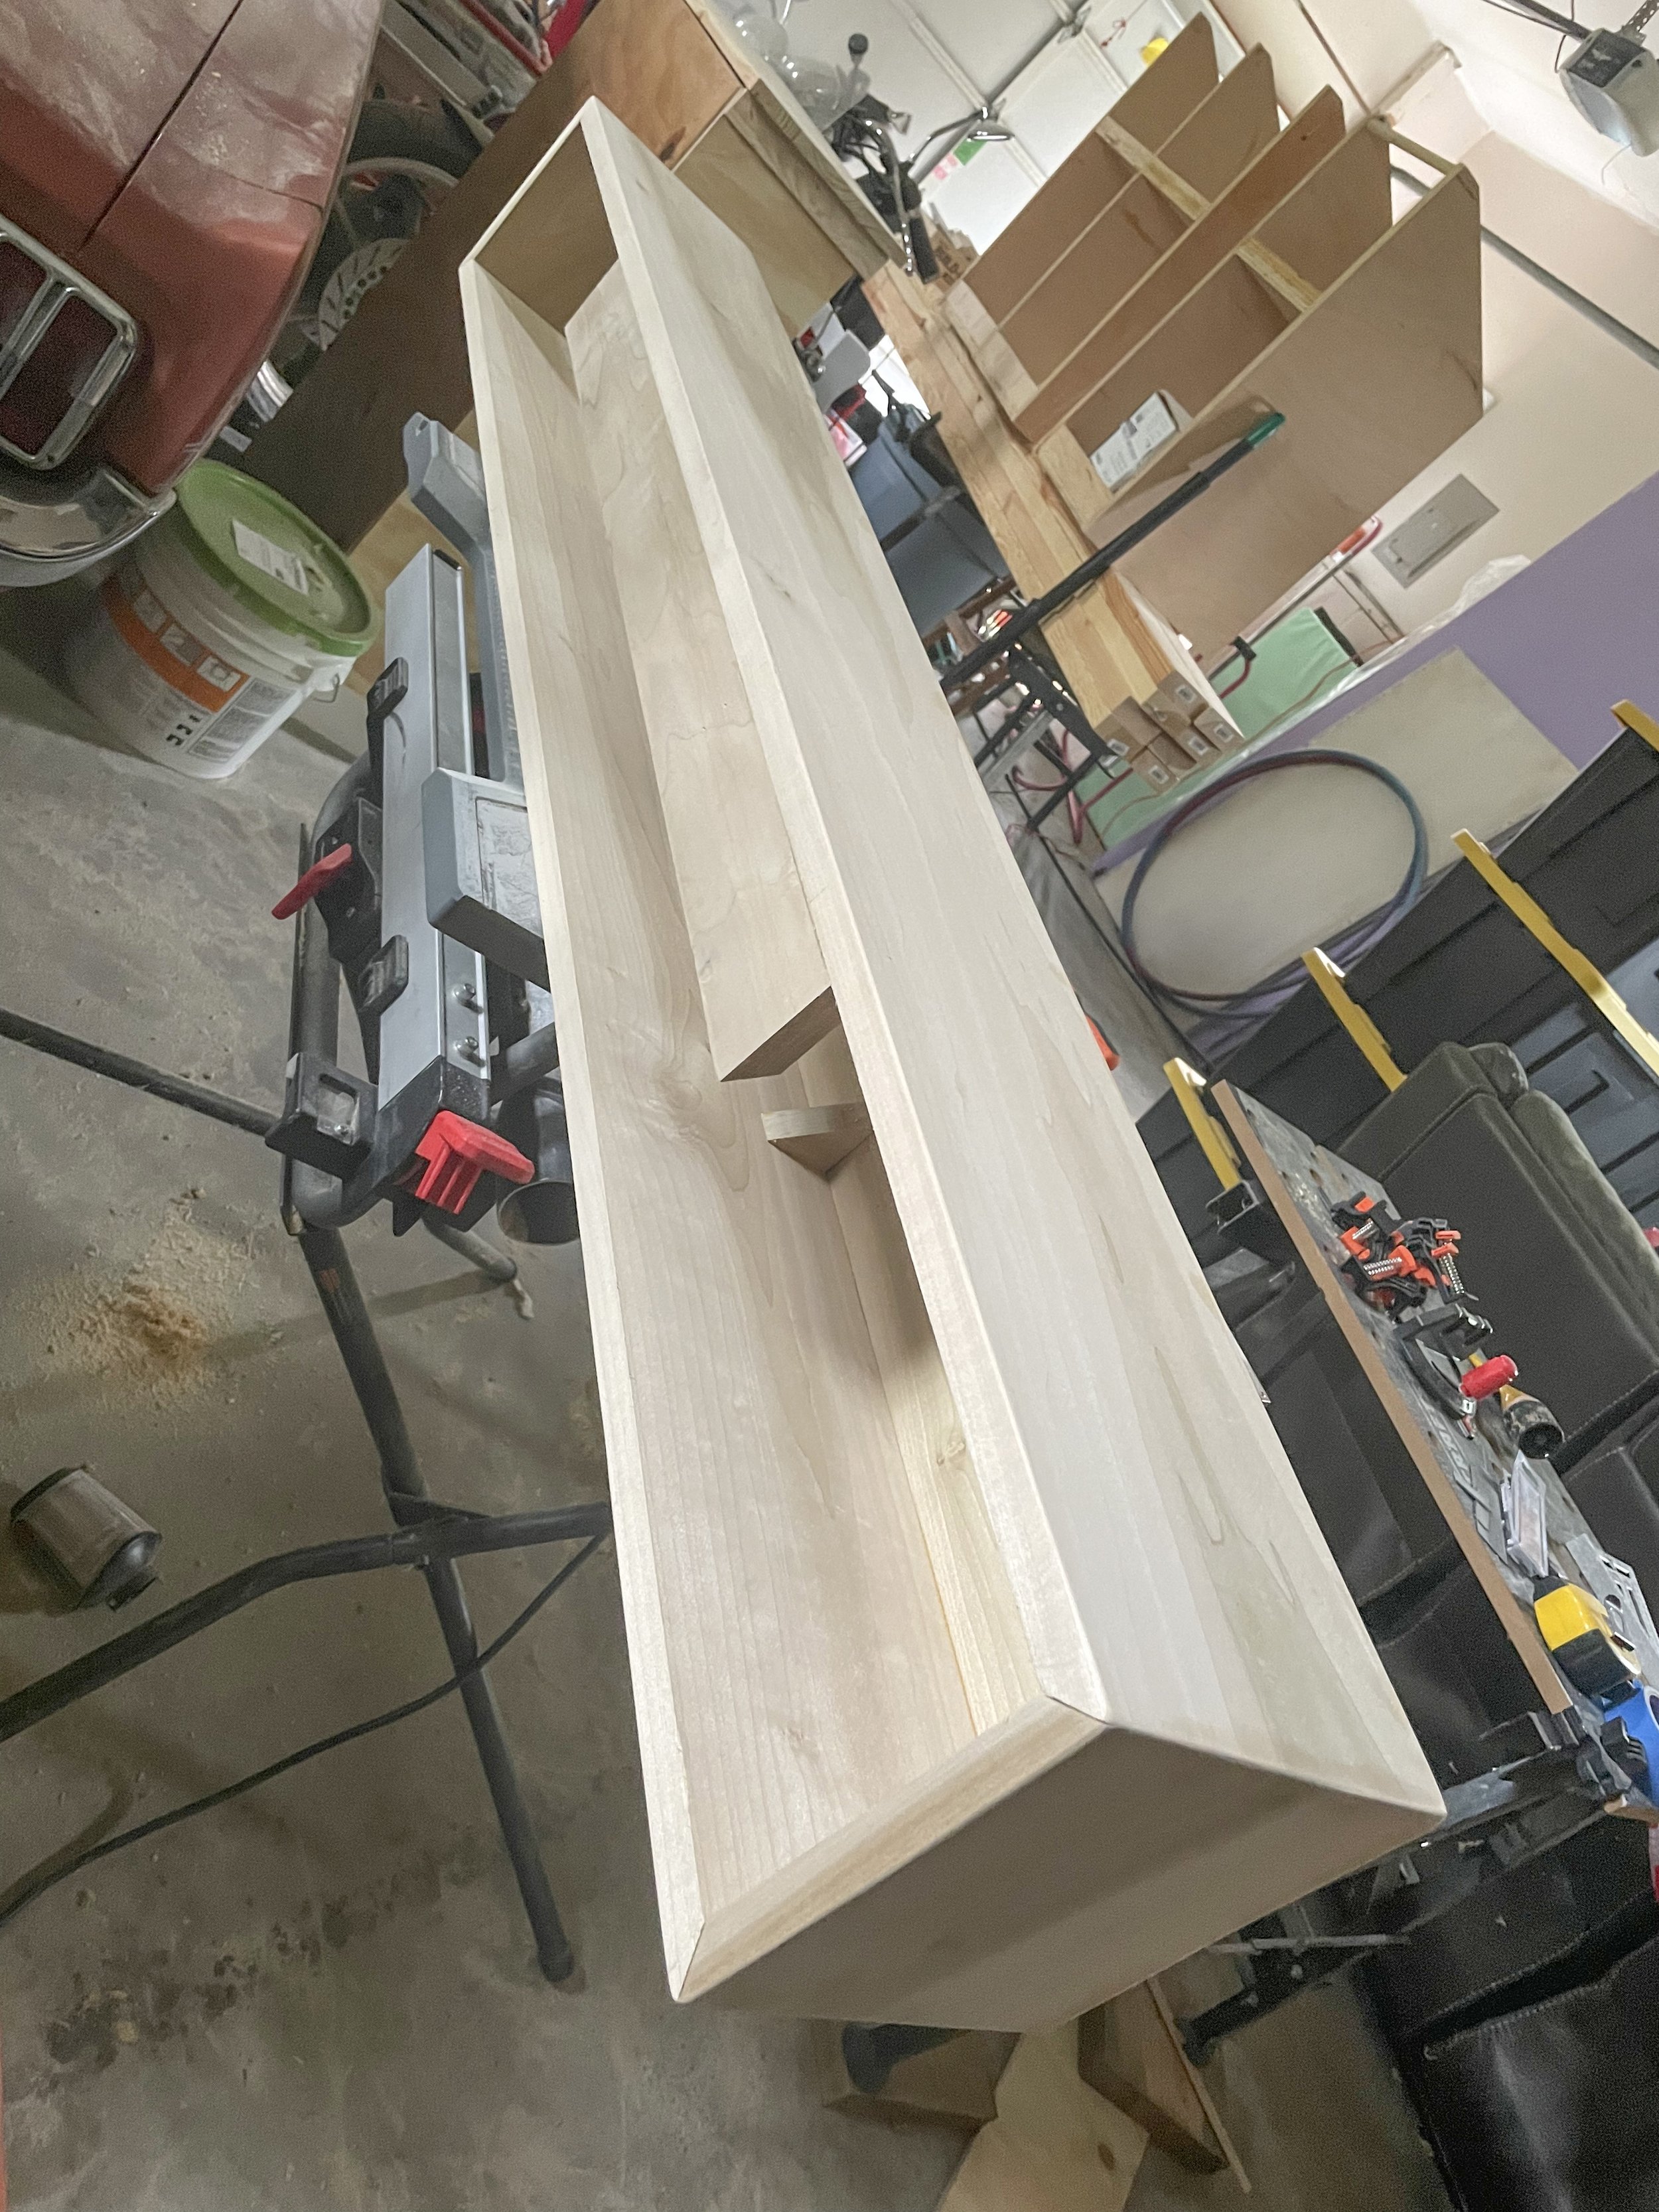
Boy did he deliver! I measured for my mantel and he set to work. This new poplar mantel is what dreams are made of! But before I could instal, I had to remove the old one. Here are some progress pictures of me pulling and hacking off the old one.
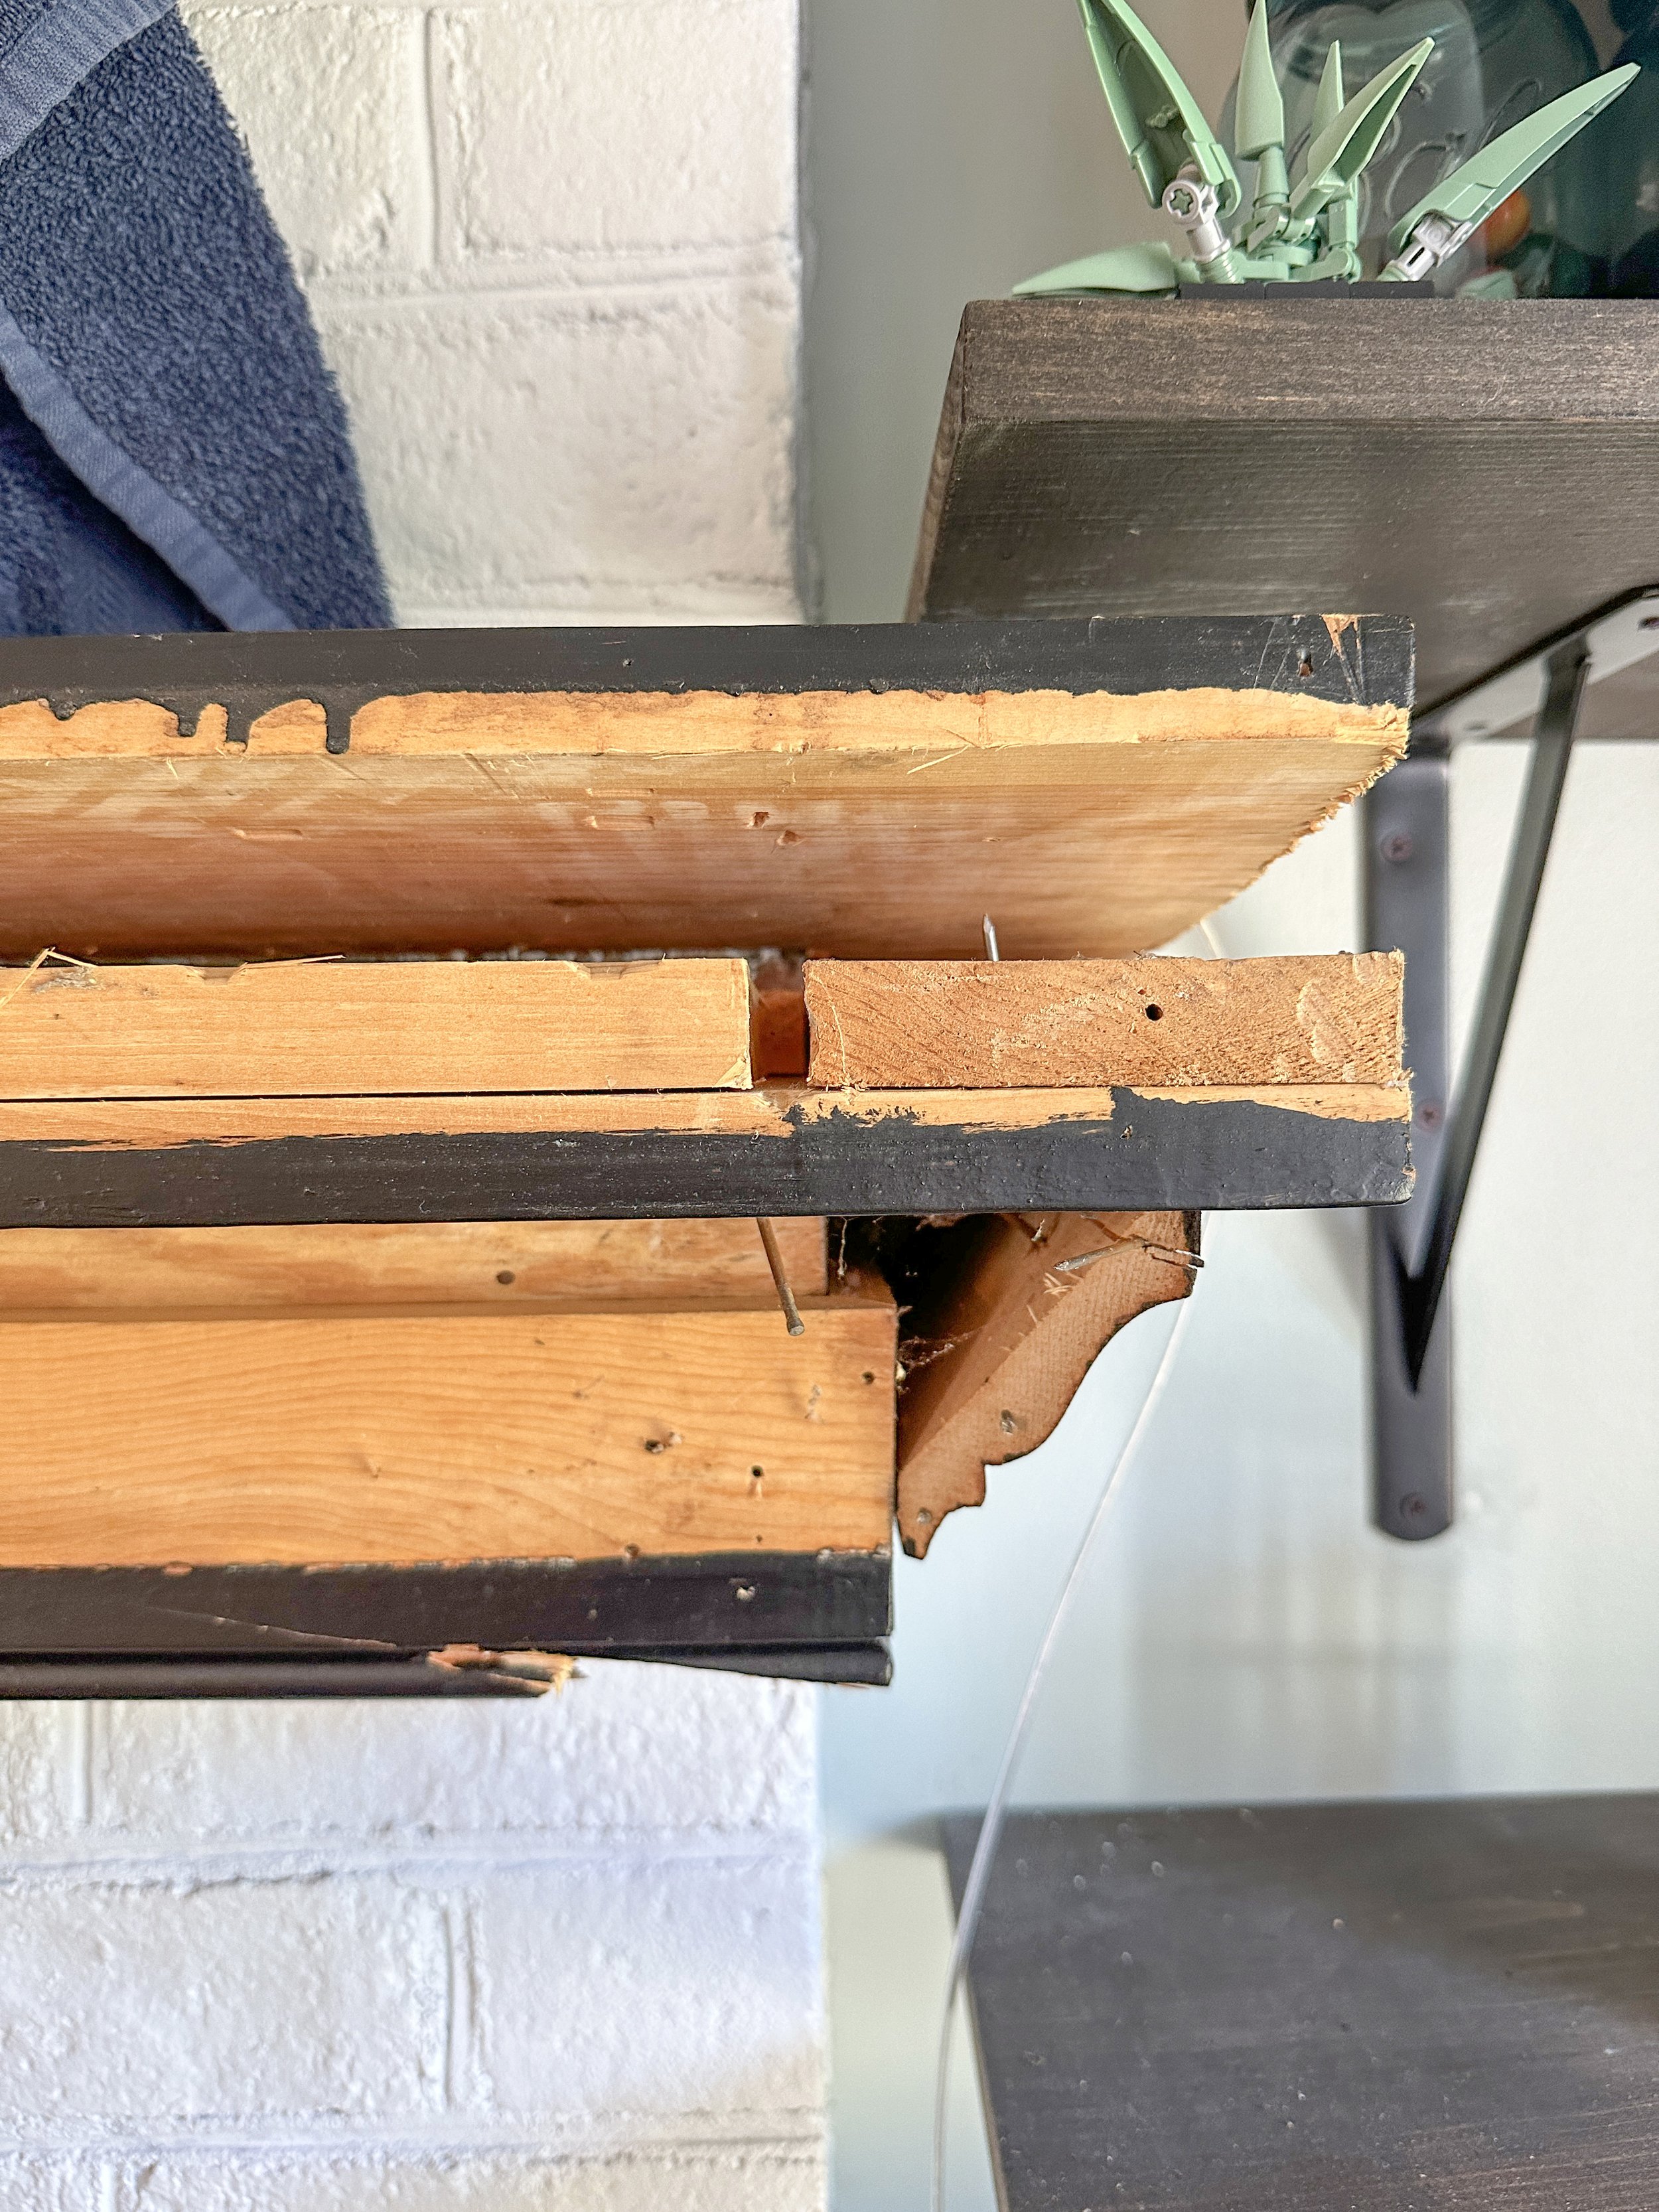
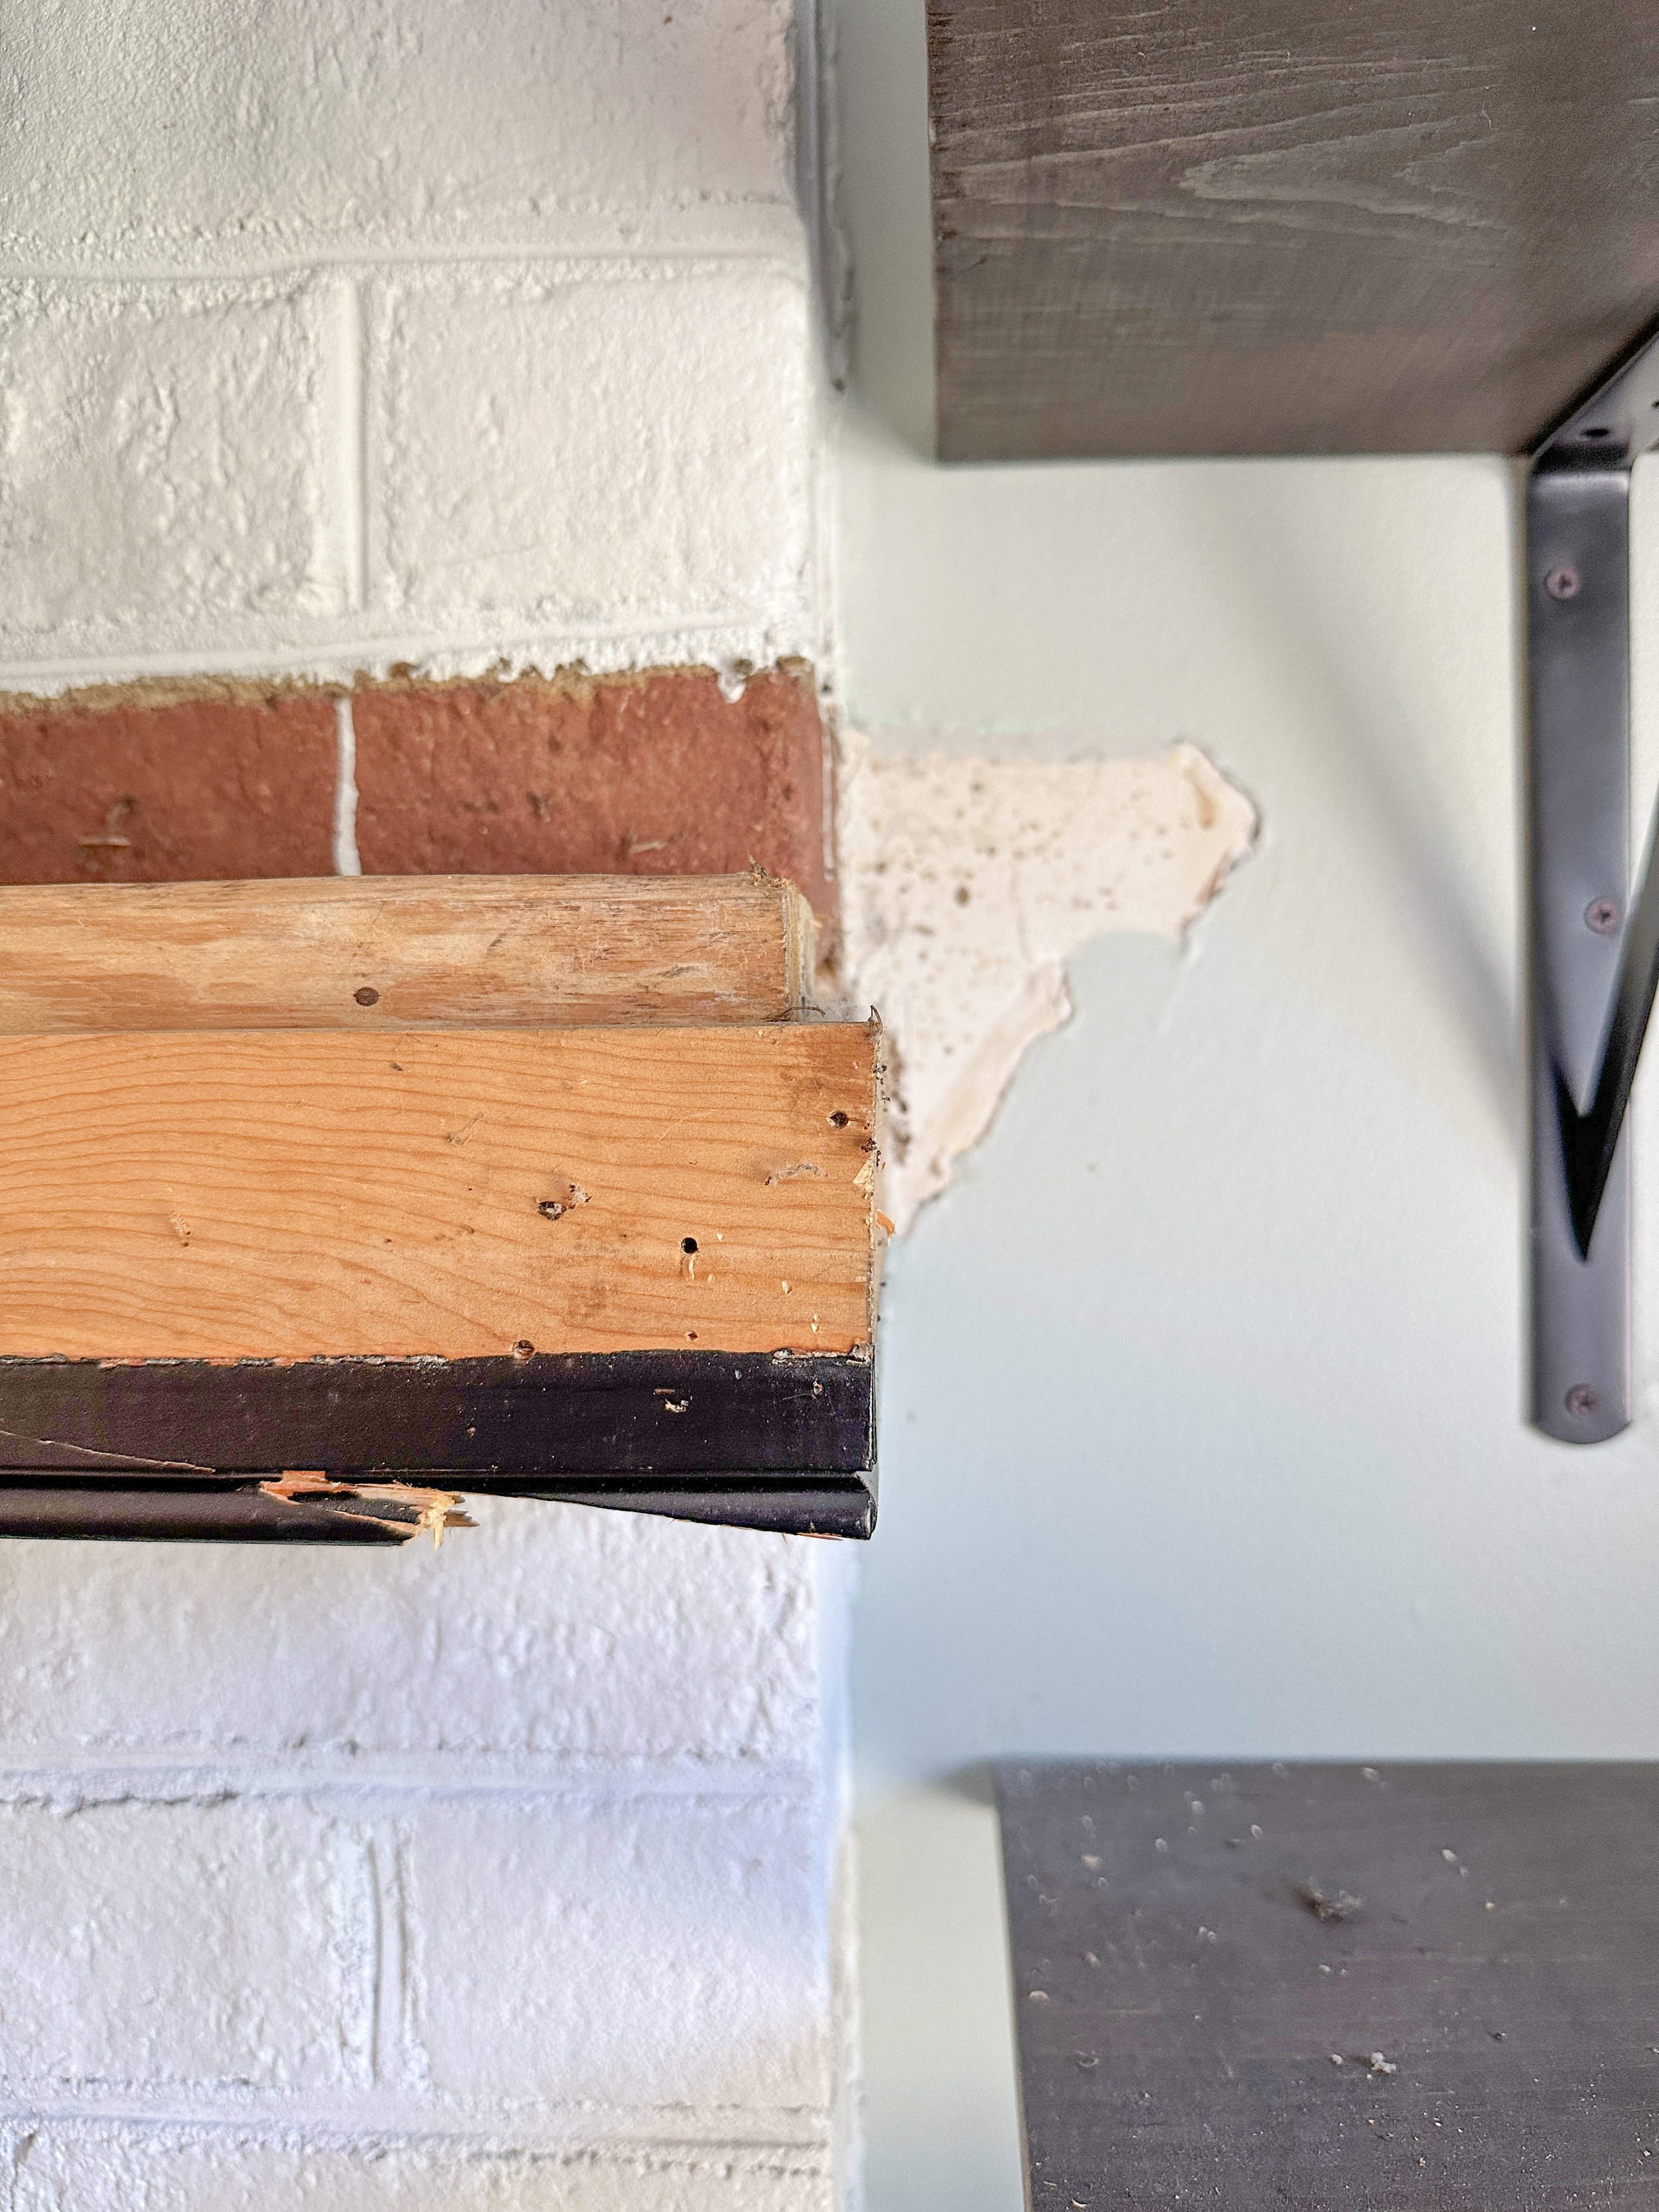
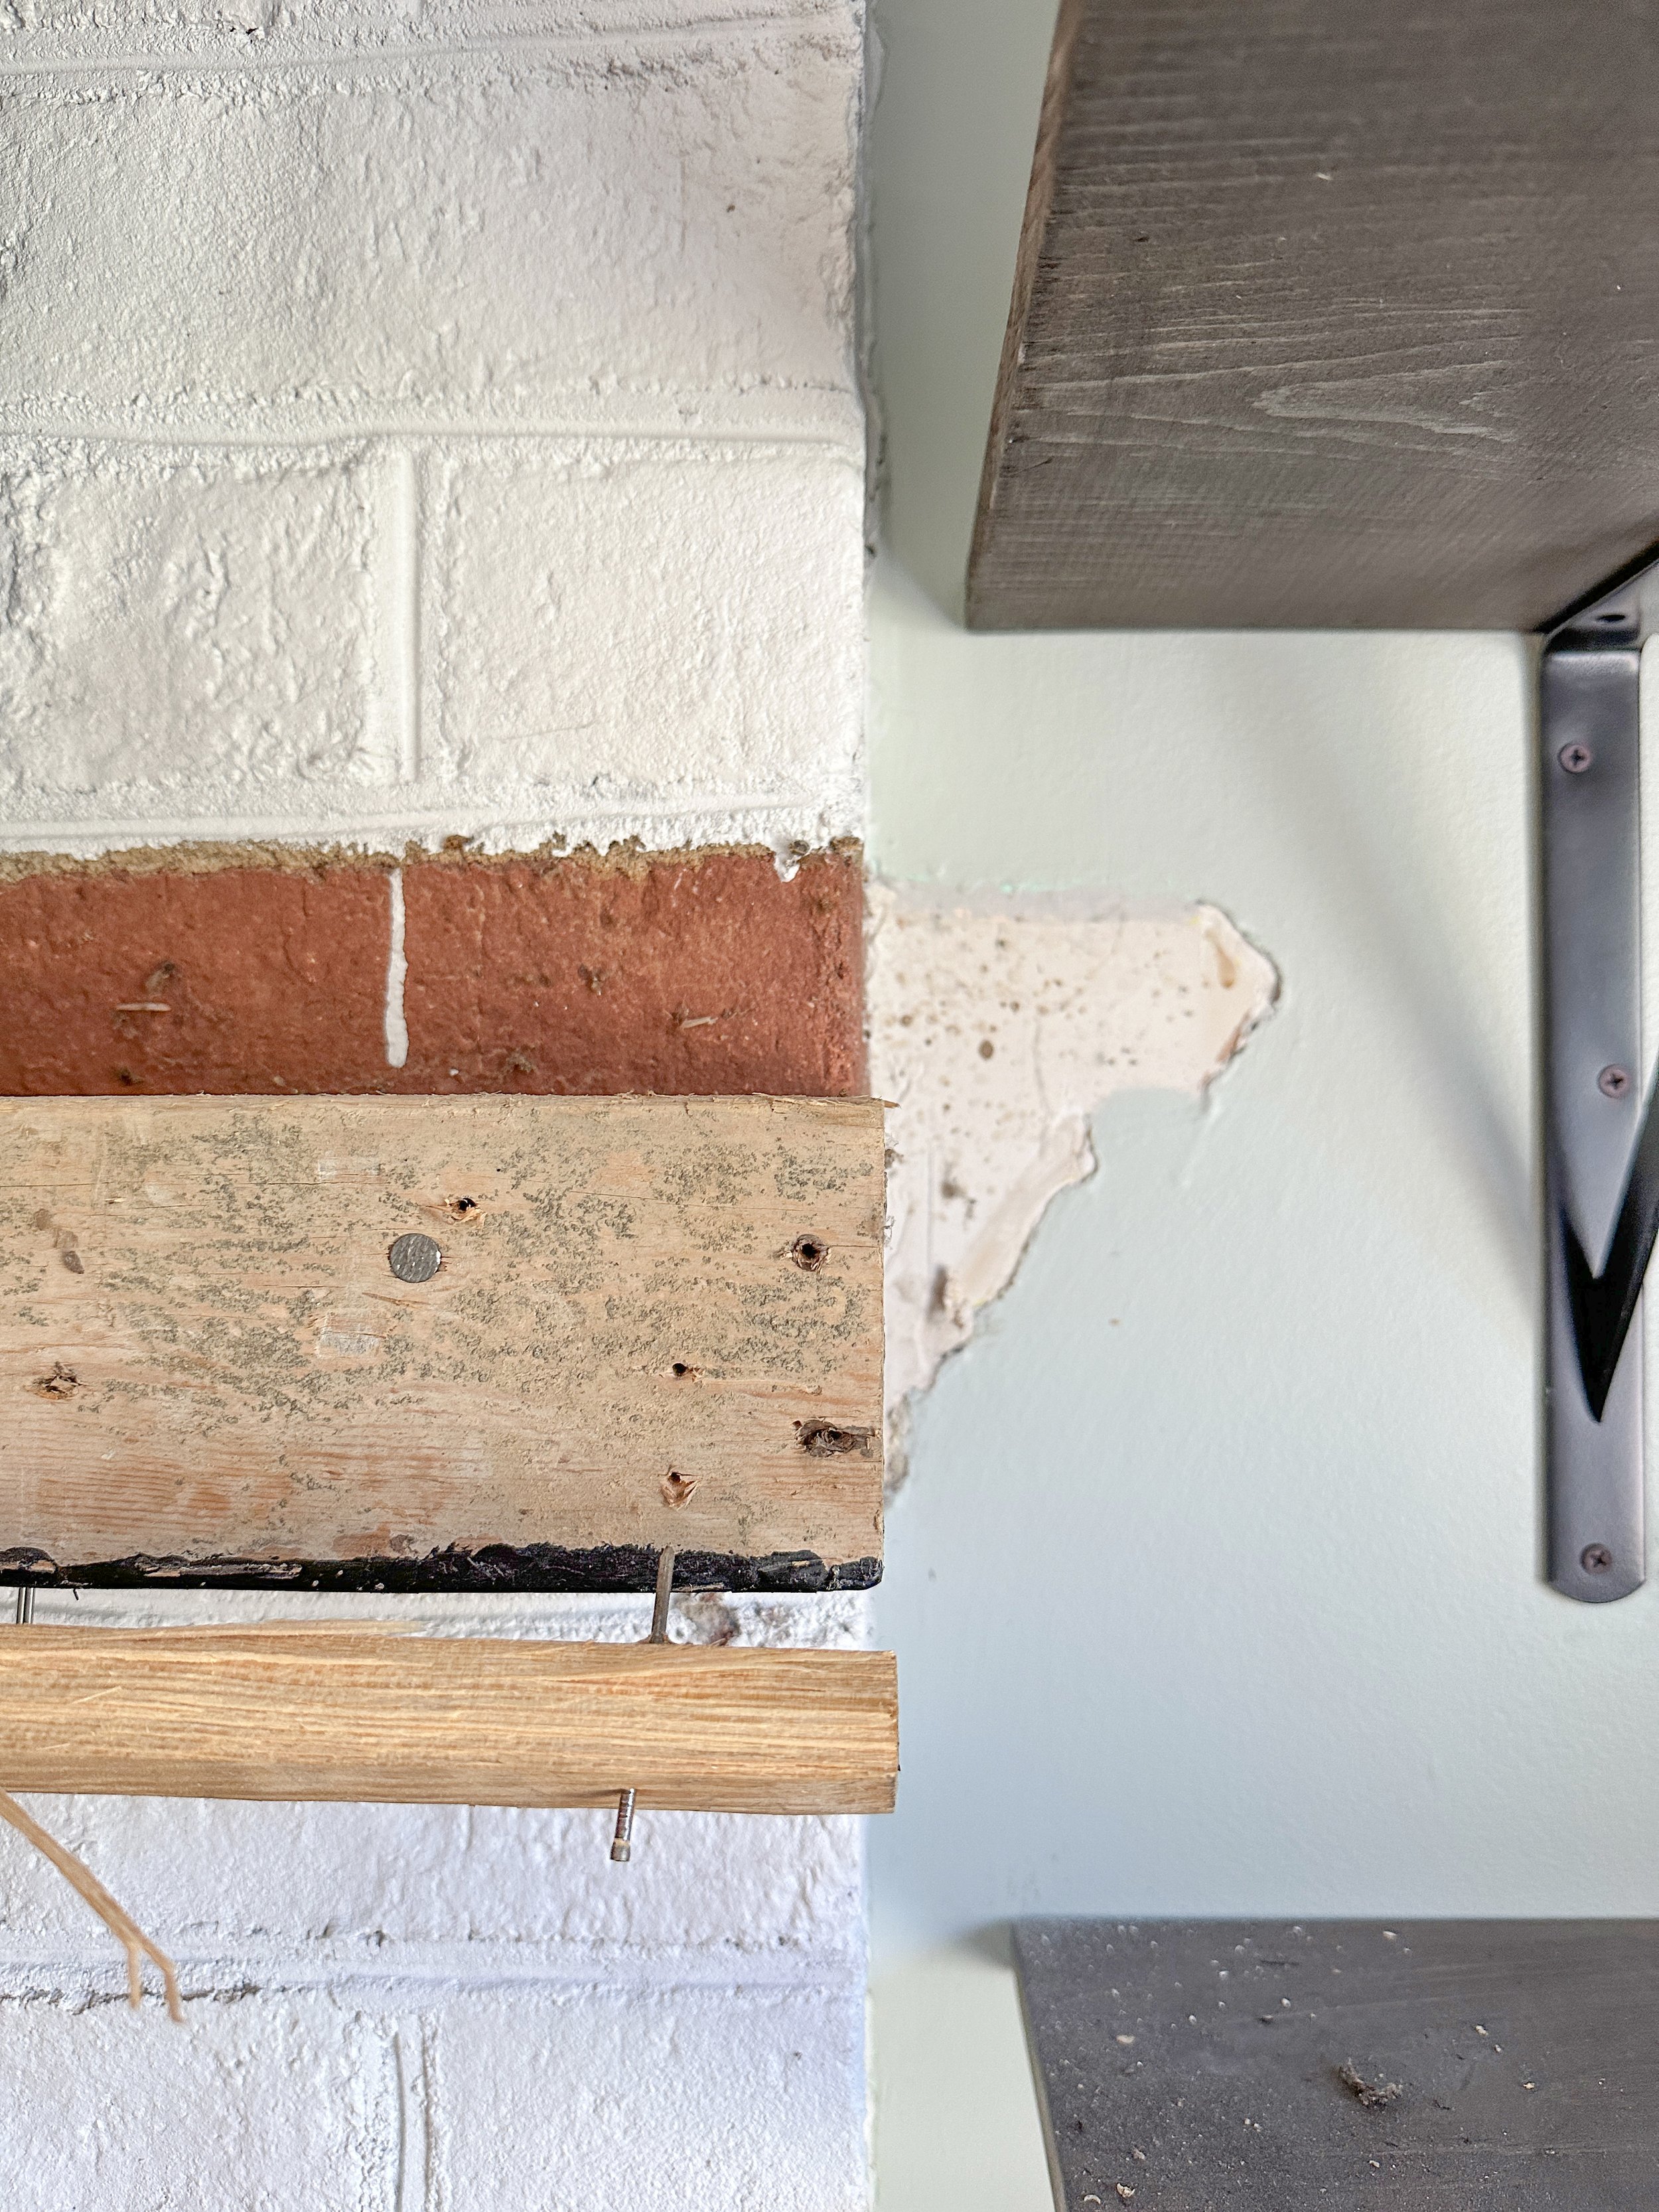
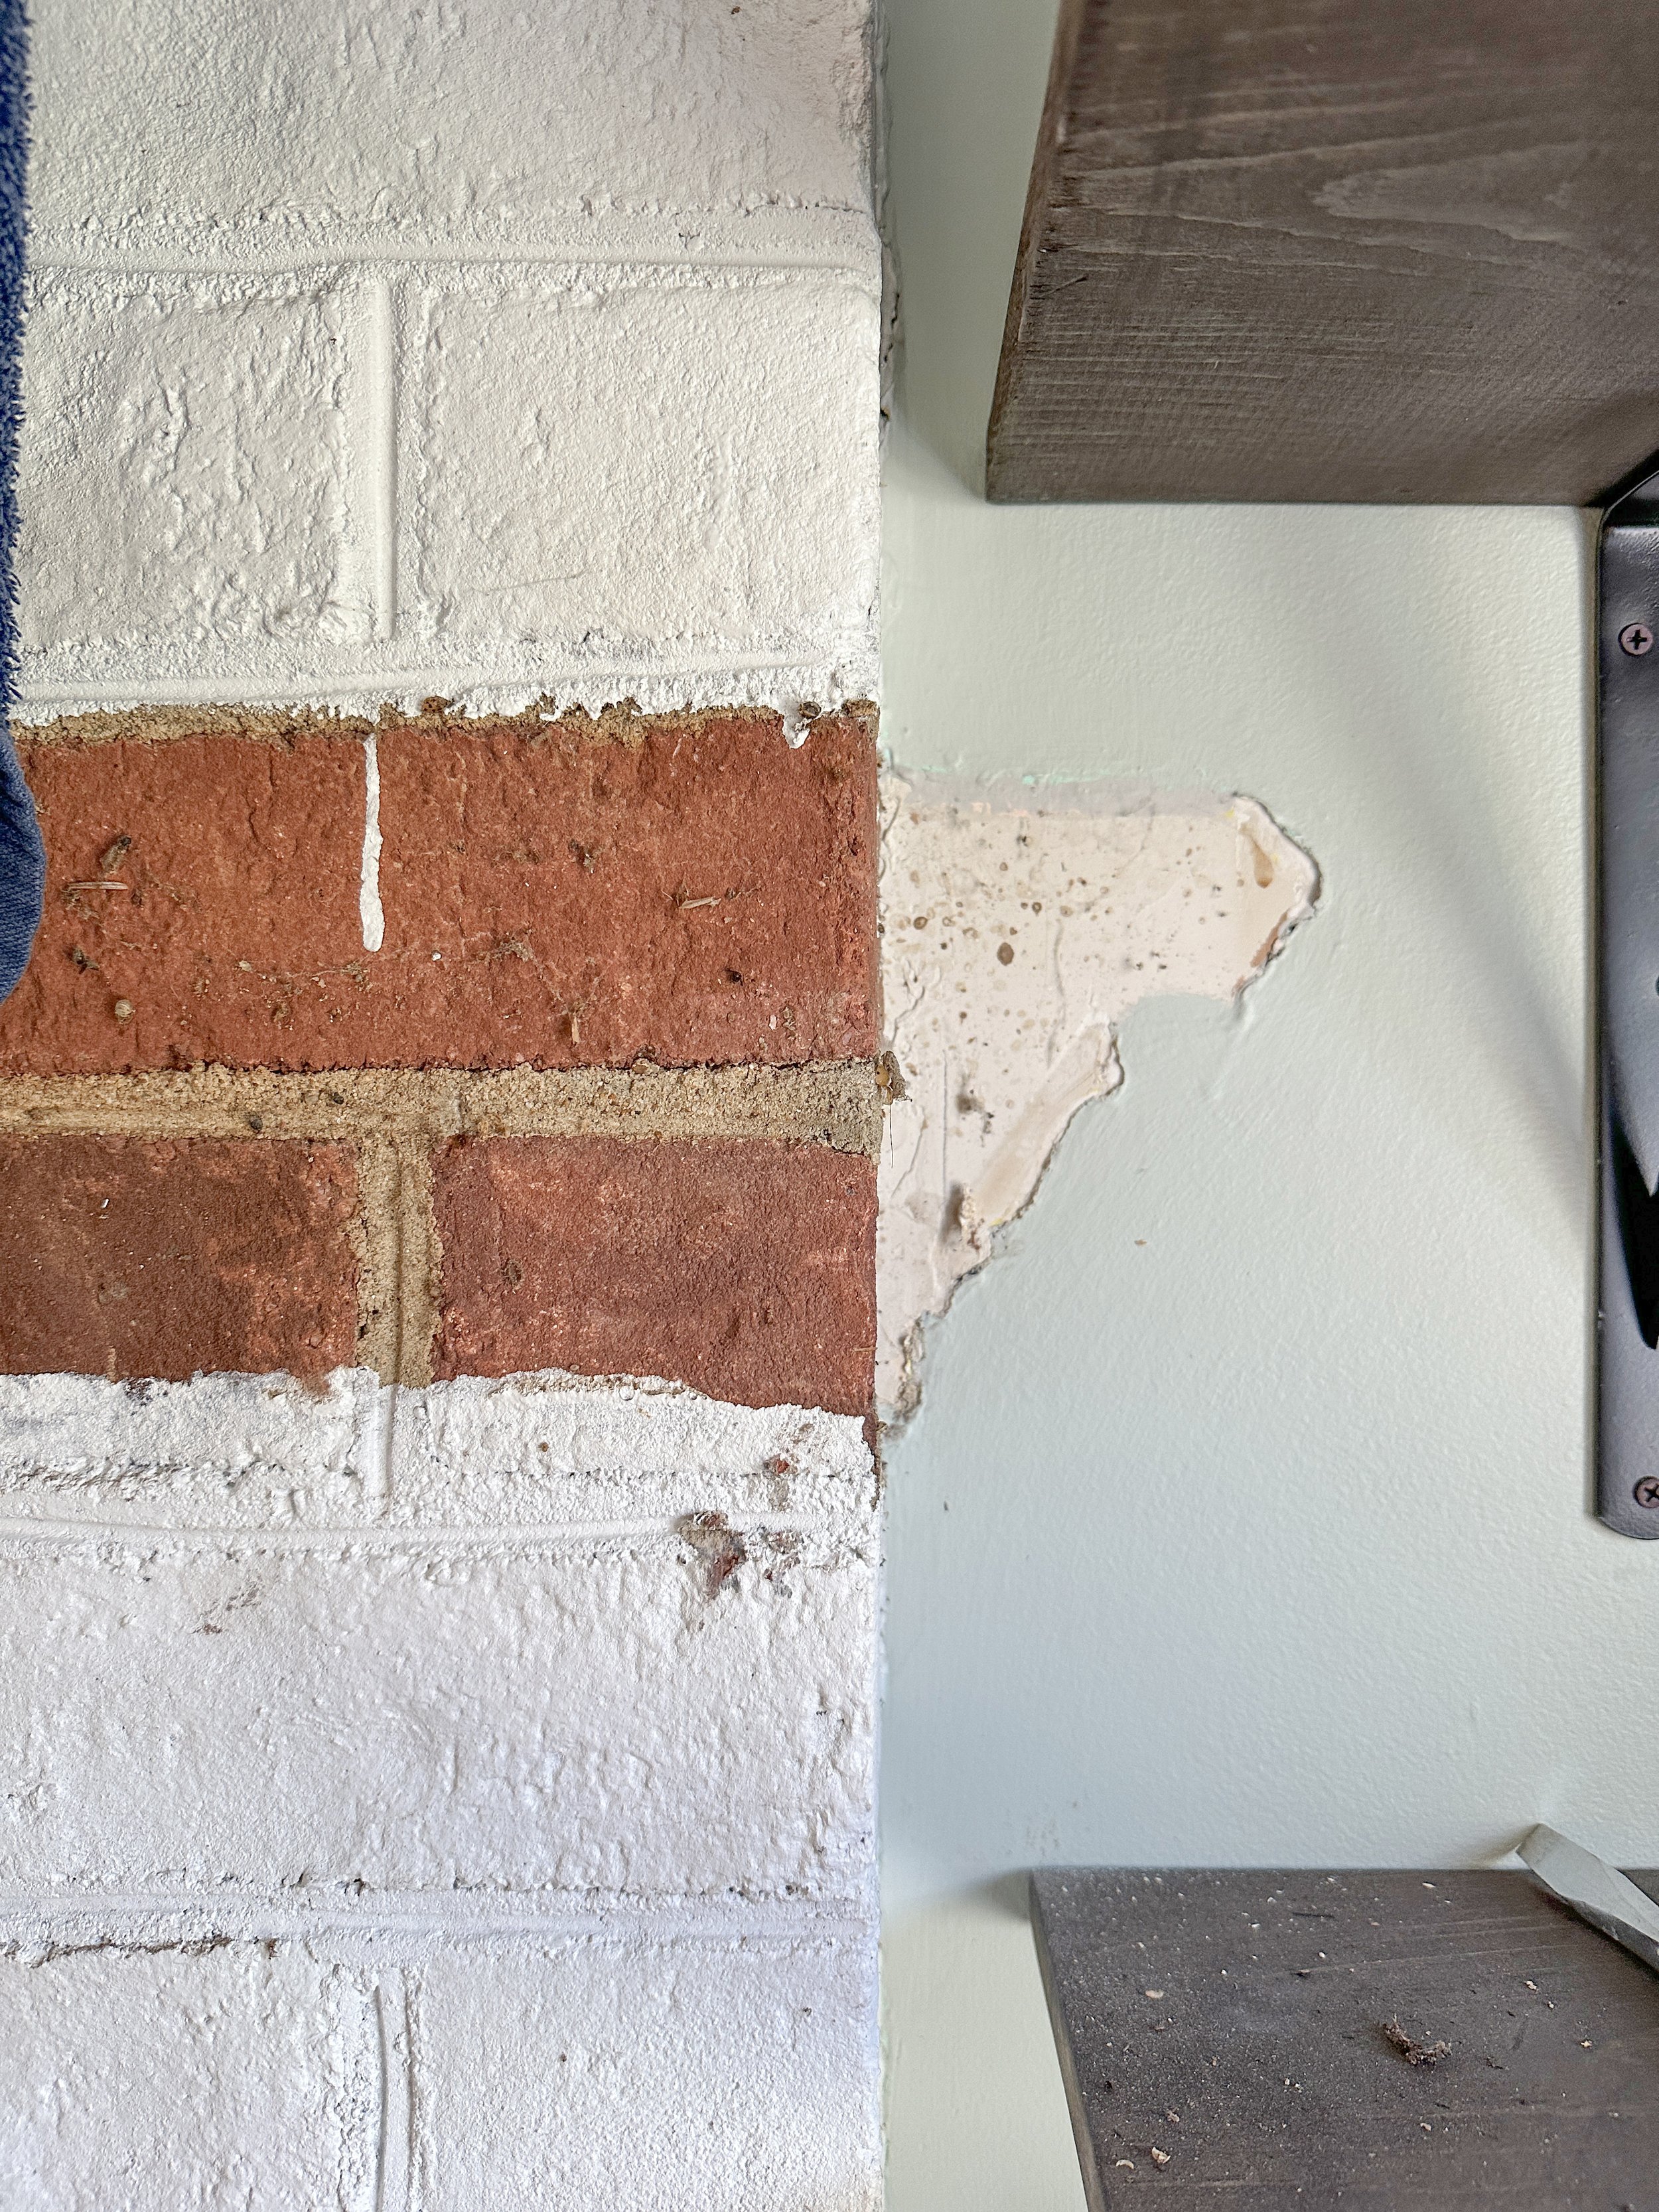
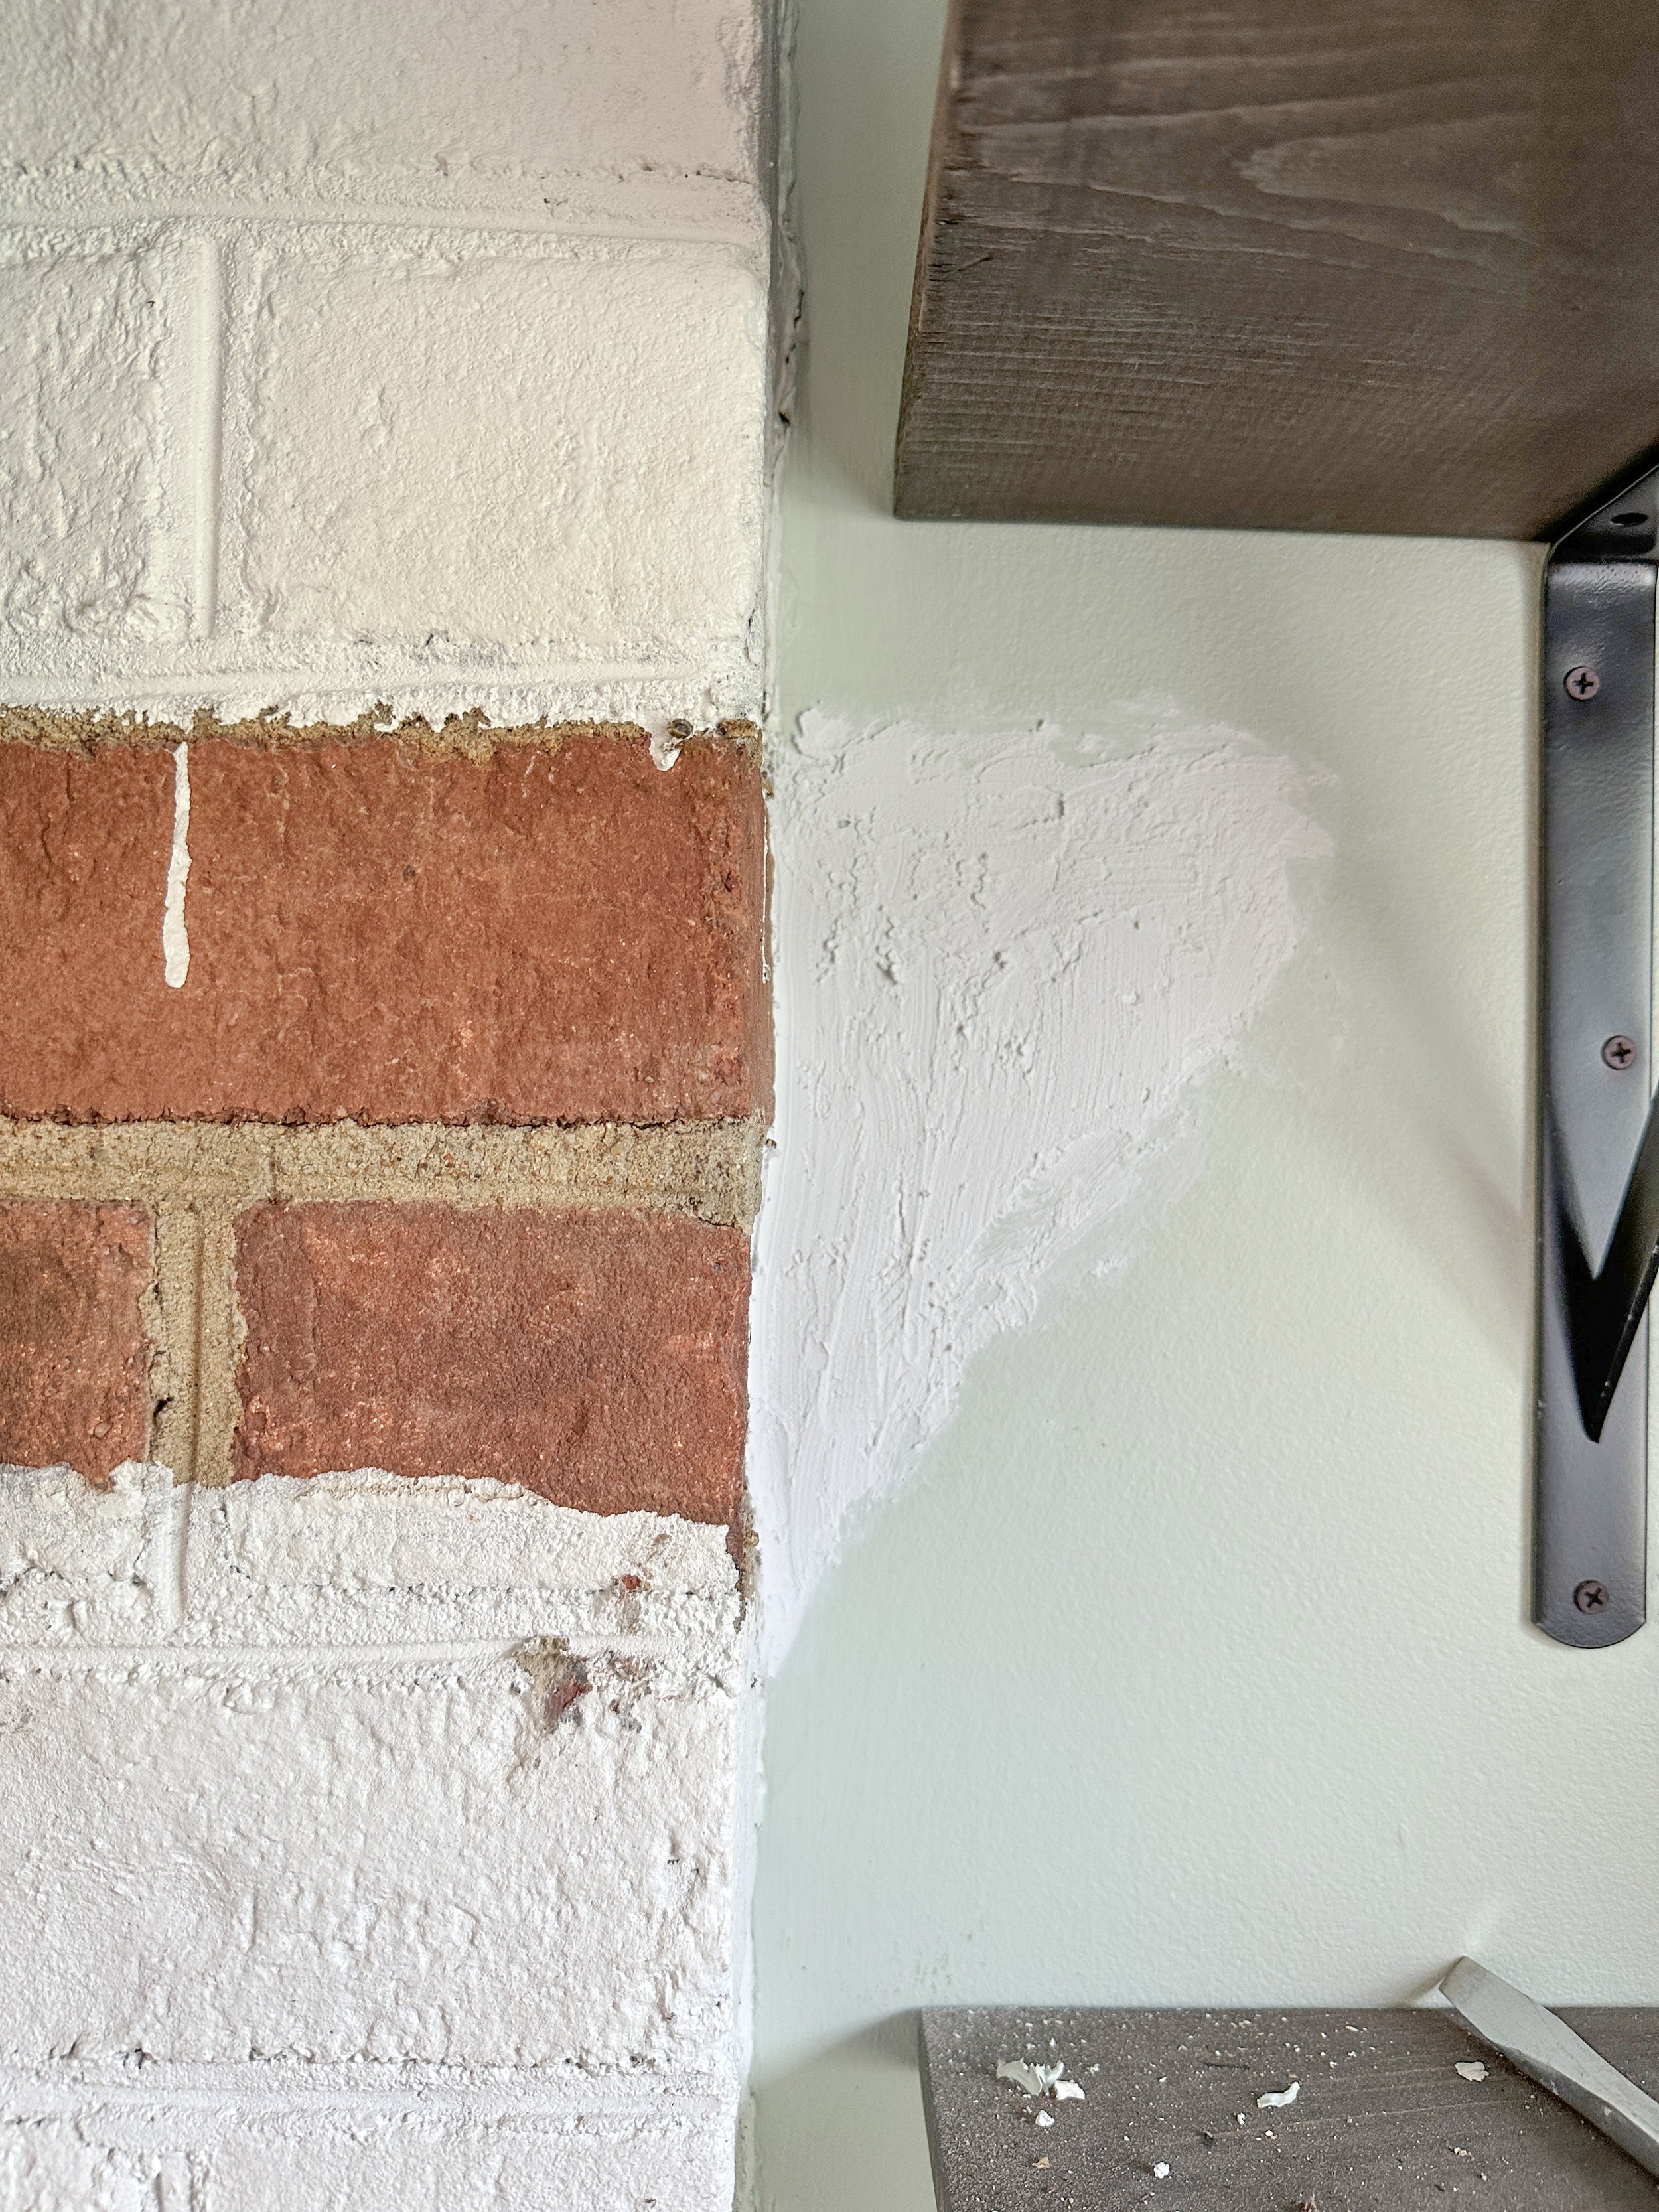
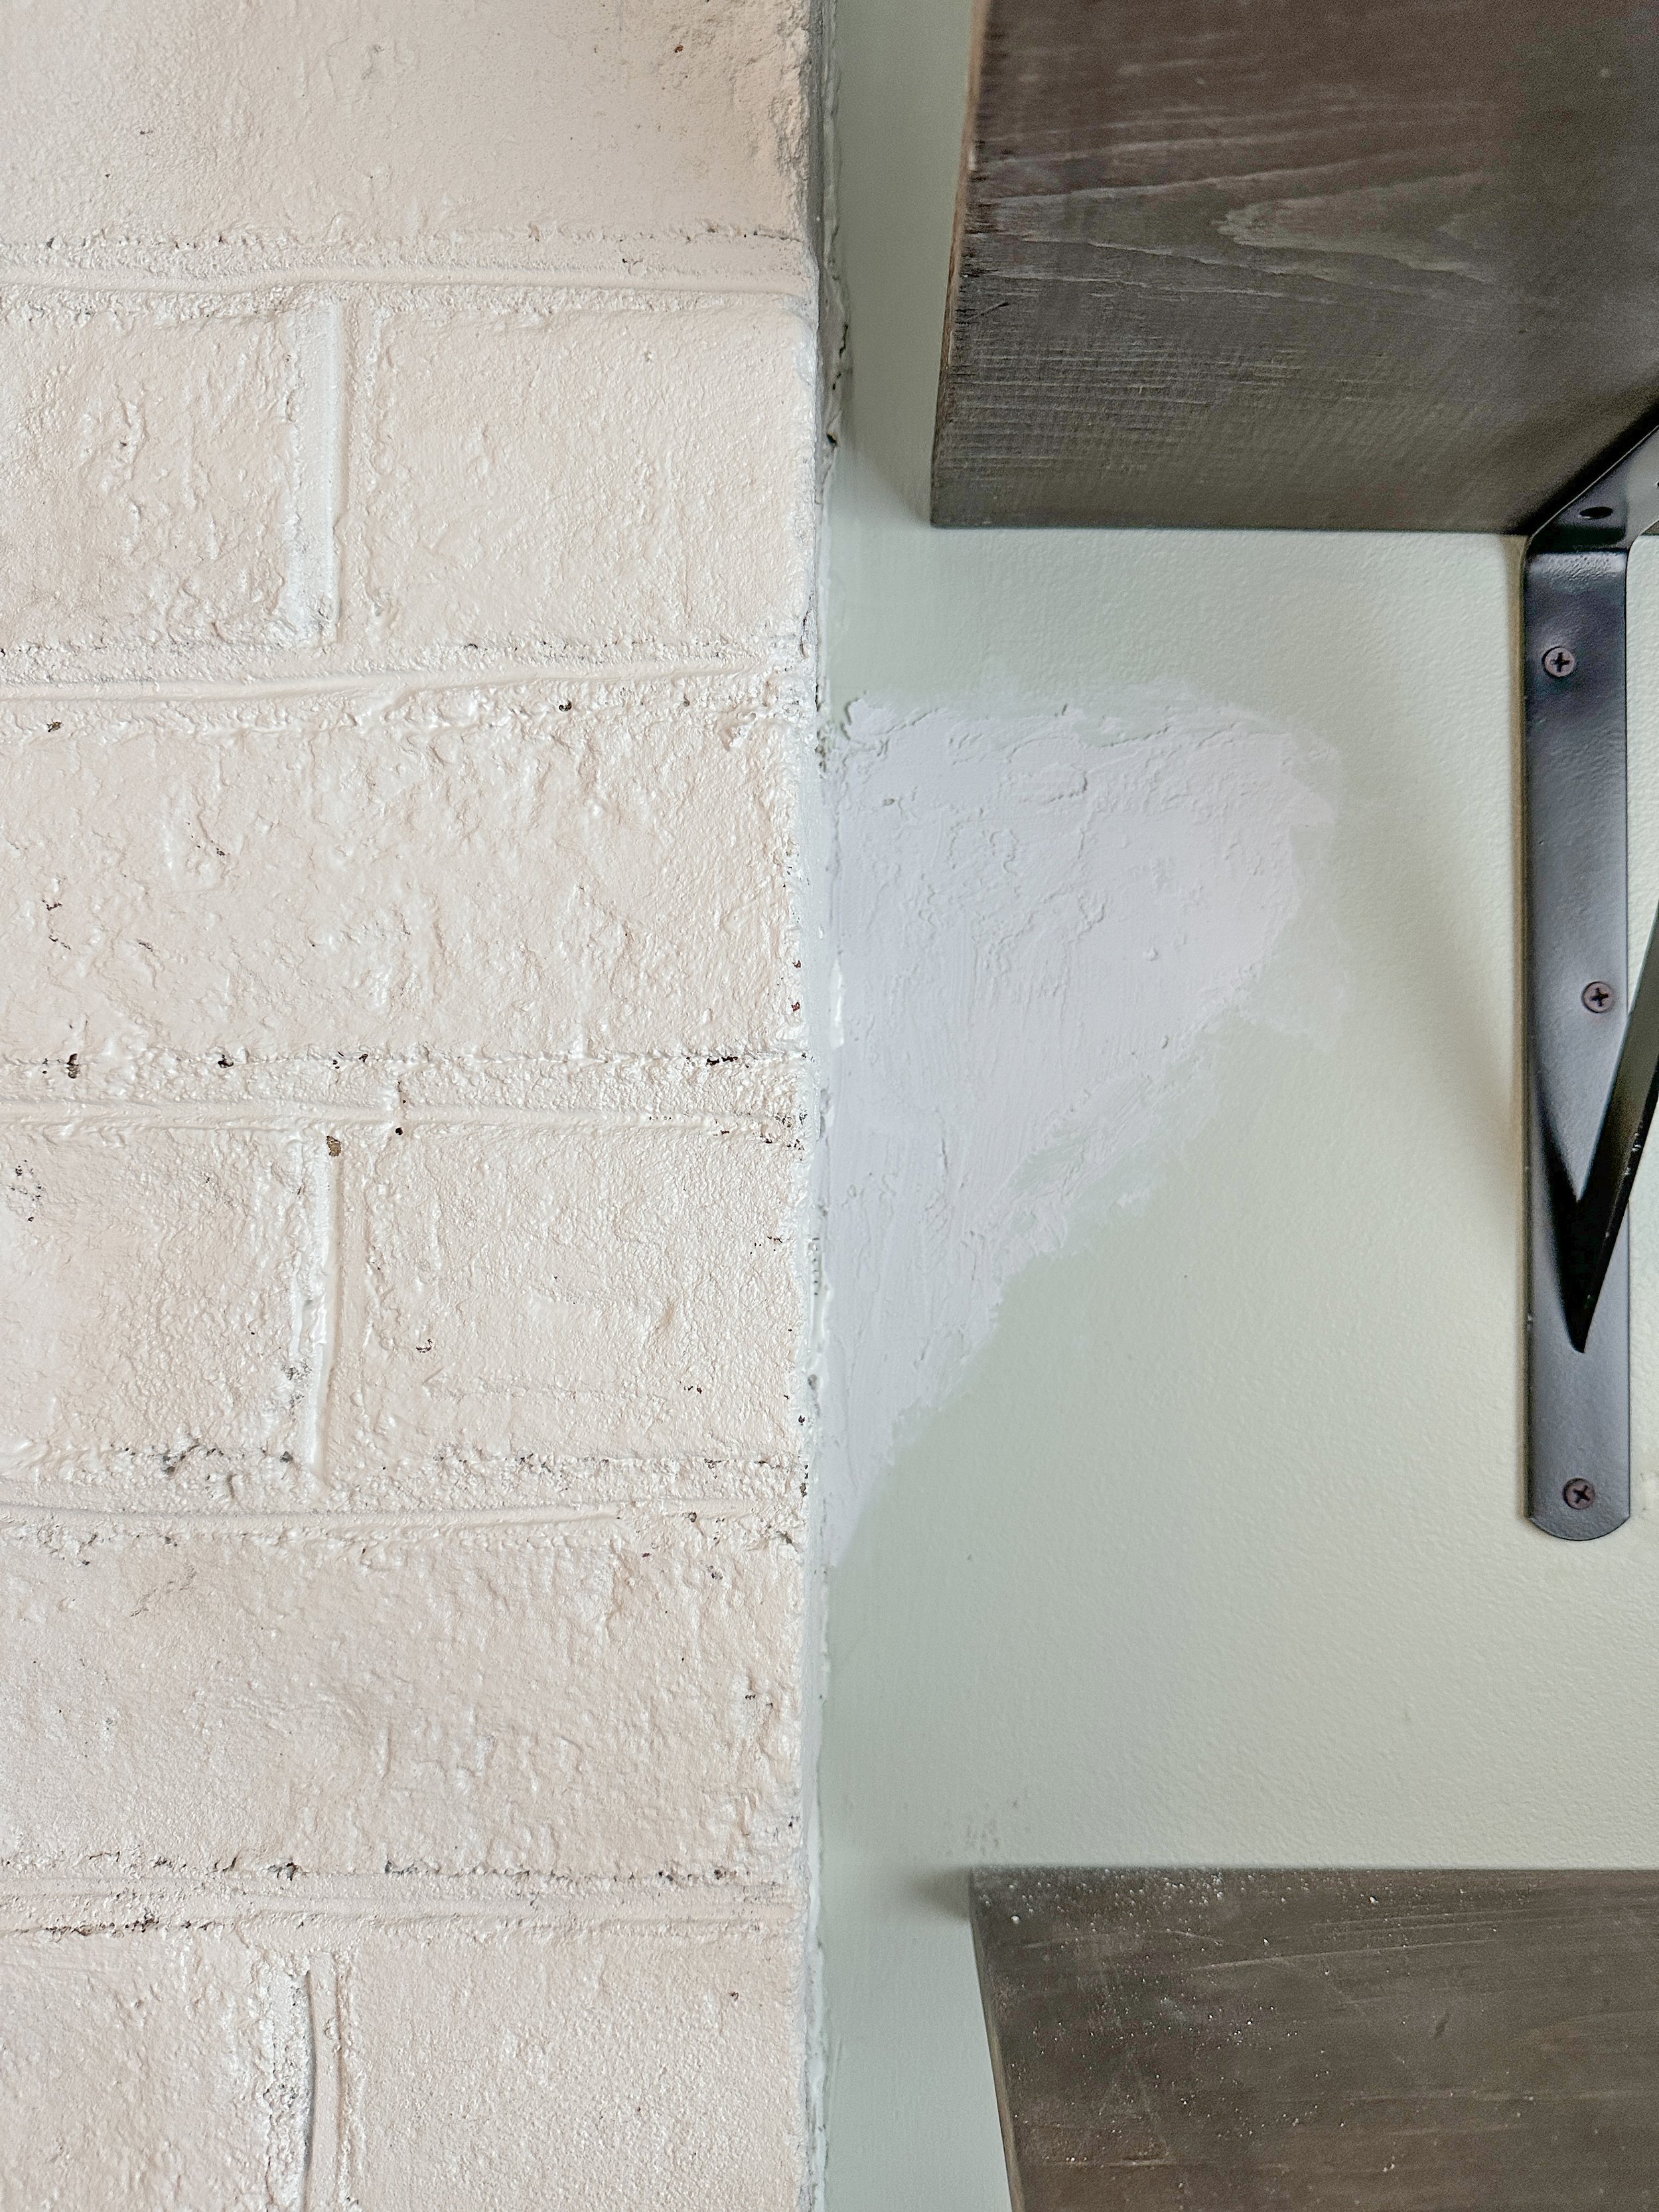
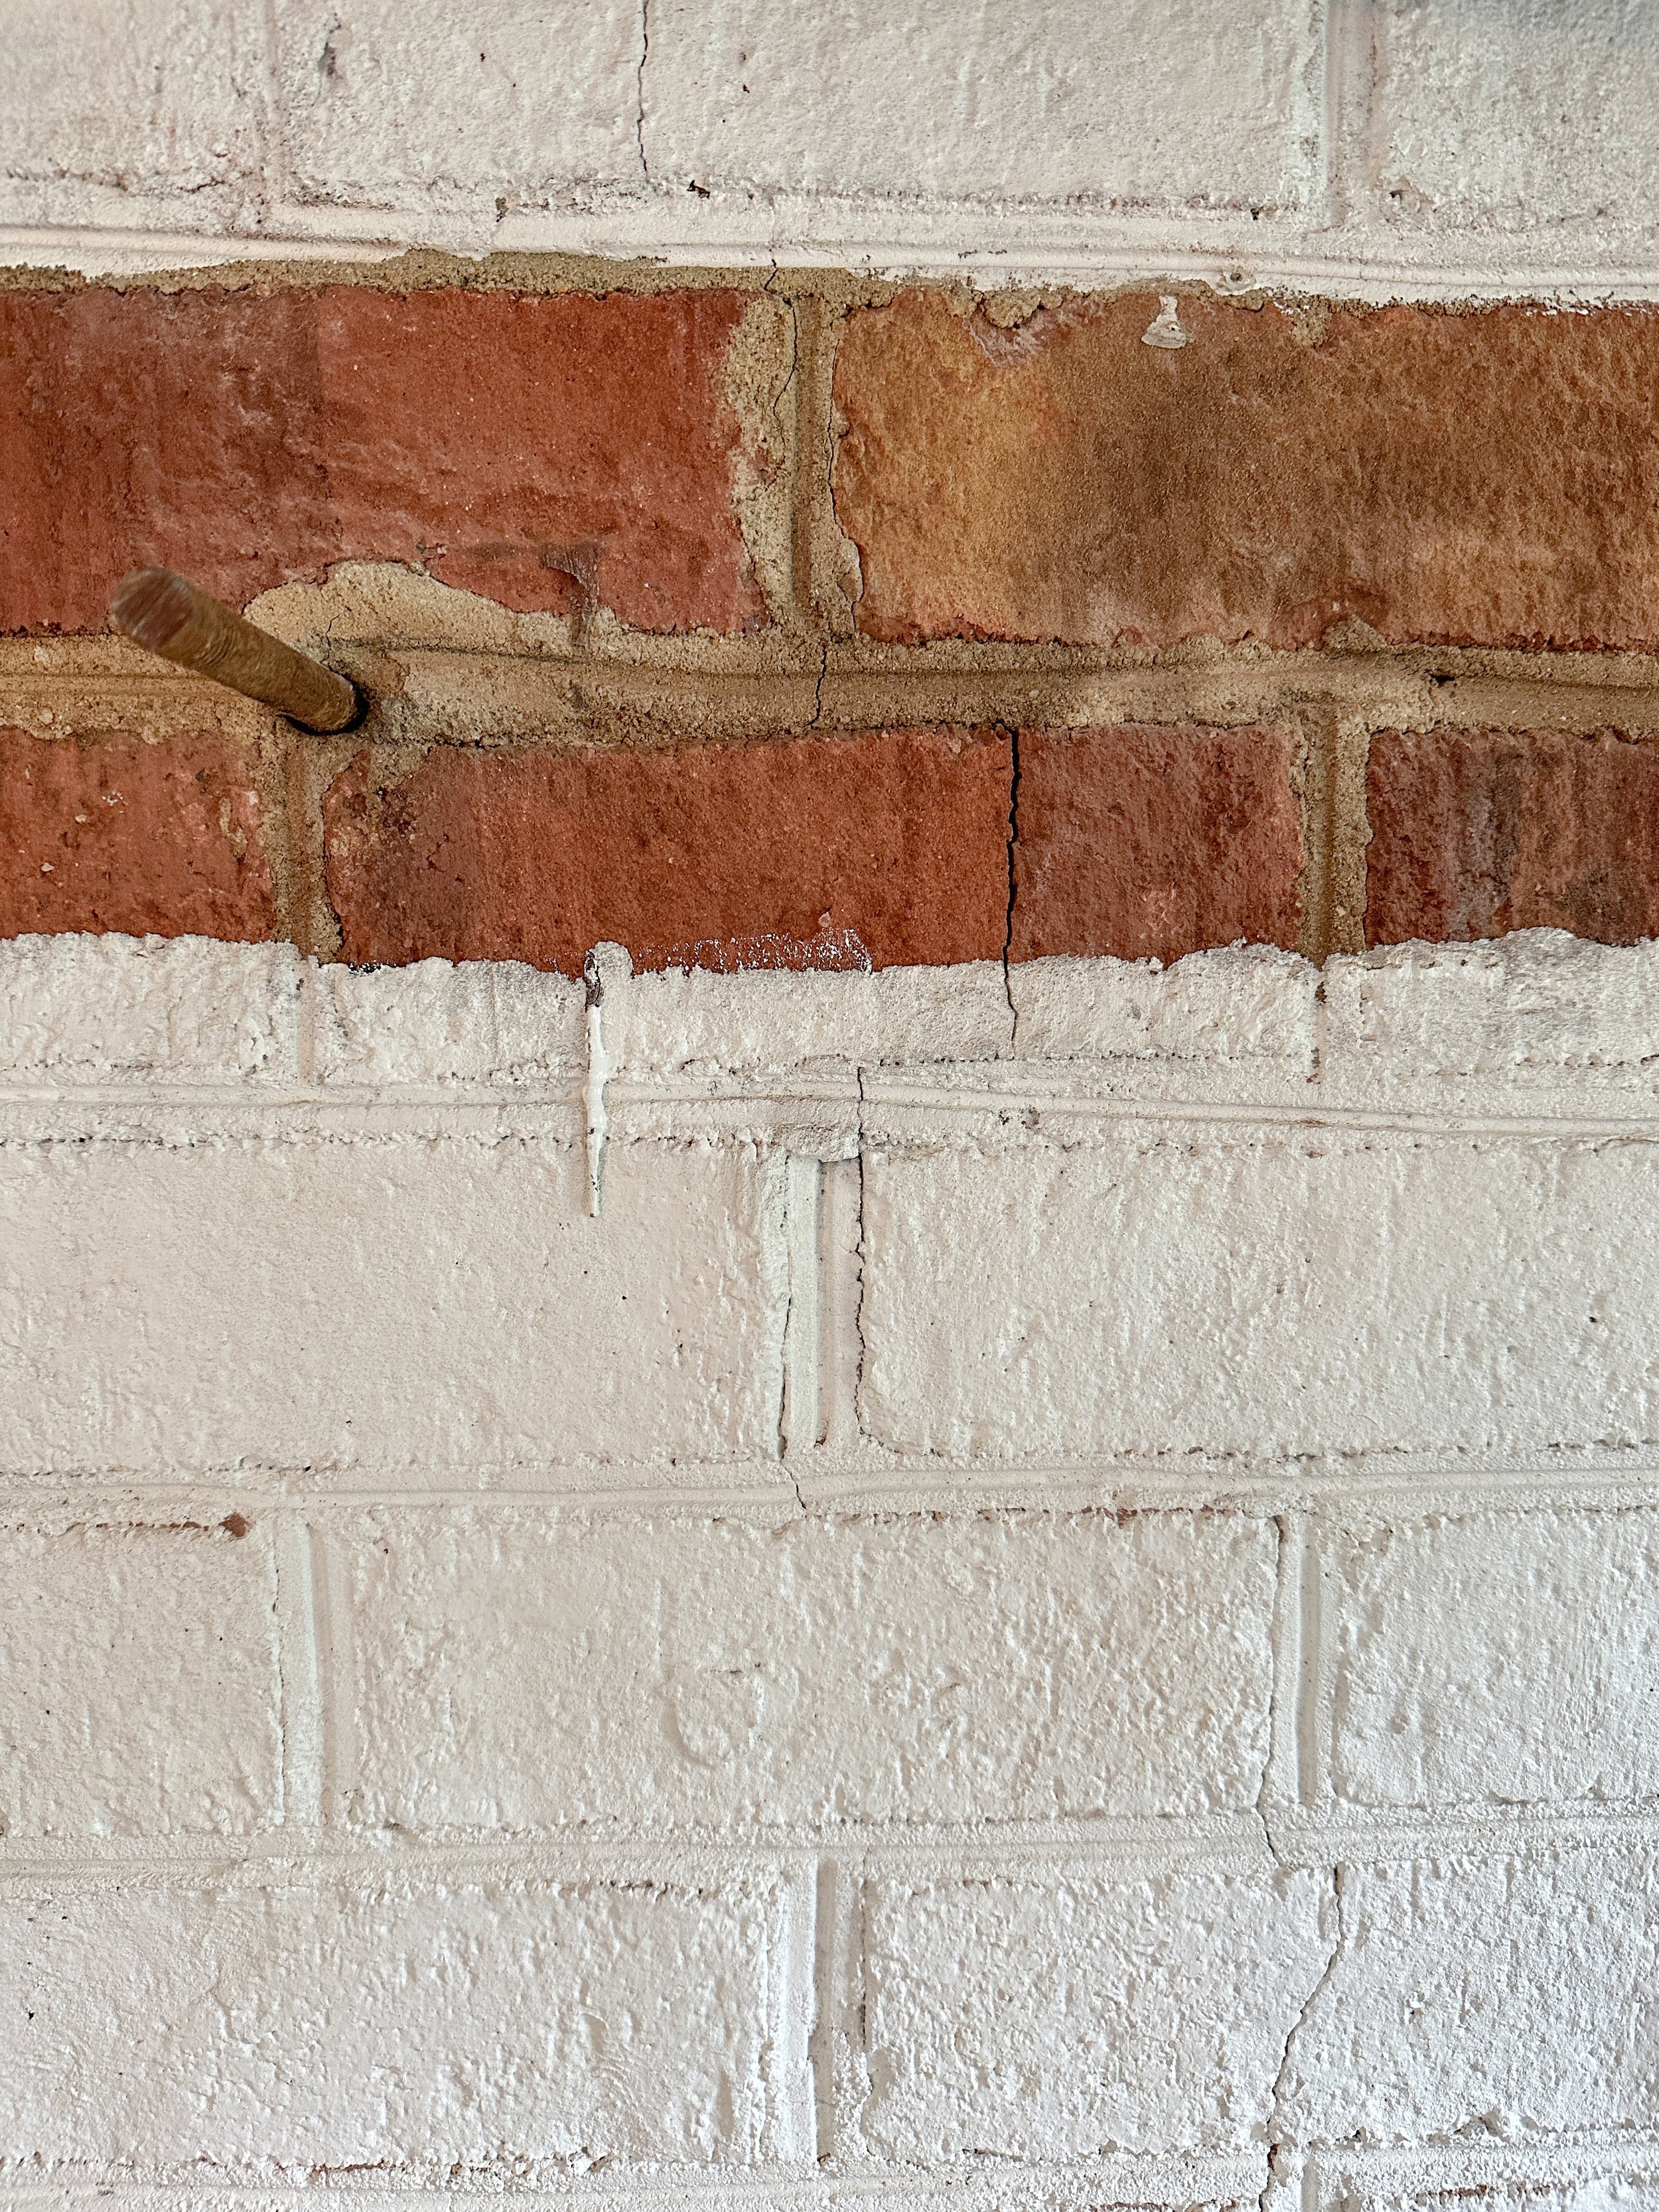
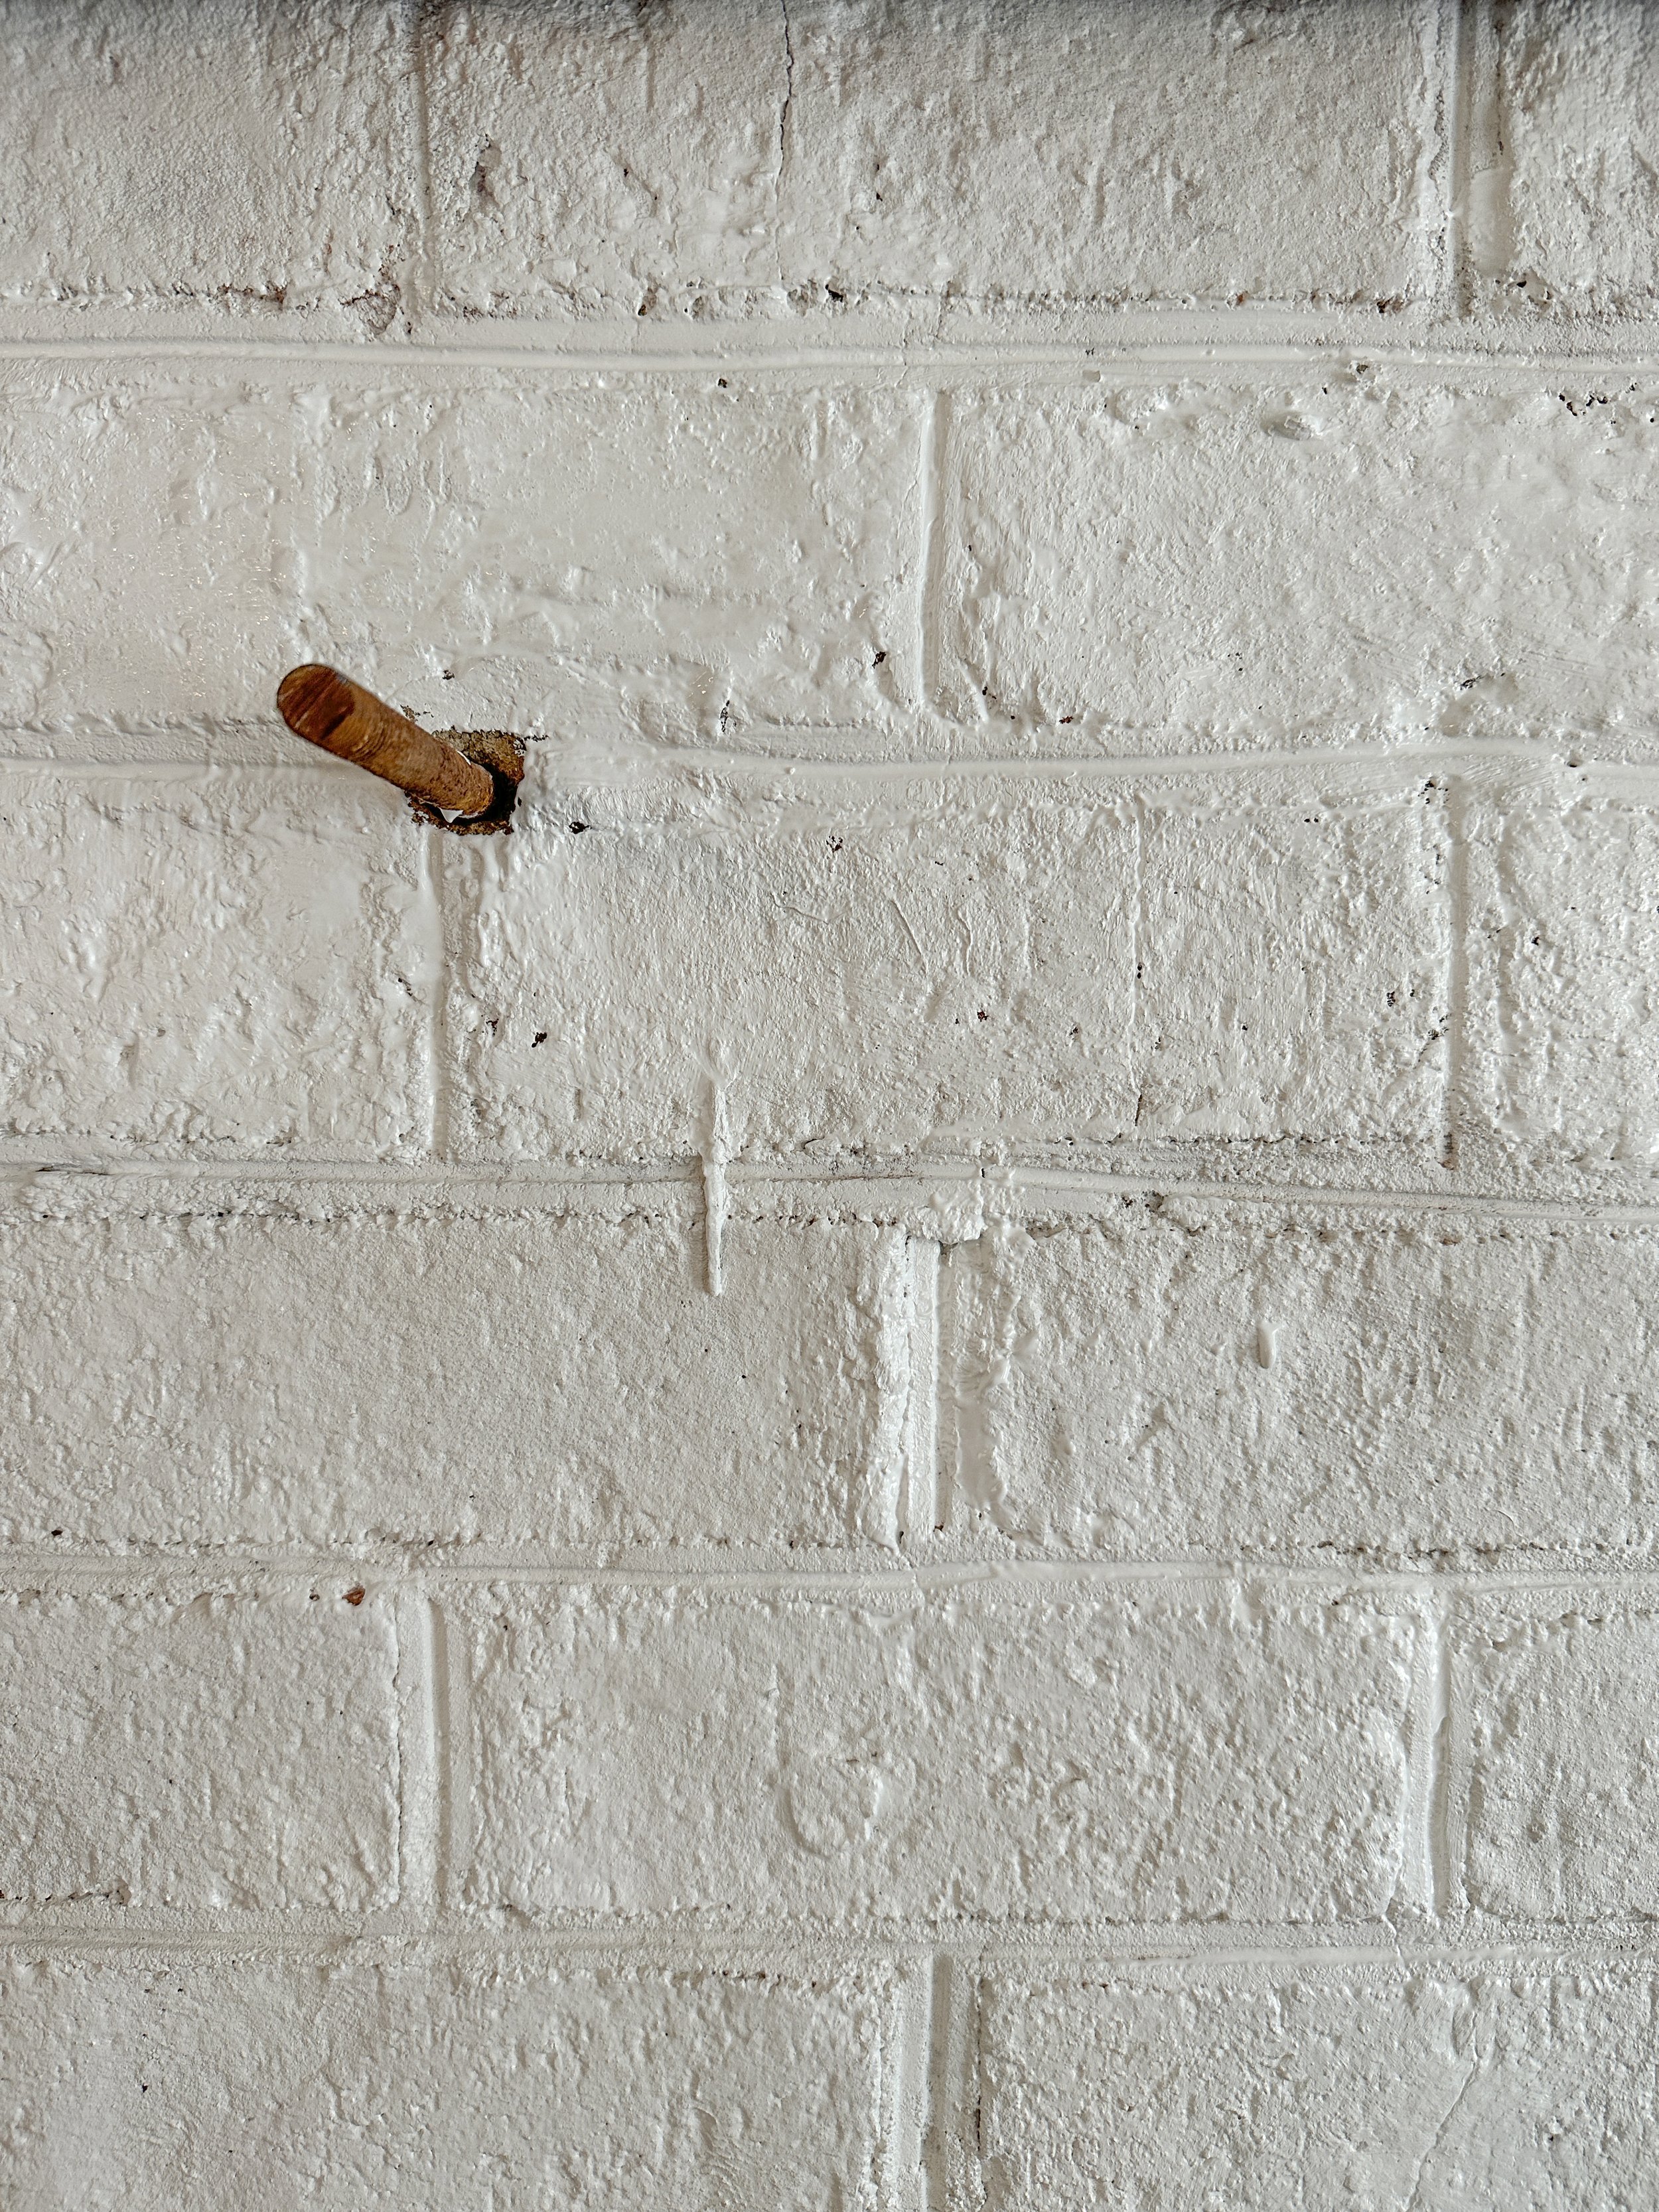
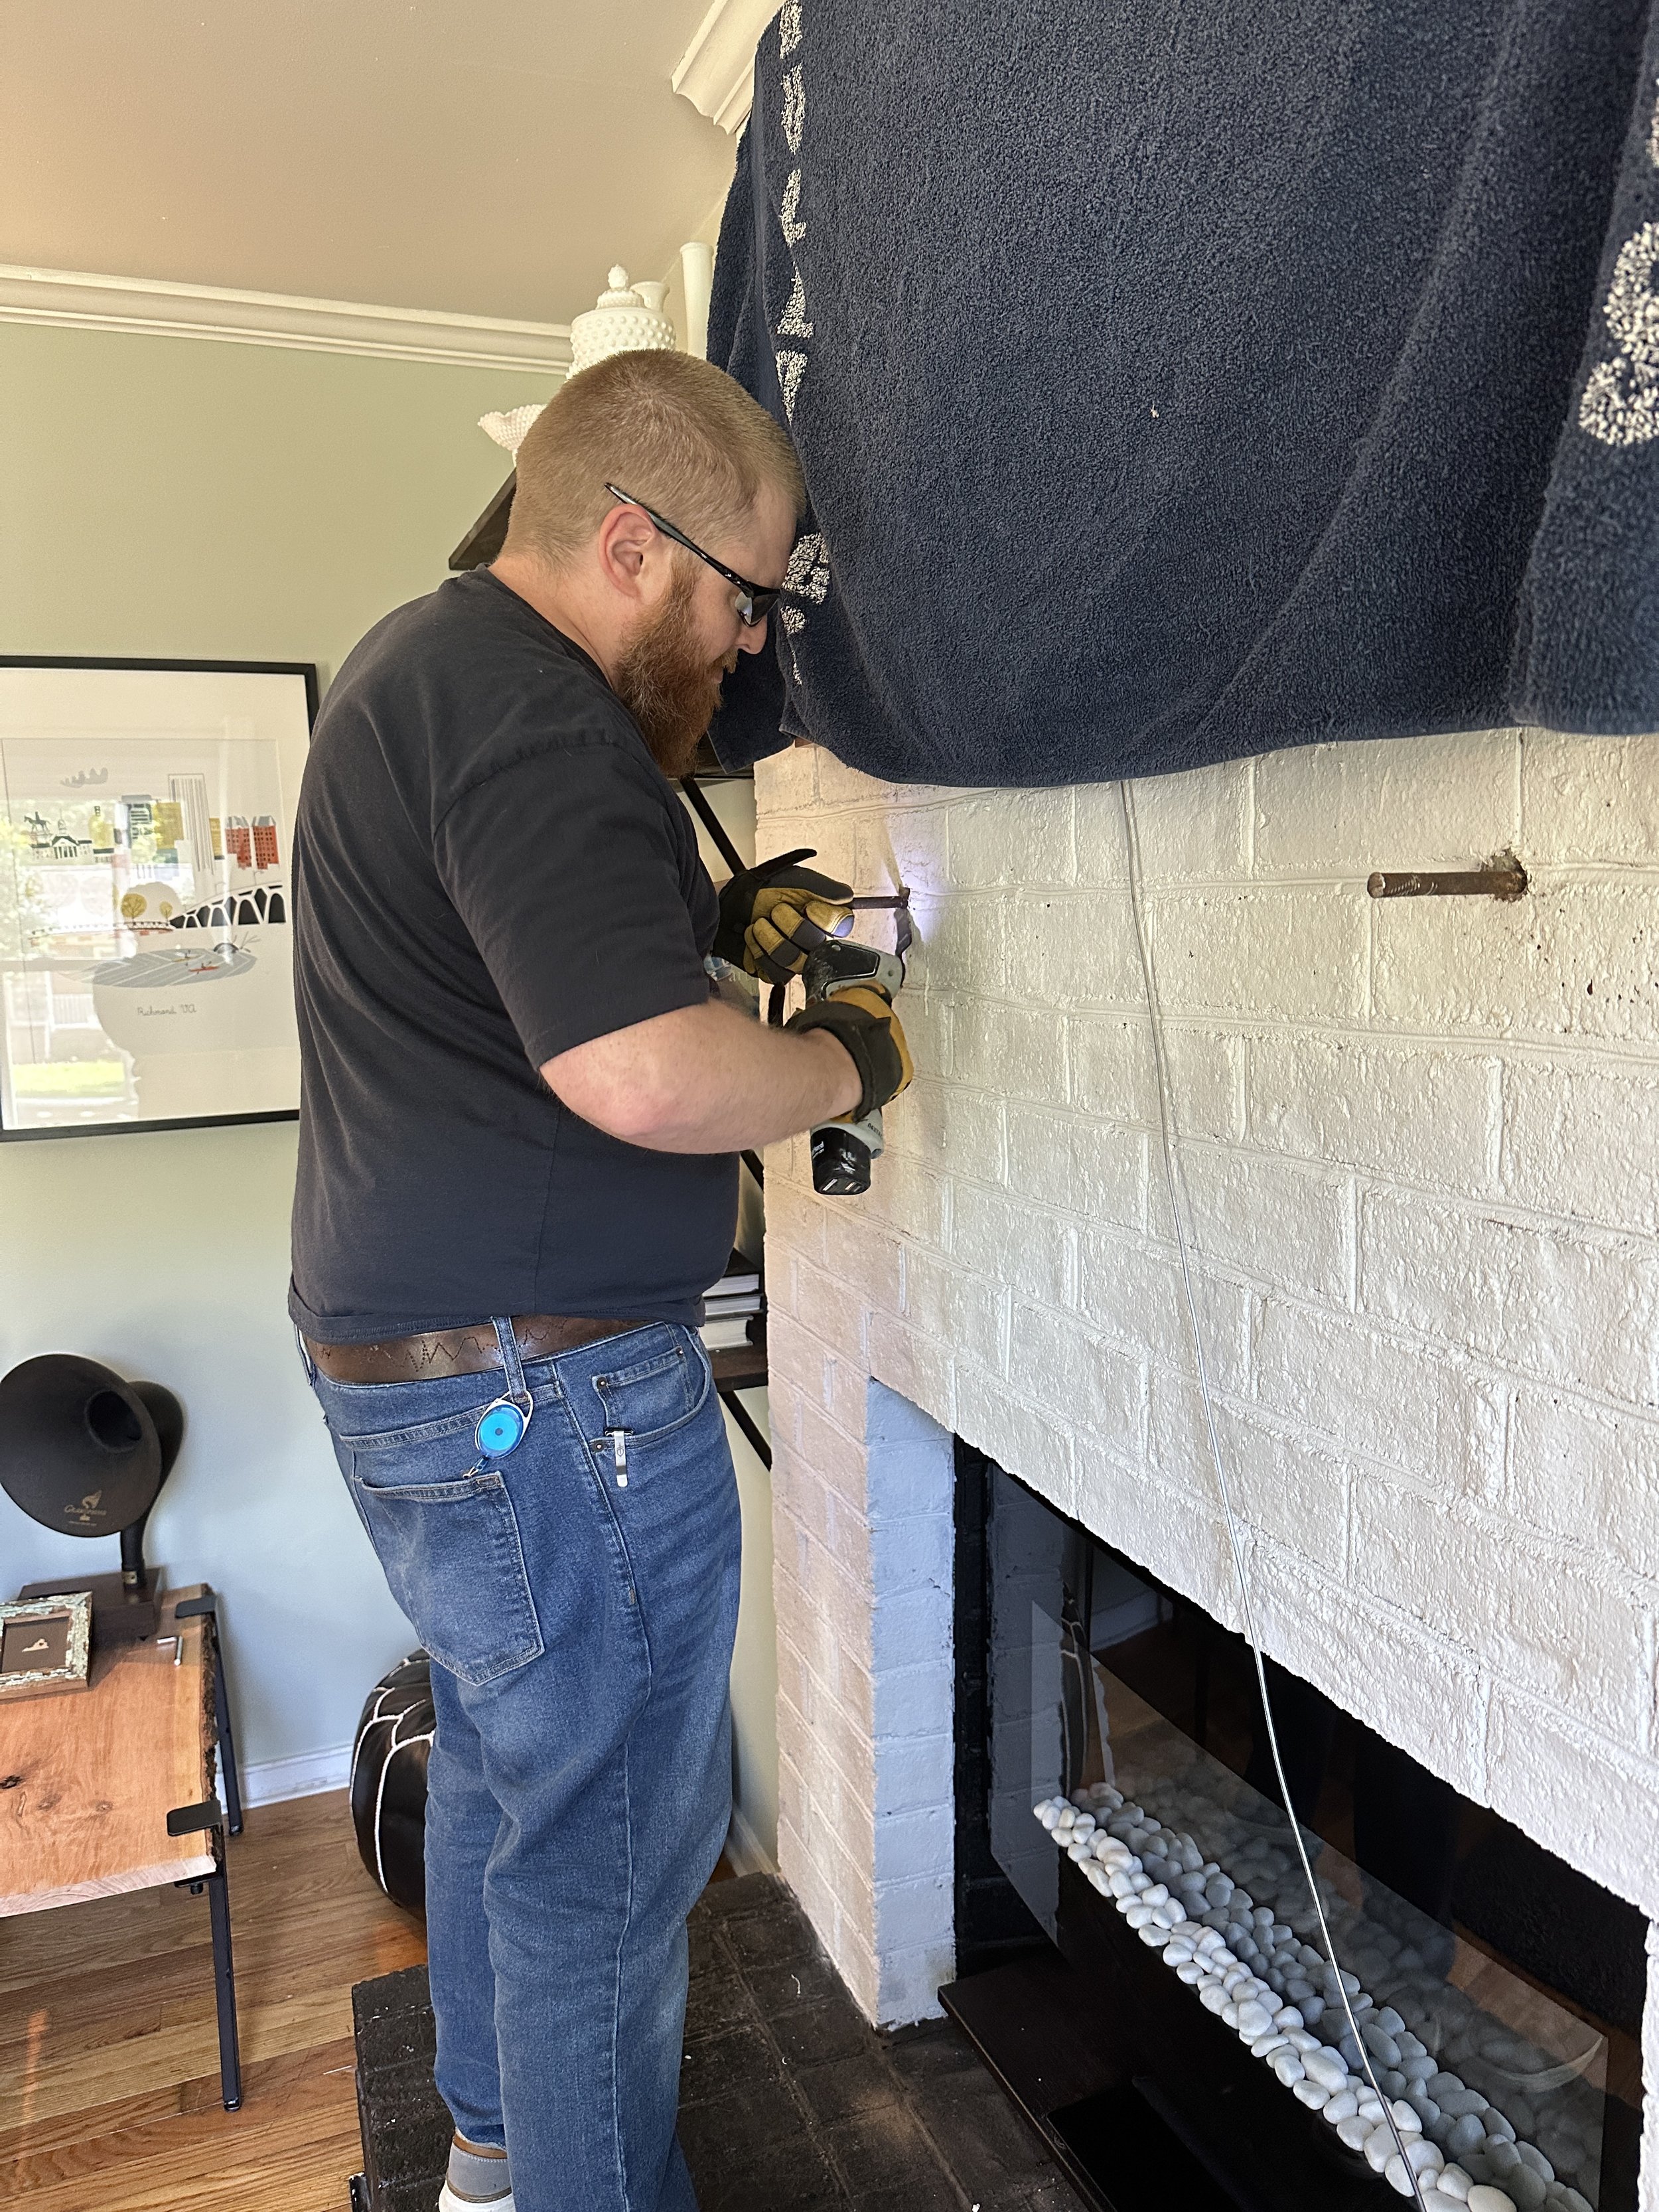
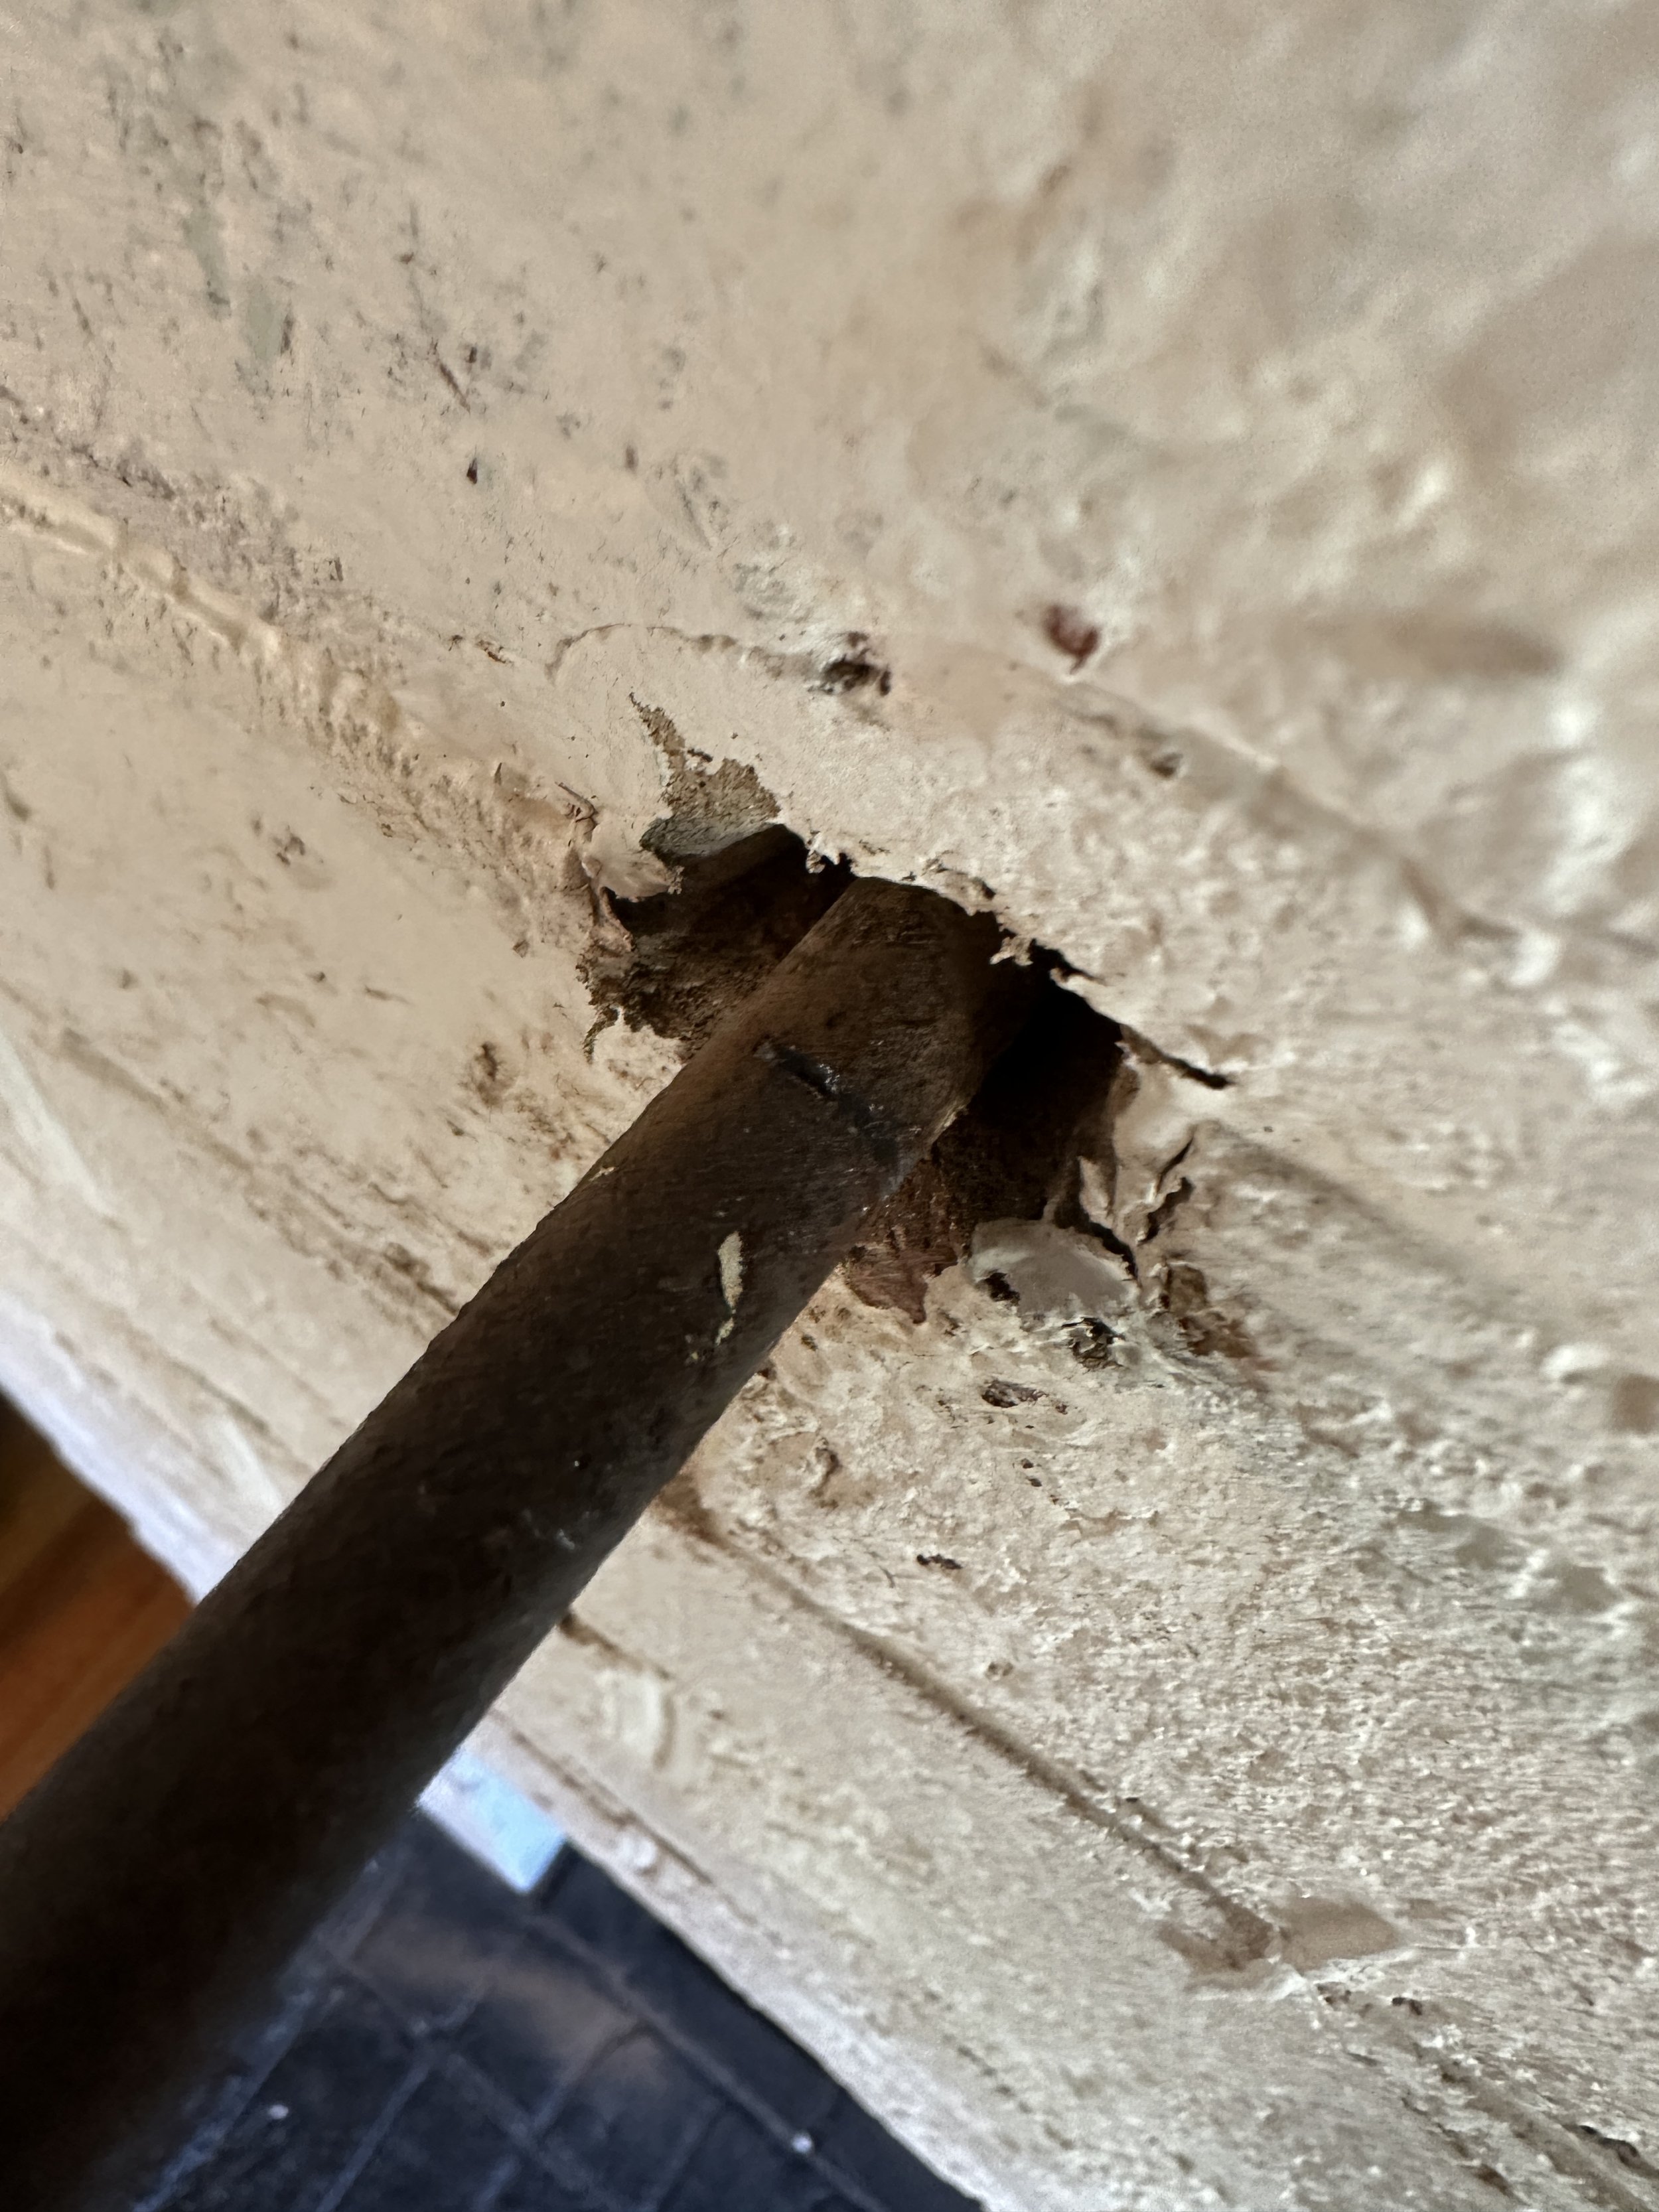
Once I had the mantle down, I had a little issue with these bolts. I couldn’t get them off the brick and they were in the way of the cleat for the new mantle. Luckily the same friend had a tool to help and with 20 minutes of sawing, the bolts were gone.
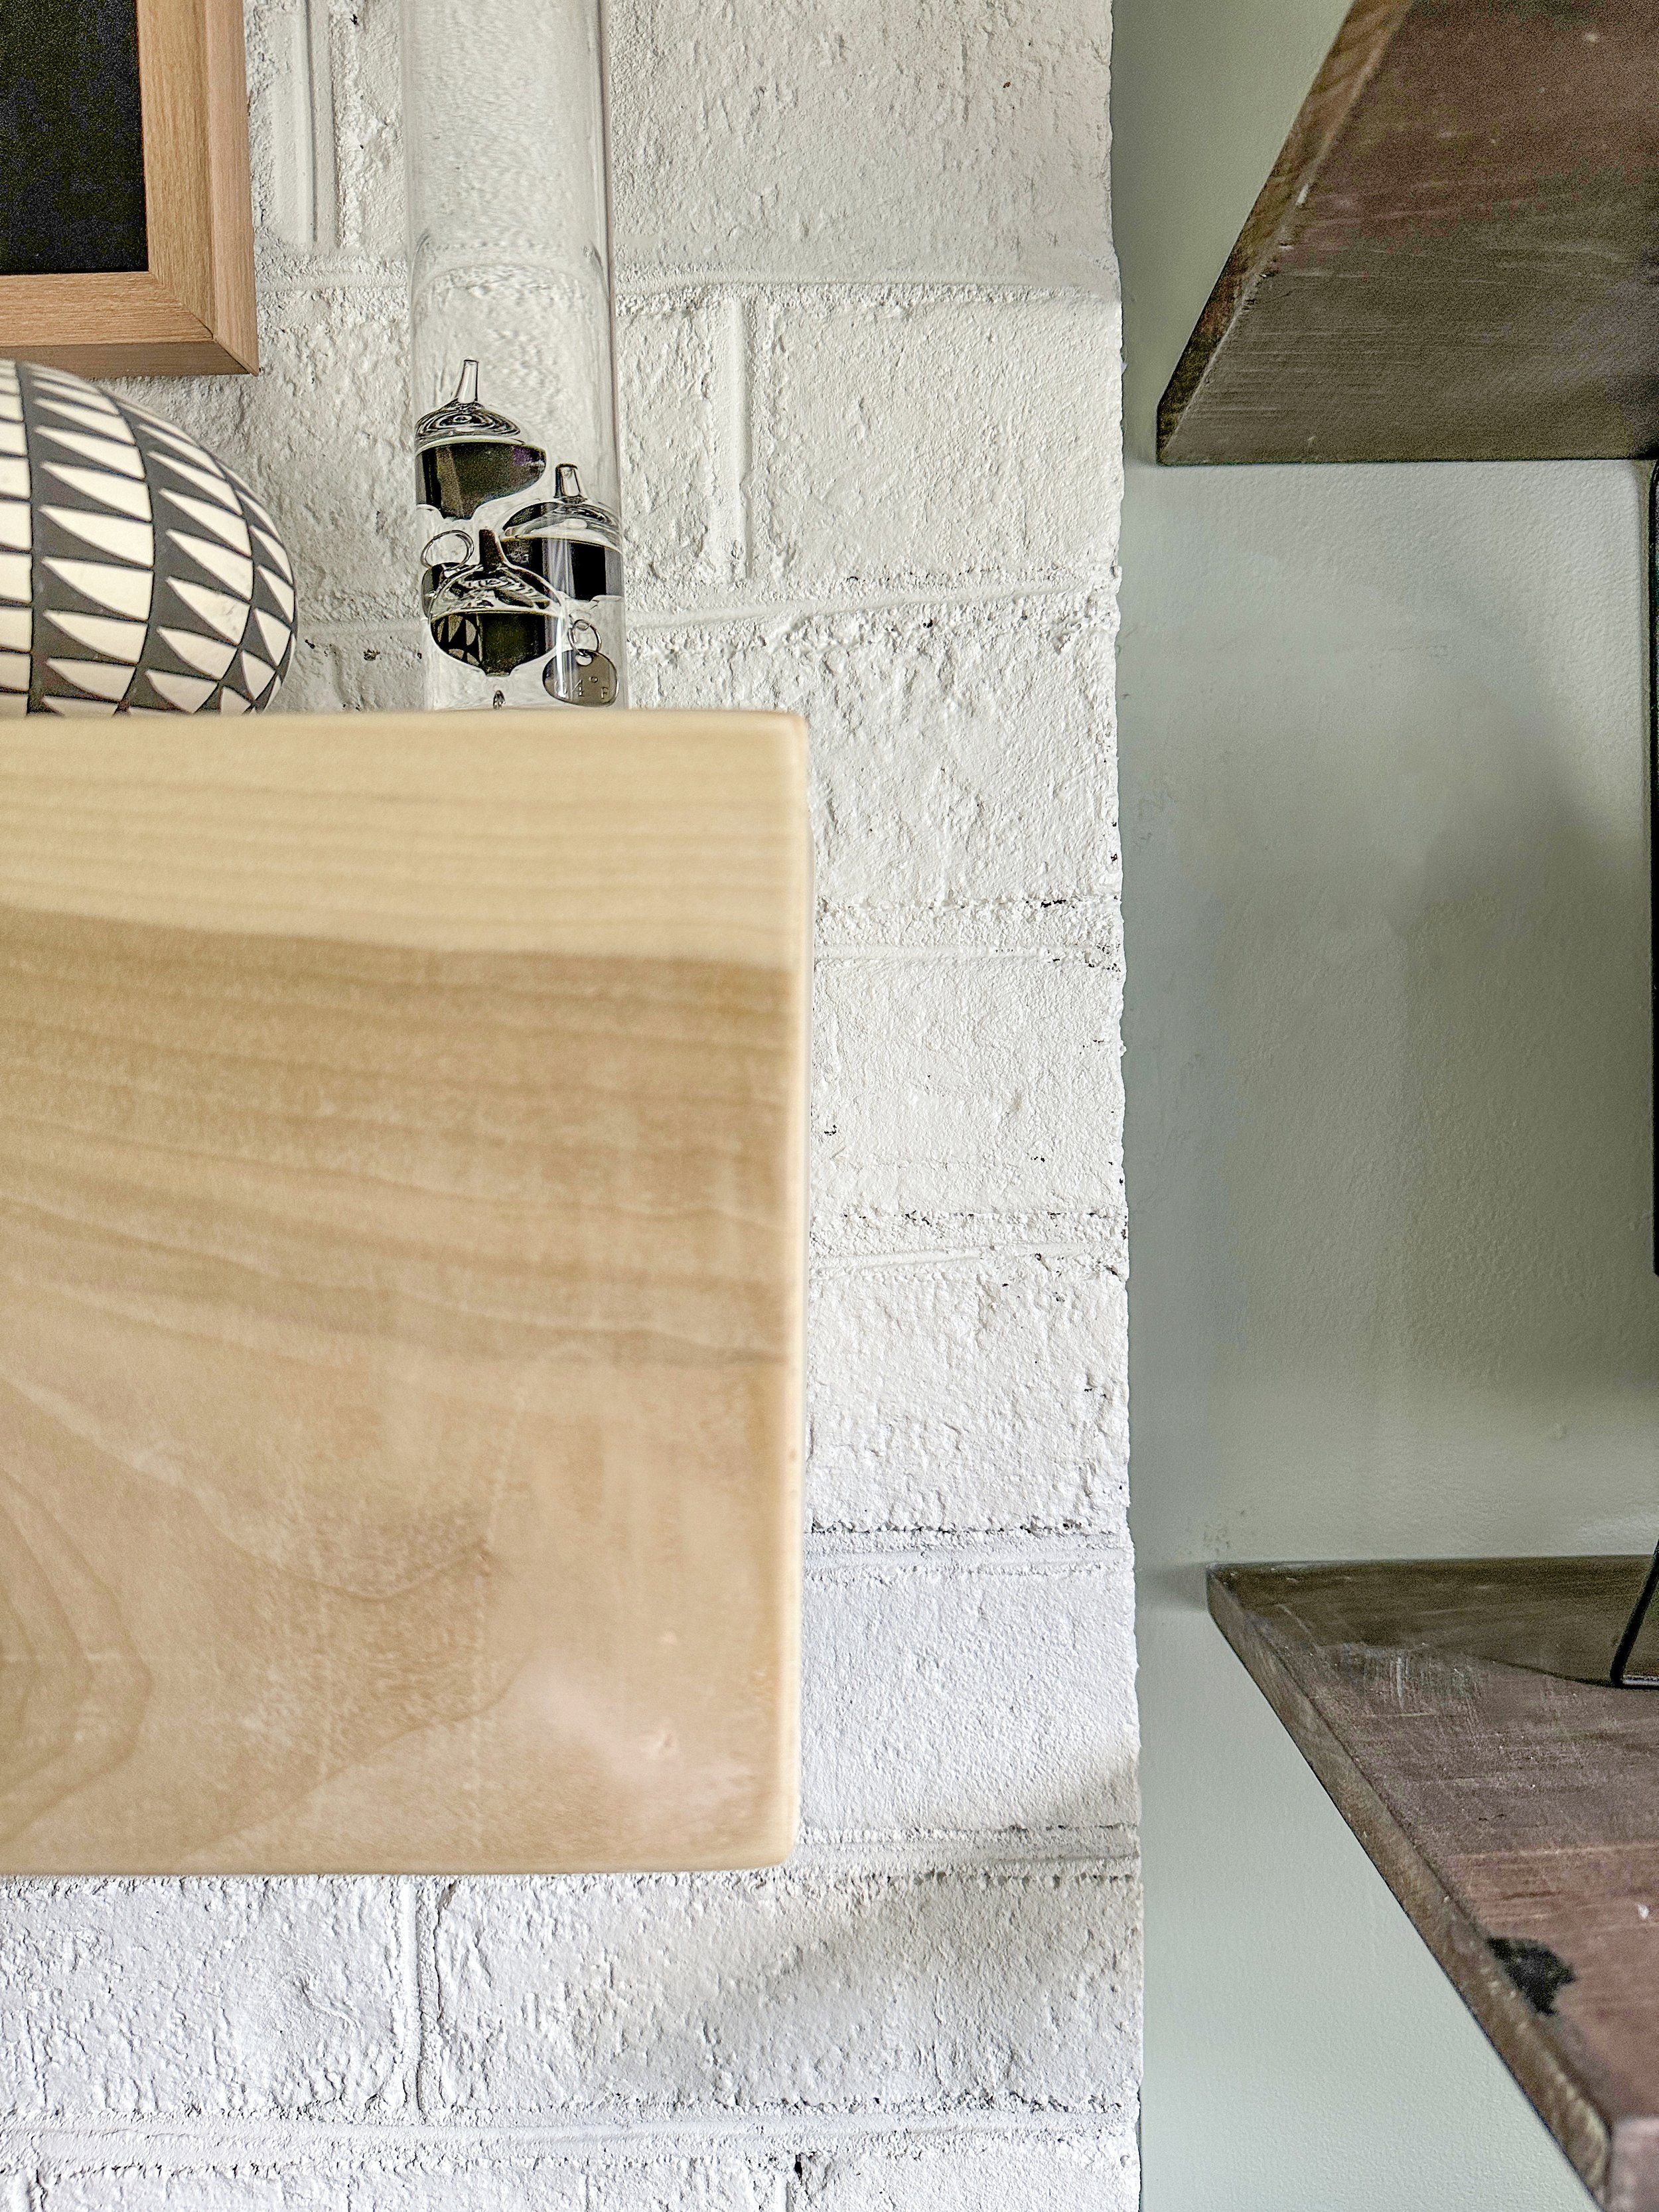
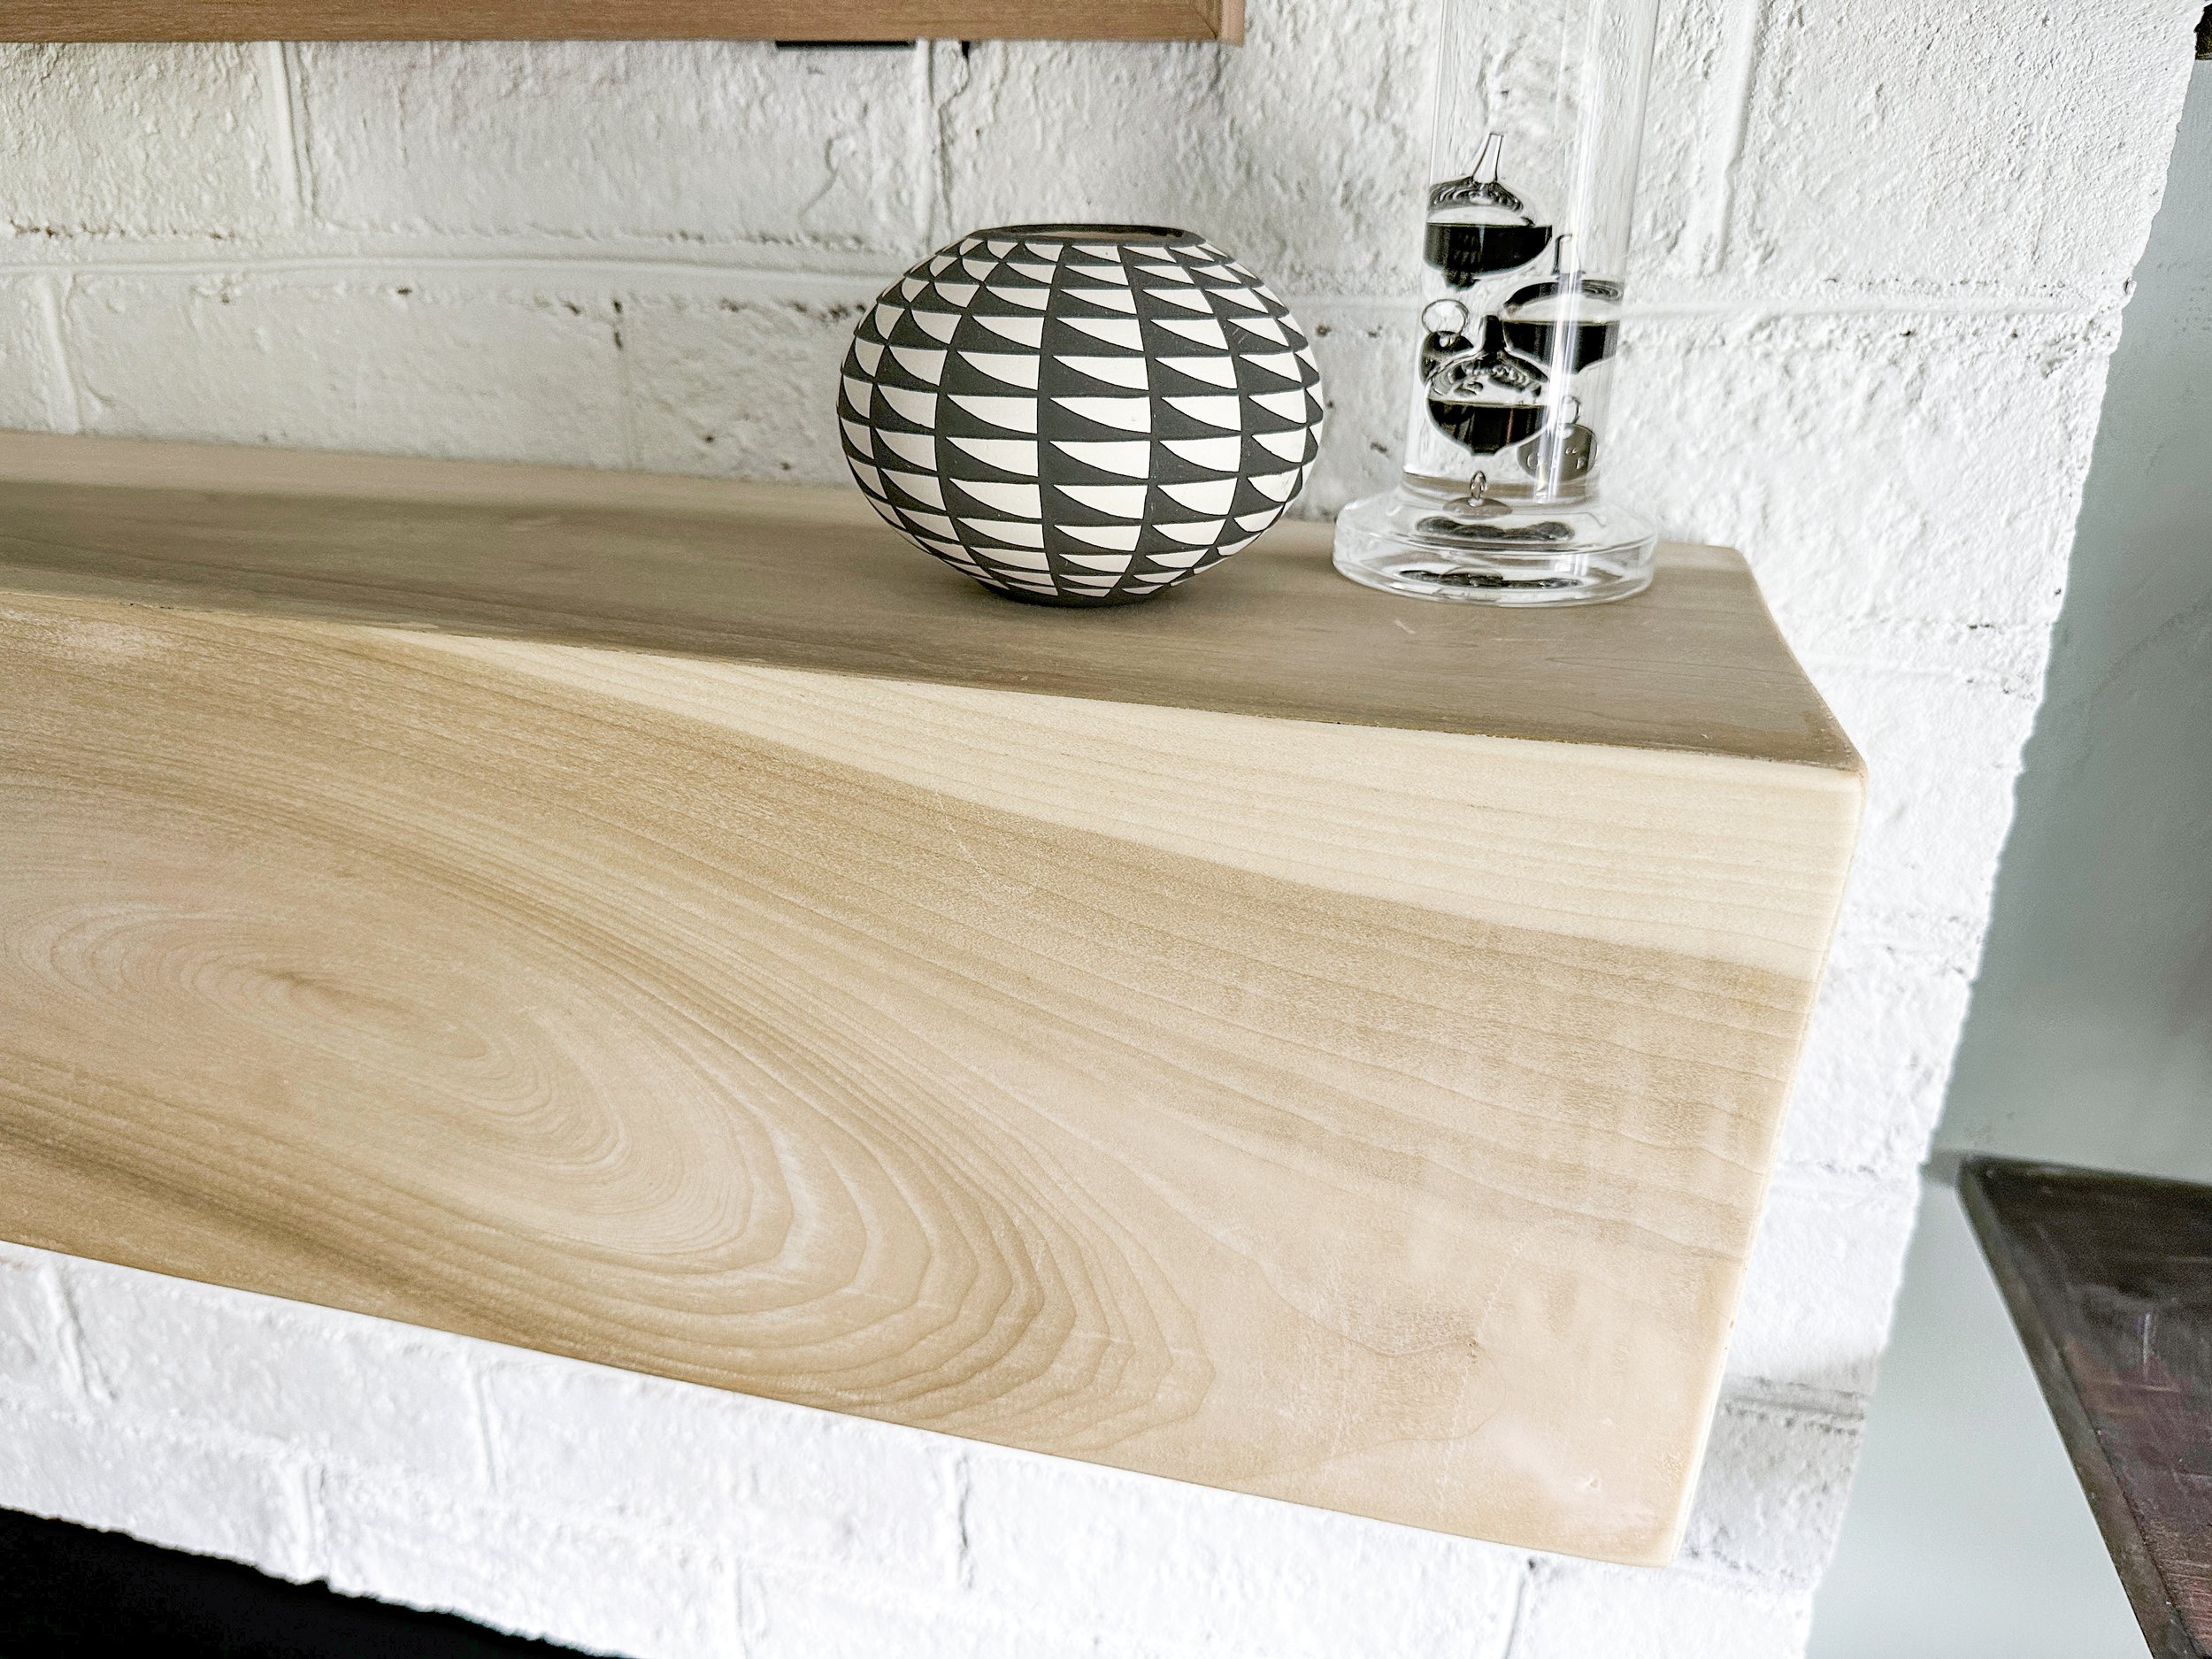
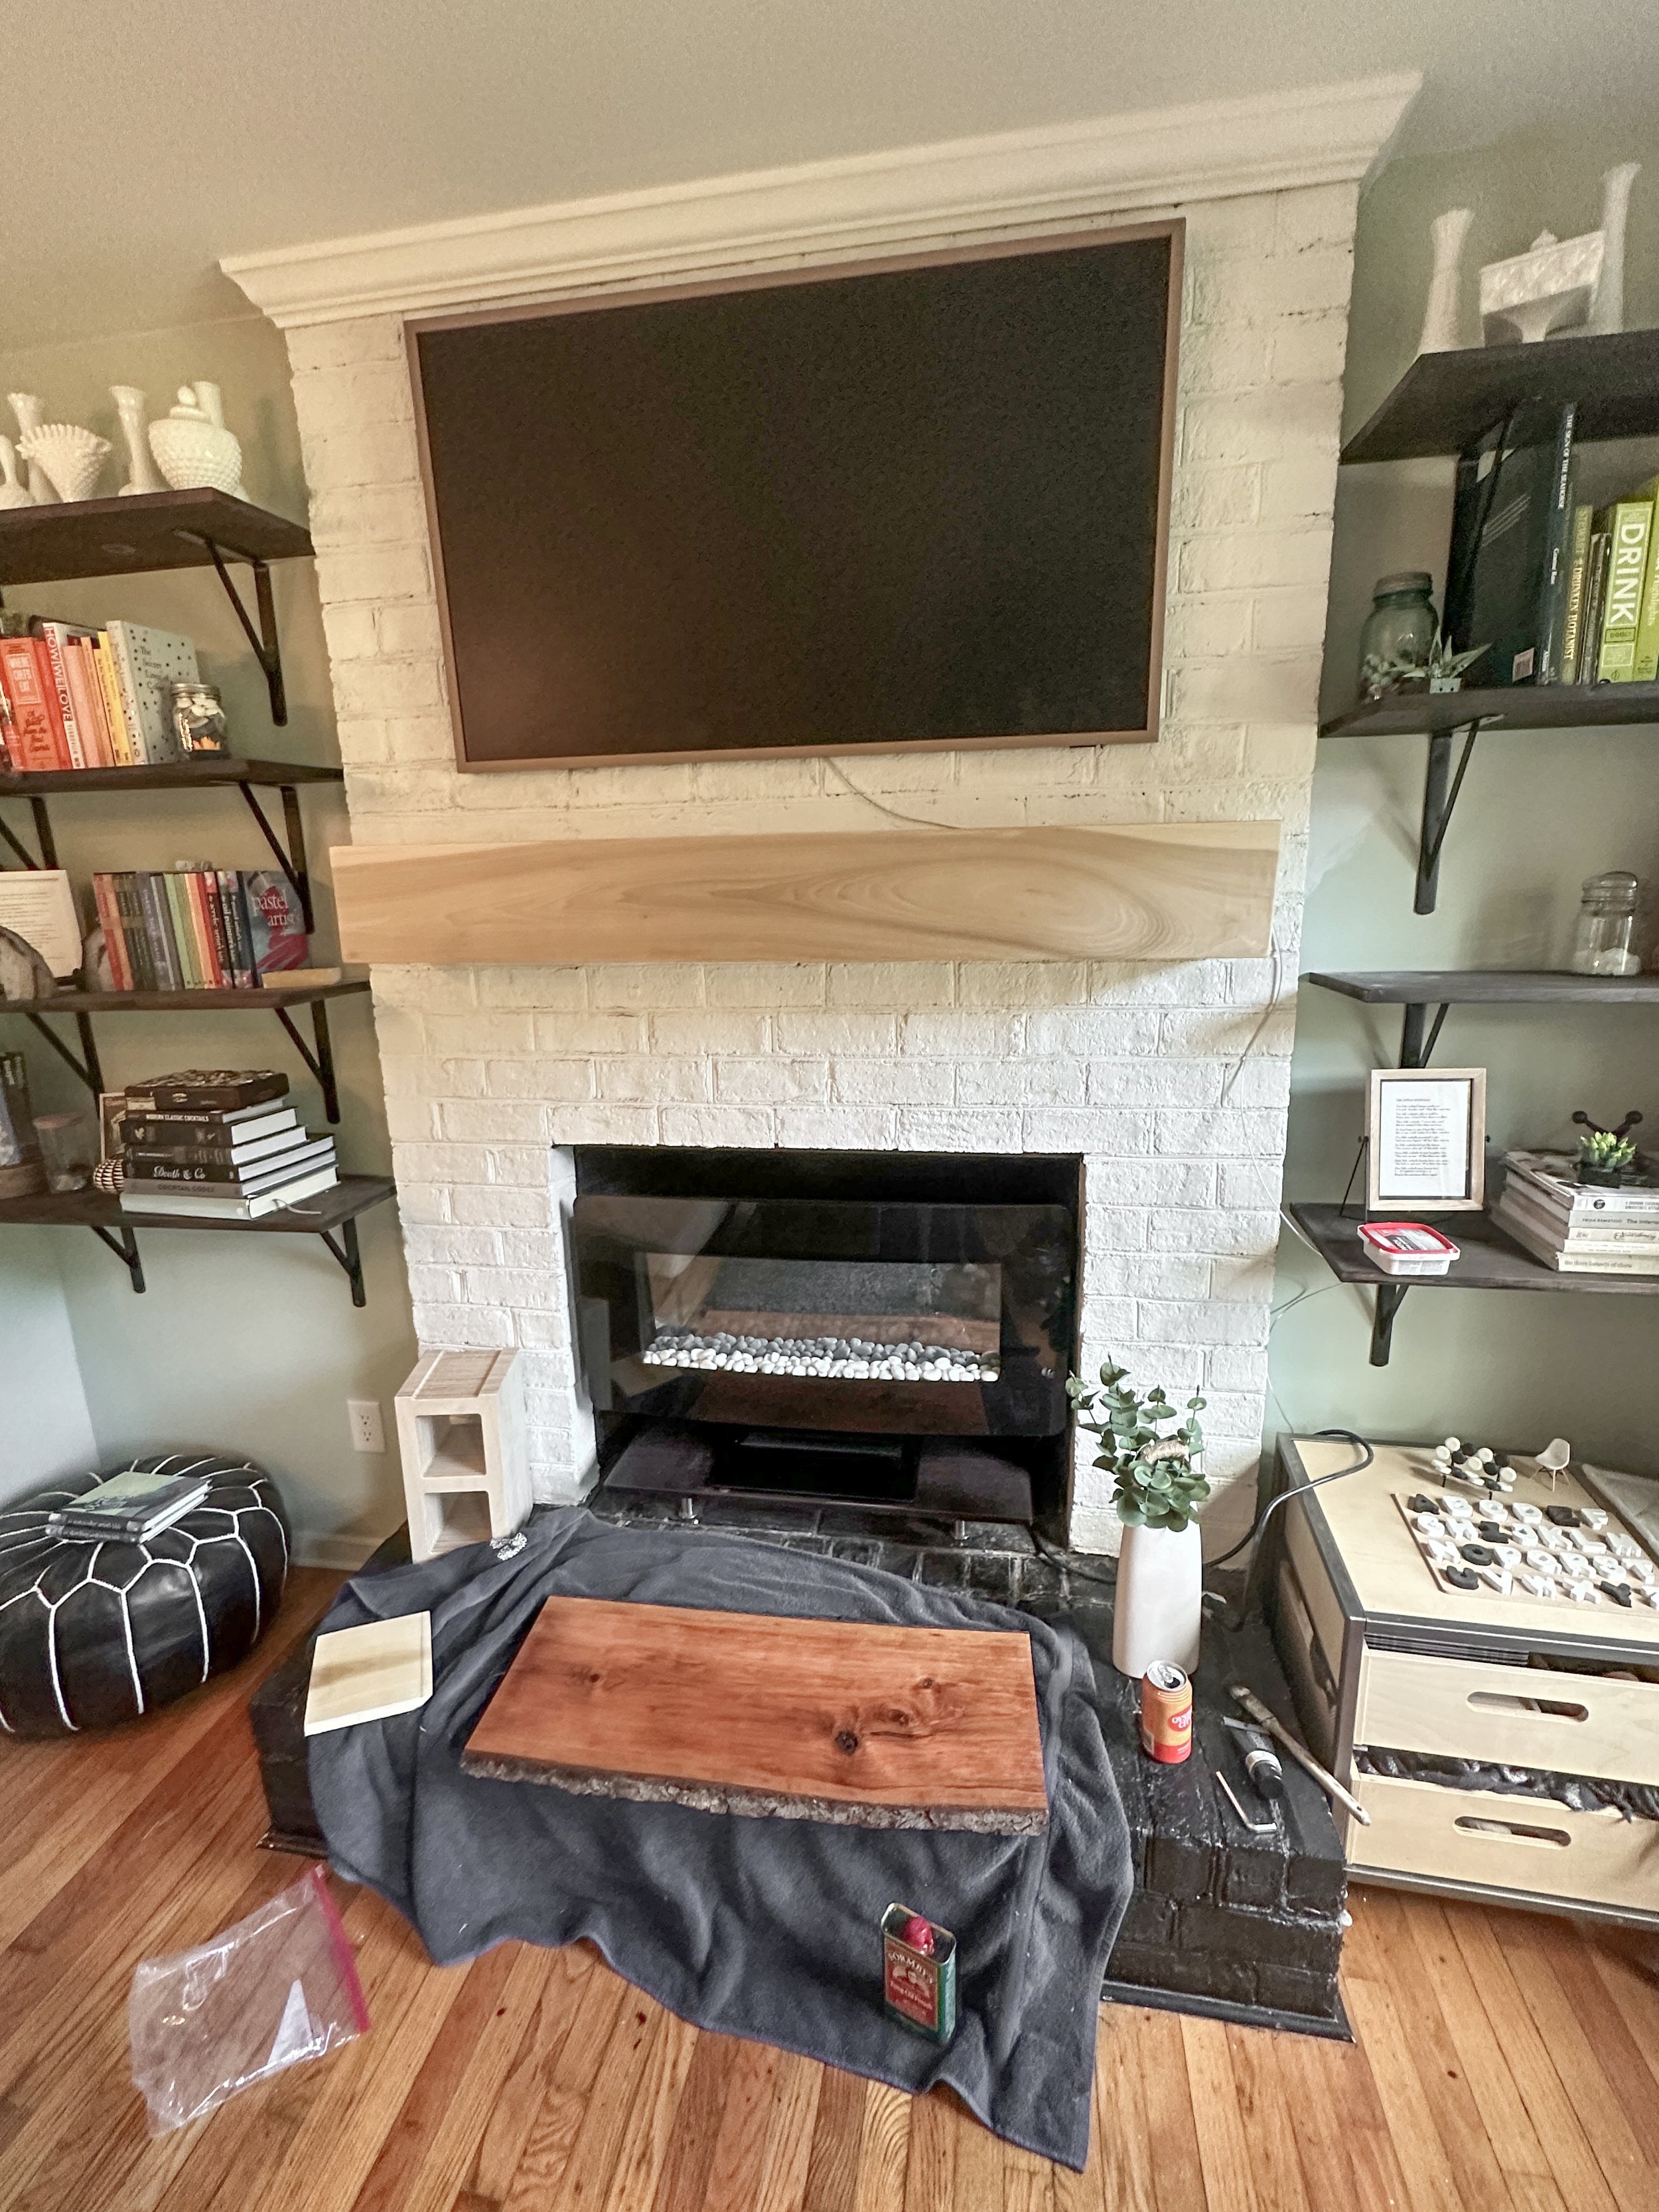
Since I had already painted, the new mantle was a breeze to instal. I had brick drilling tools already from hanging my television and it took me no time to level out this gorgeous work of art. I love how he kept the knot of the poplar on the front pane of the mantel!

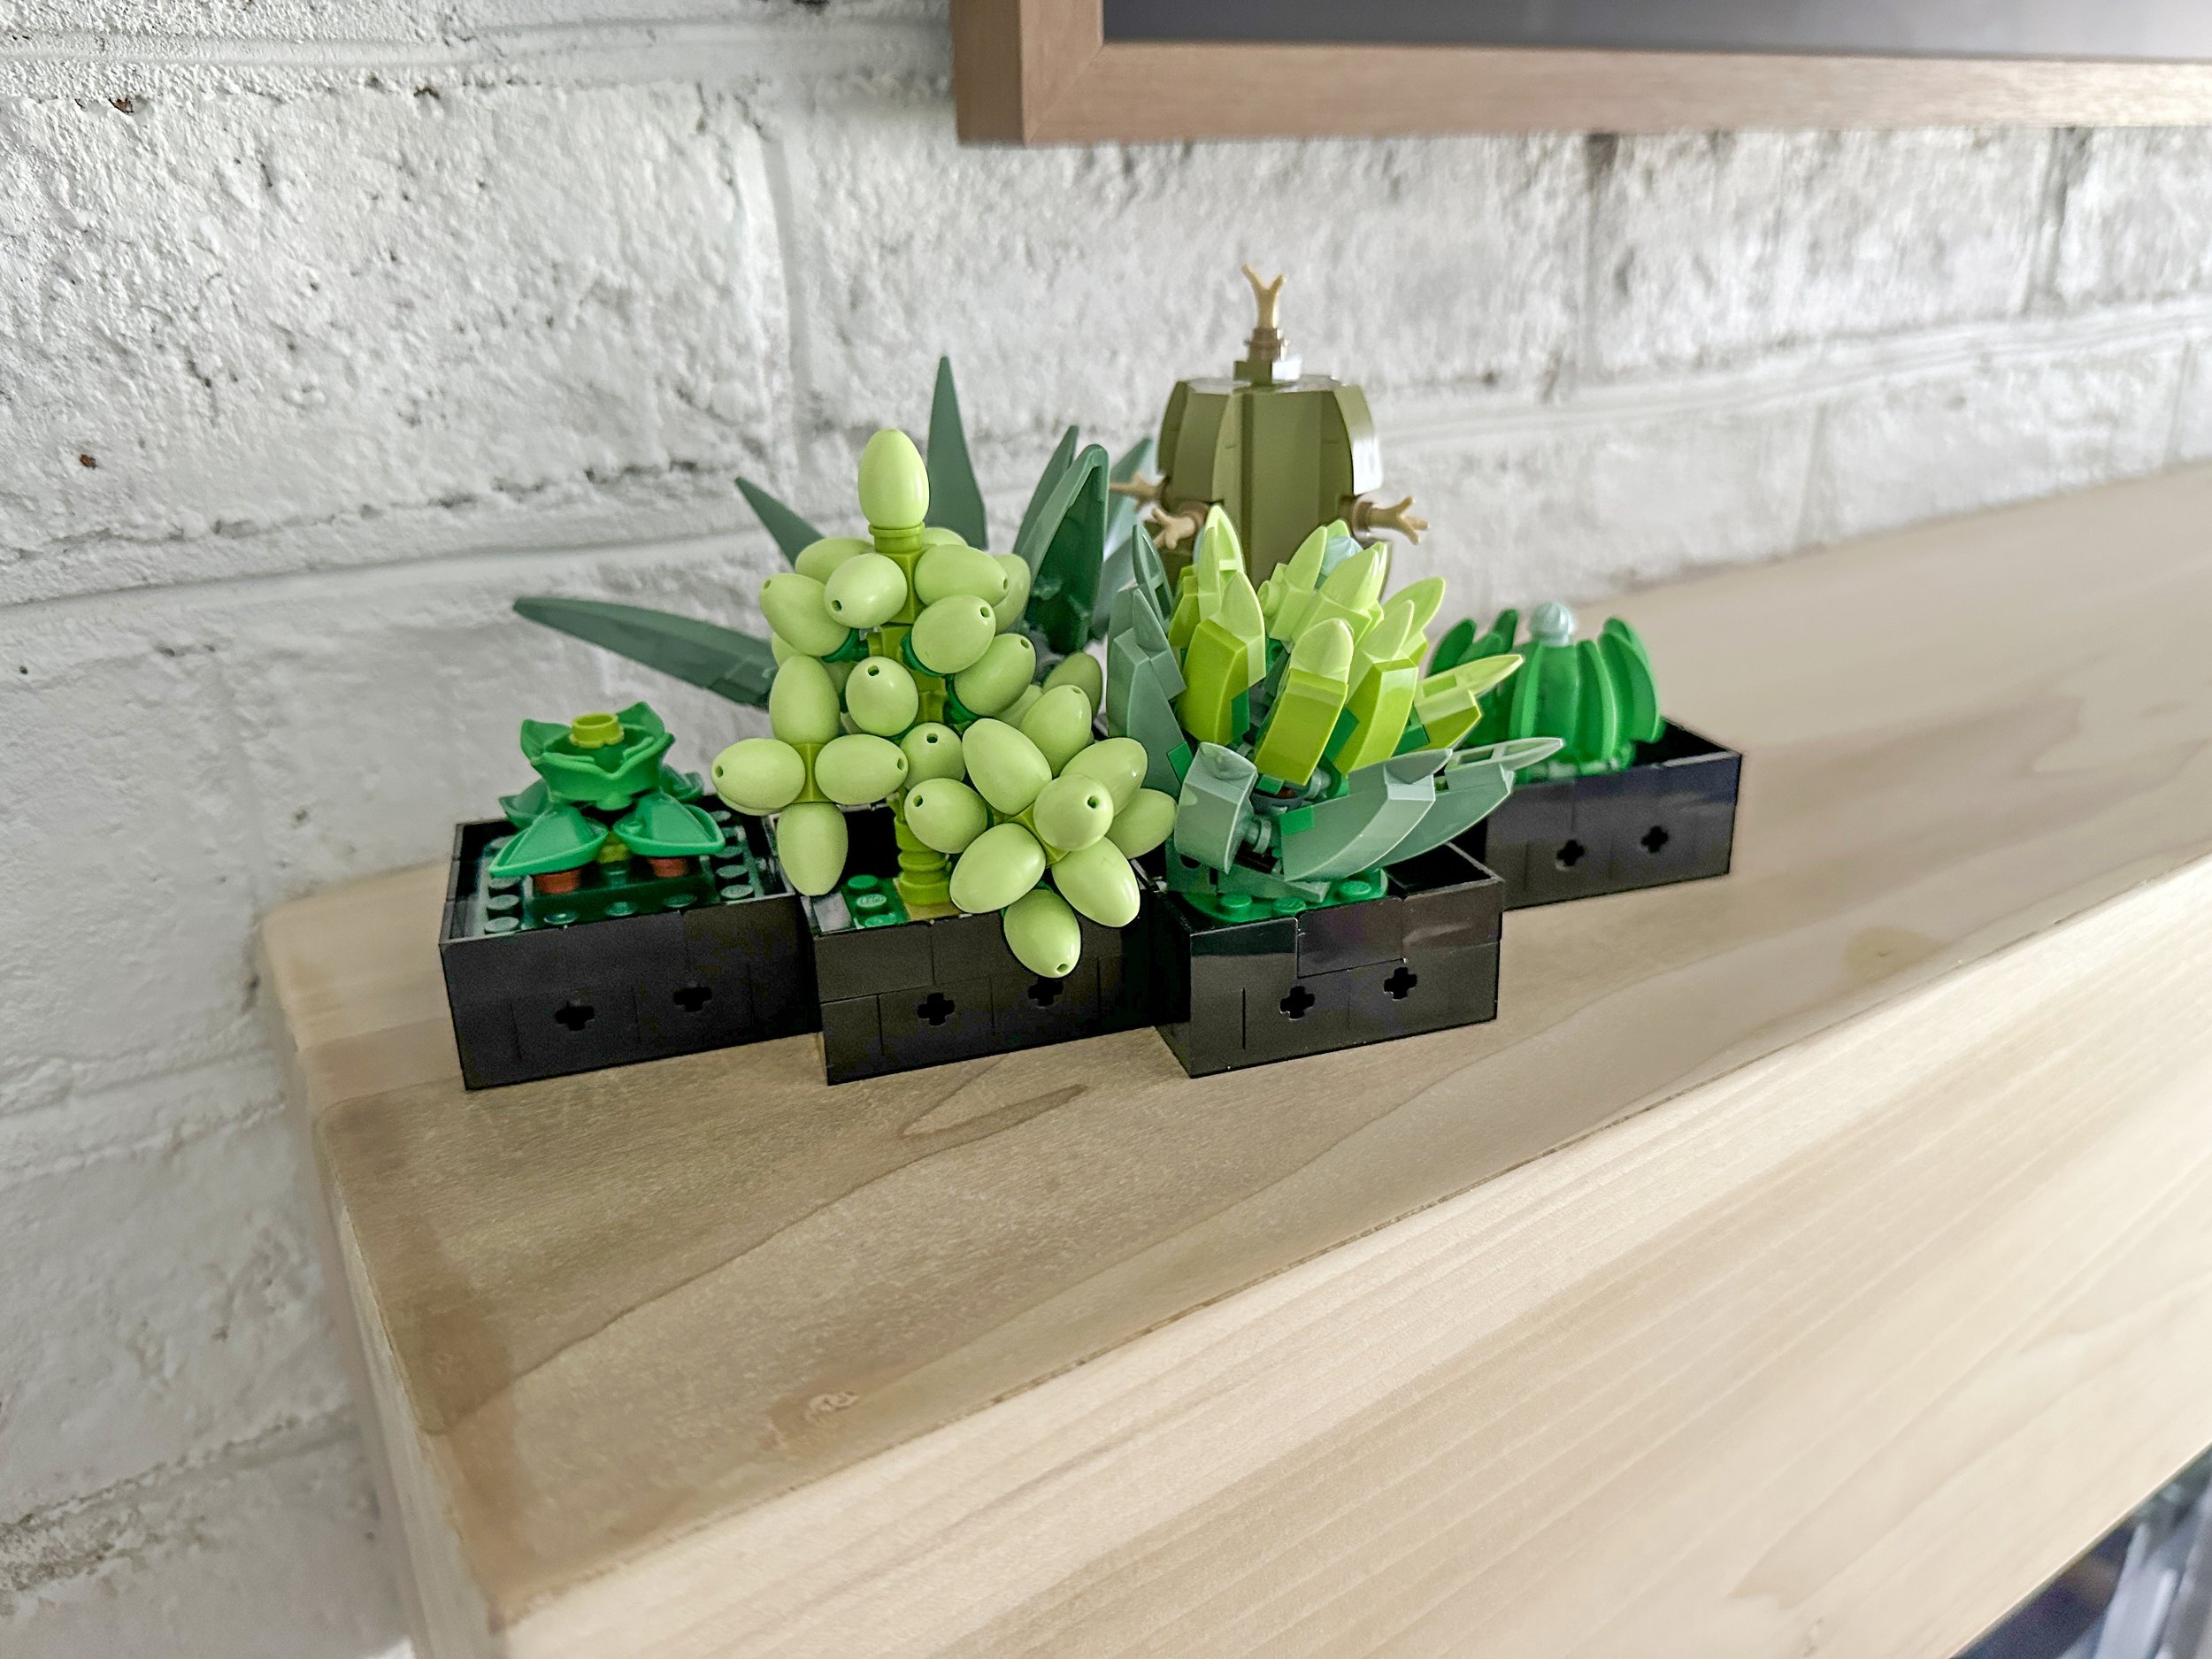
Right now it is just raw wood, but I hope to stain it ever so slightly when I refinish the floor. And check out my little lego succulents that are on it. They were a Christmas gift I finally put them all together when I knew they would look nice popping off the wood.
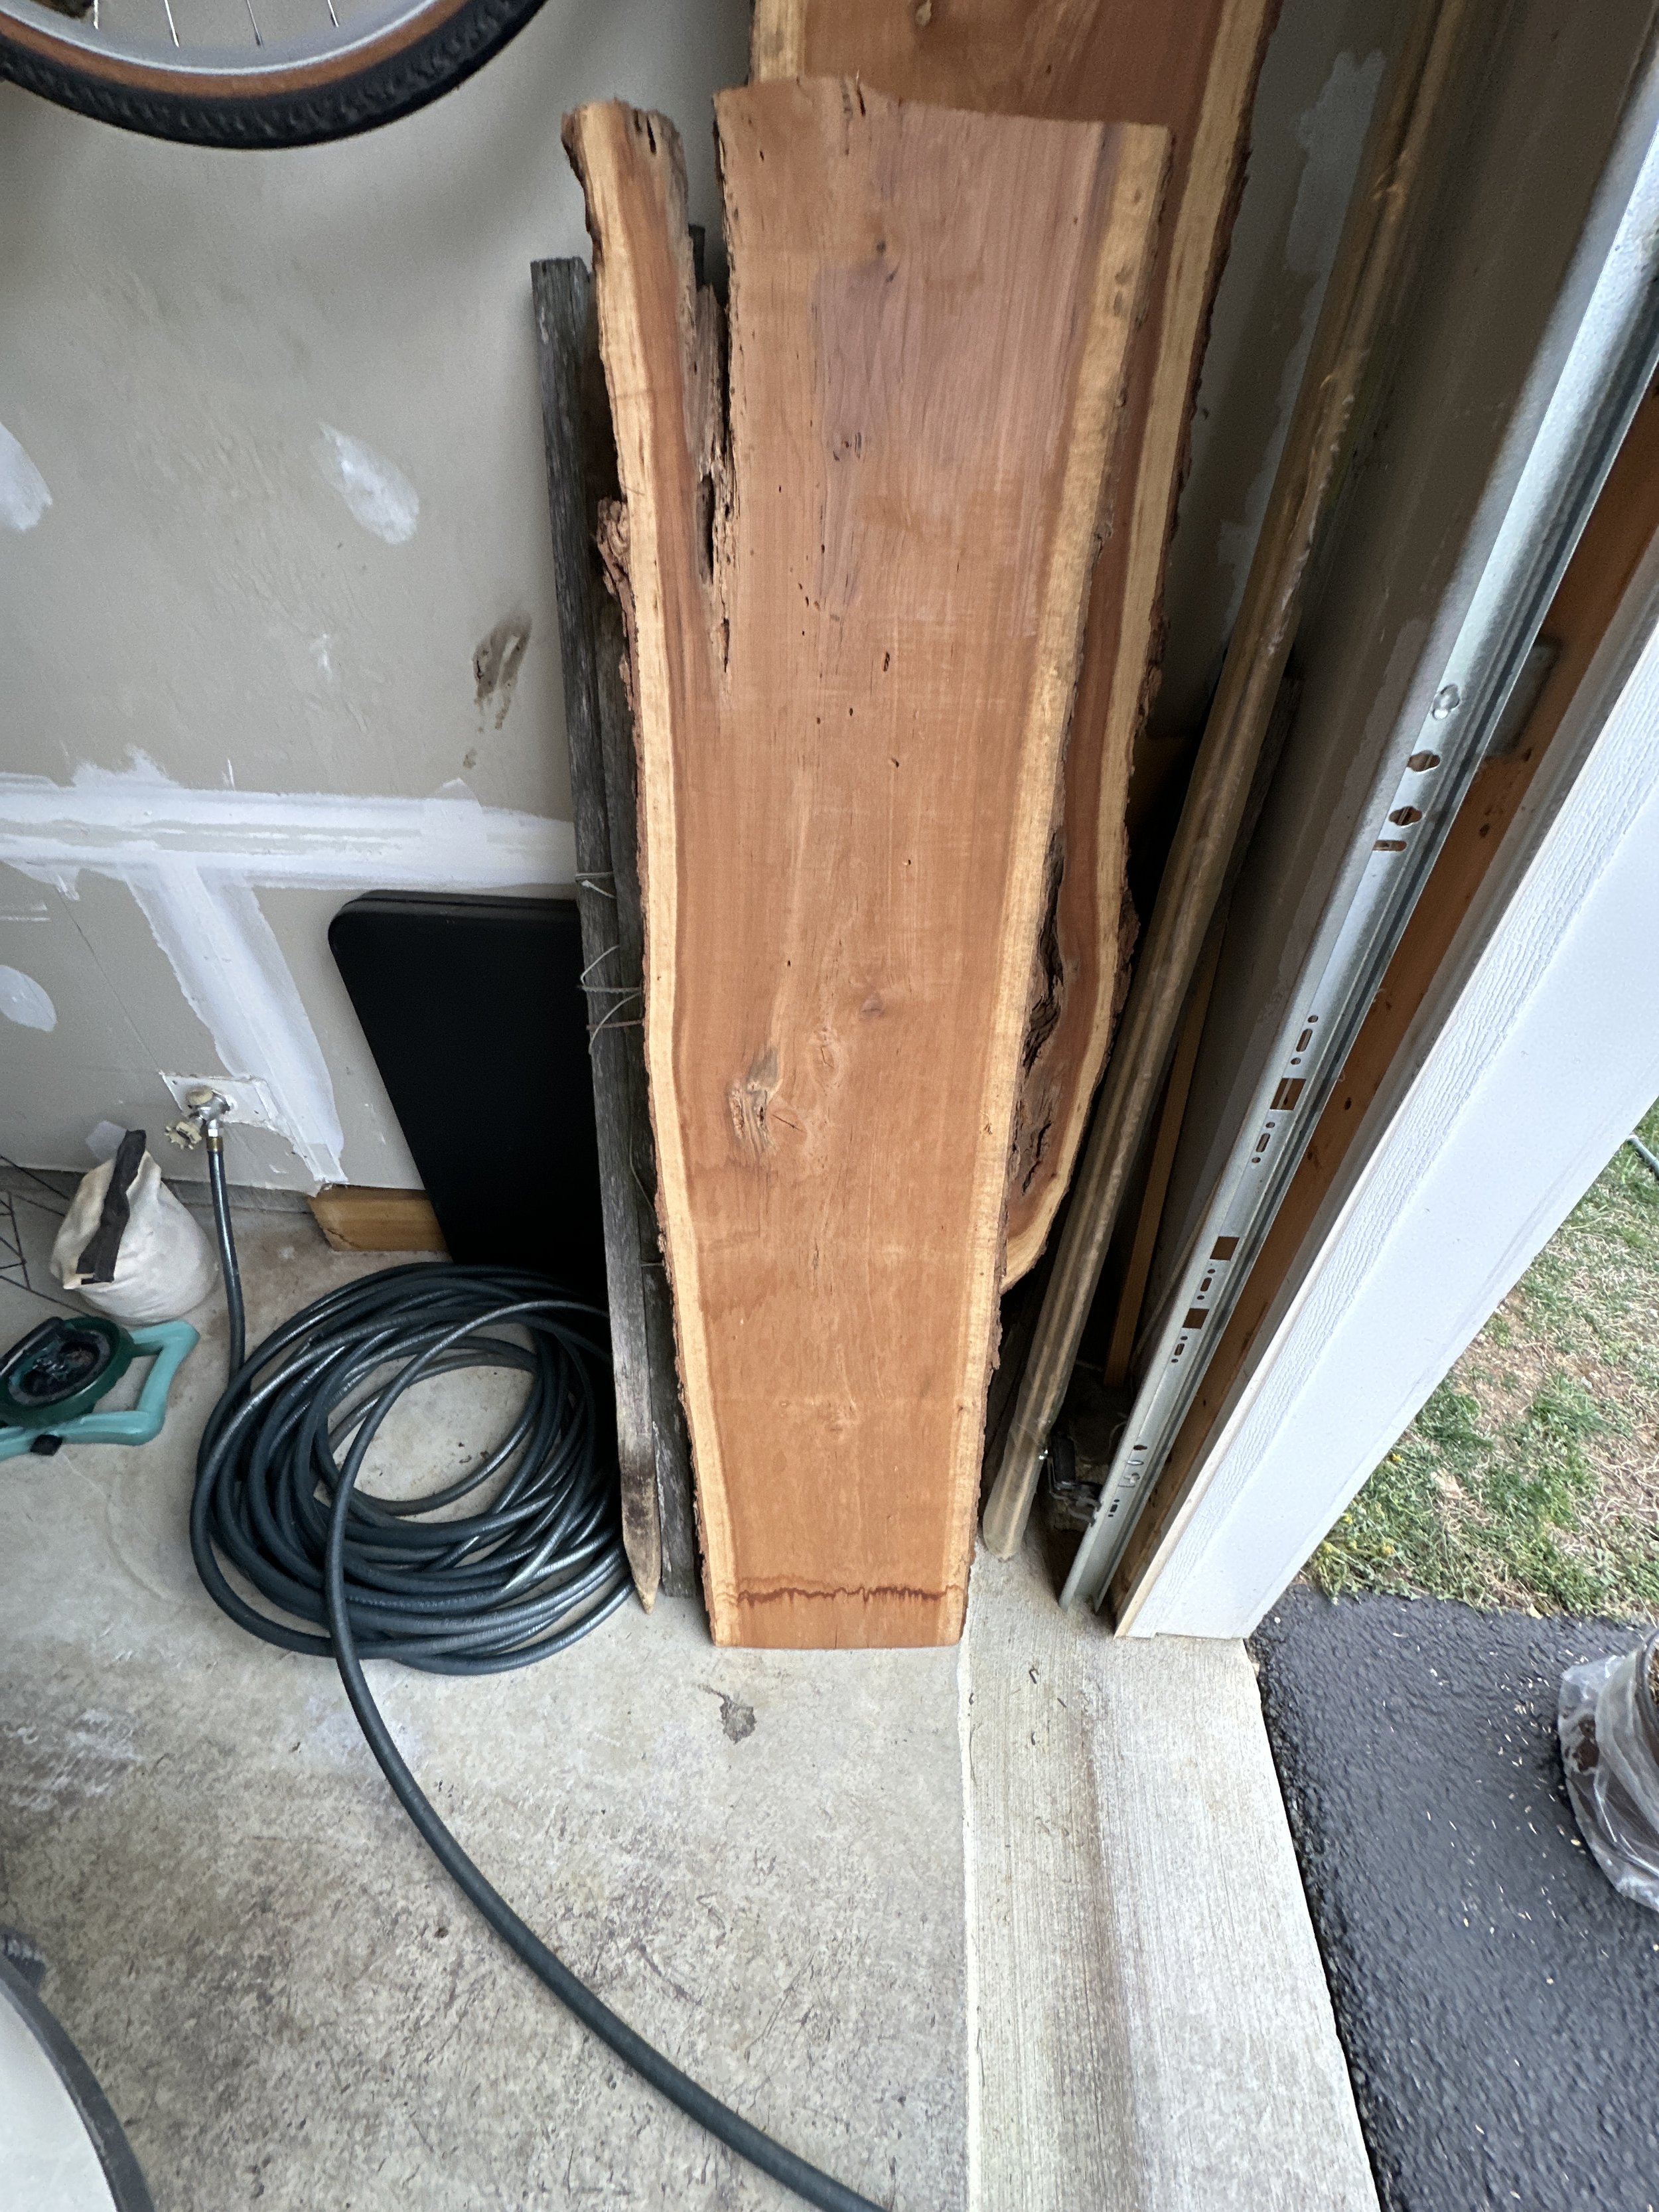
The other adjustment I had to make for the space was near my couch. I had use a circular end table there previously but needed to move it when my other storage bench needed to be placed under the new shelves (its hiding a bunch of cable equipment and cords!). I had some leftover cherry wood from a tree that fell in my yard and asked my dad to cut a slice for me.
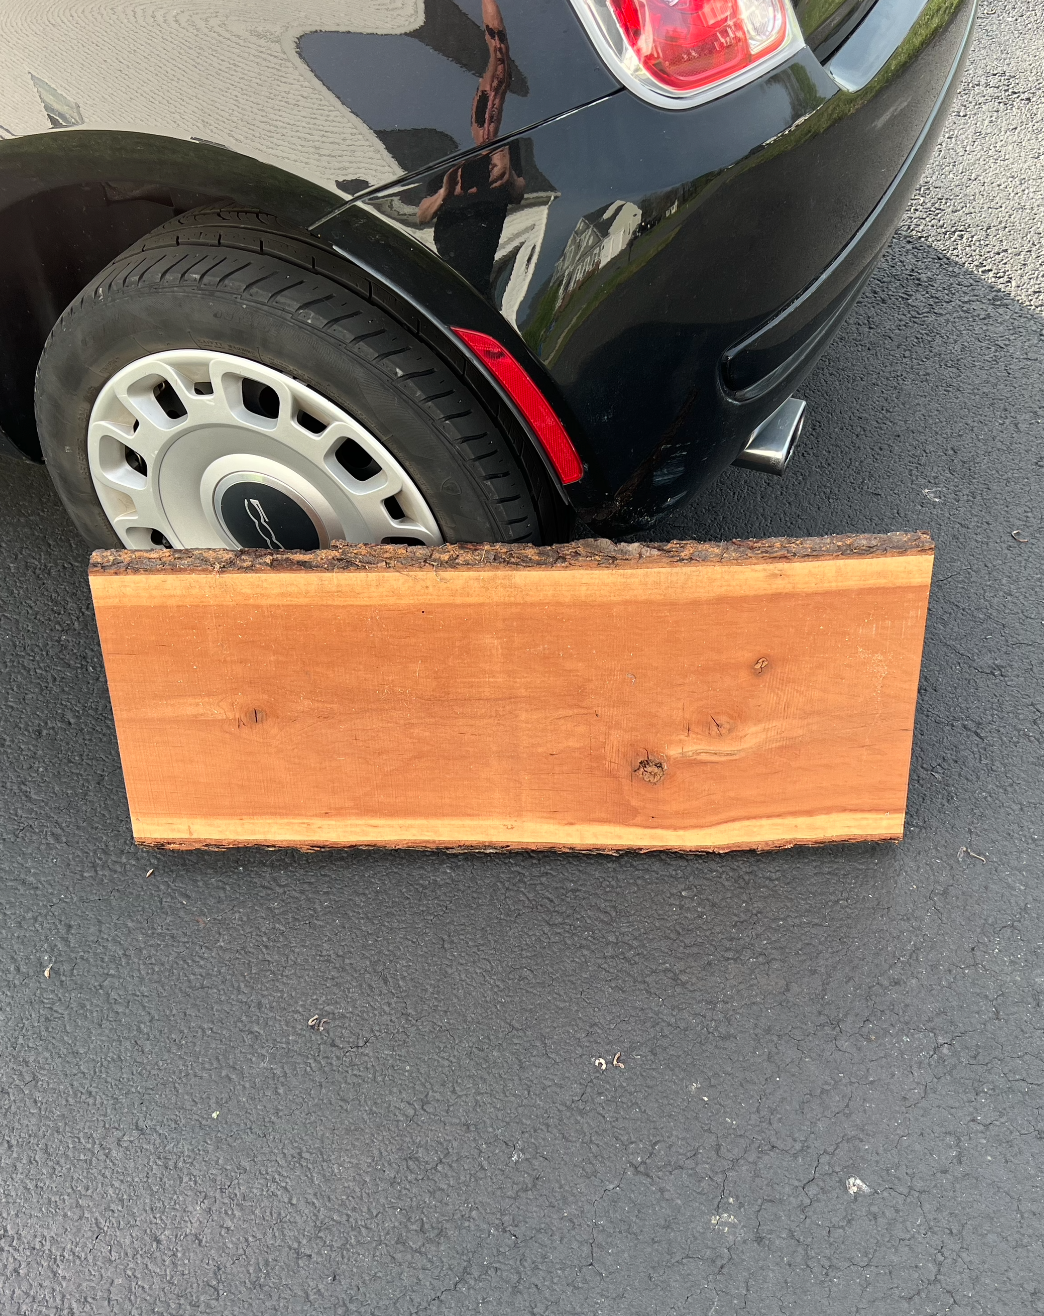
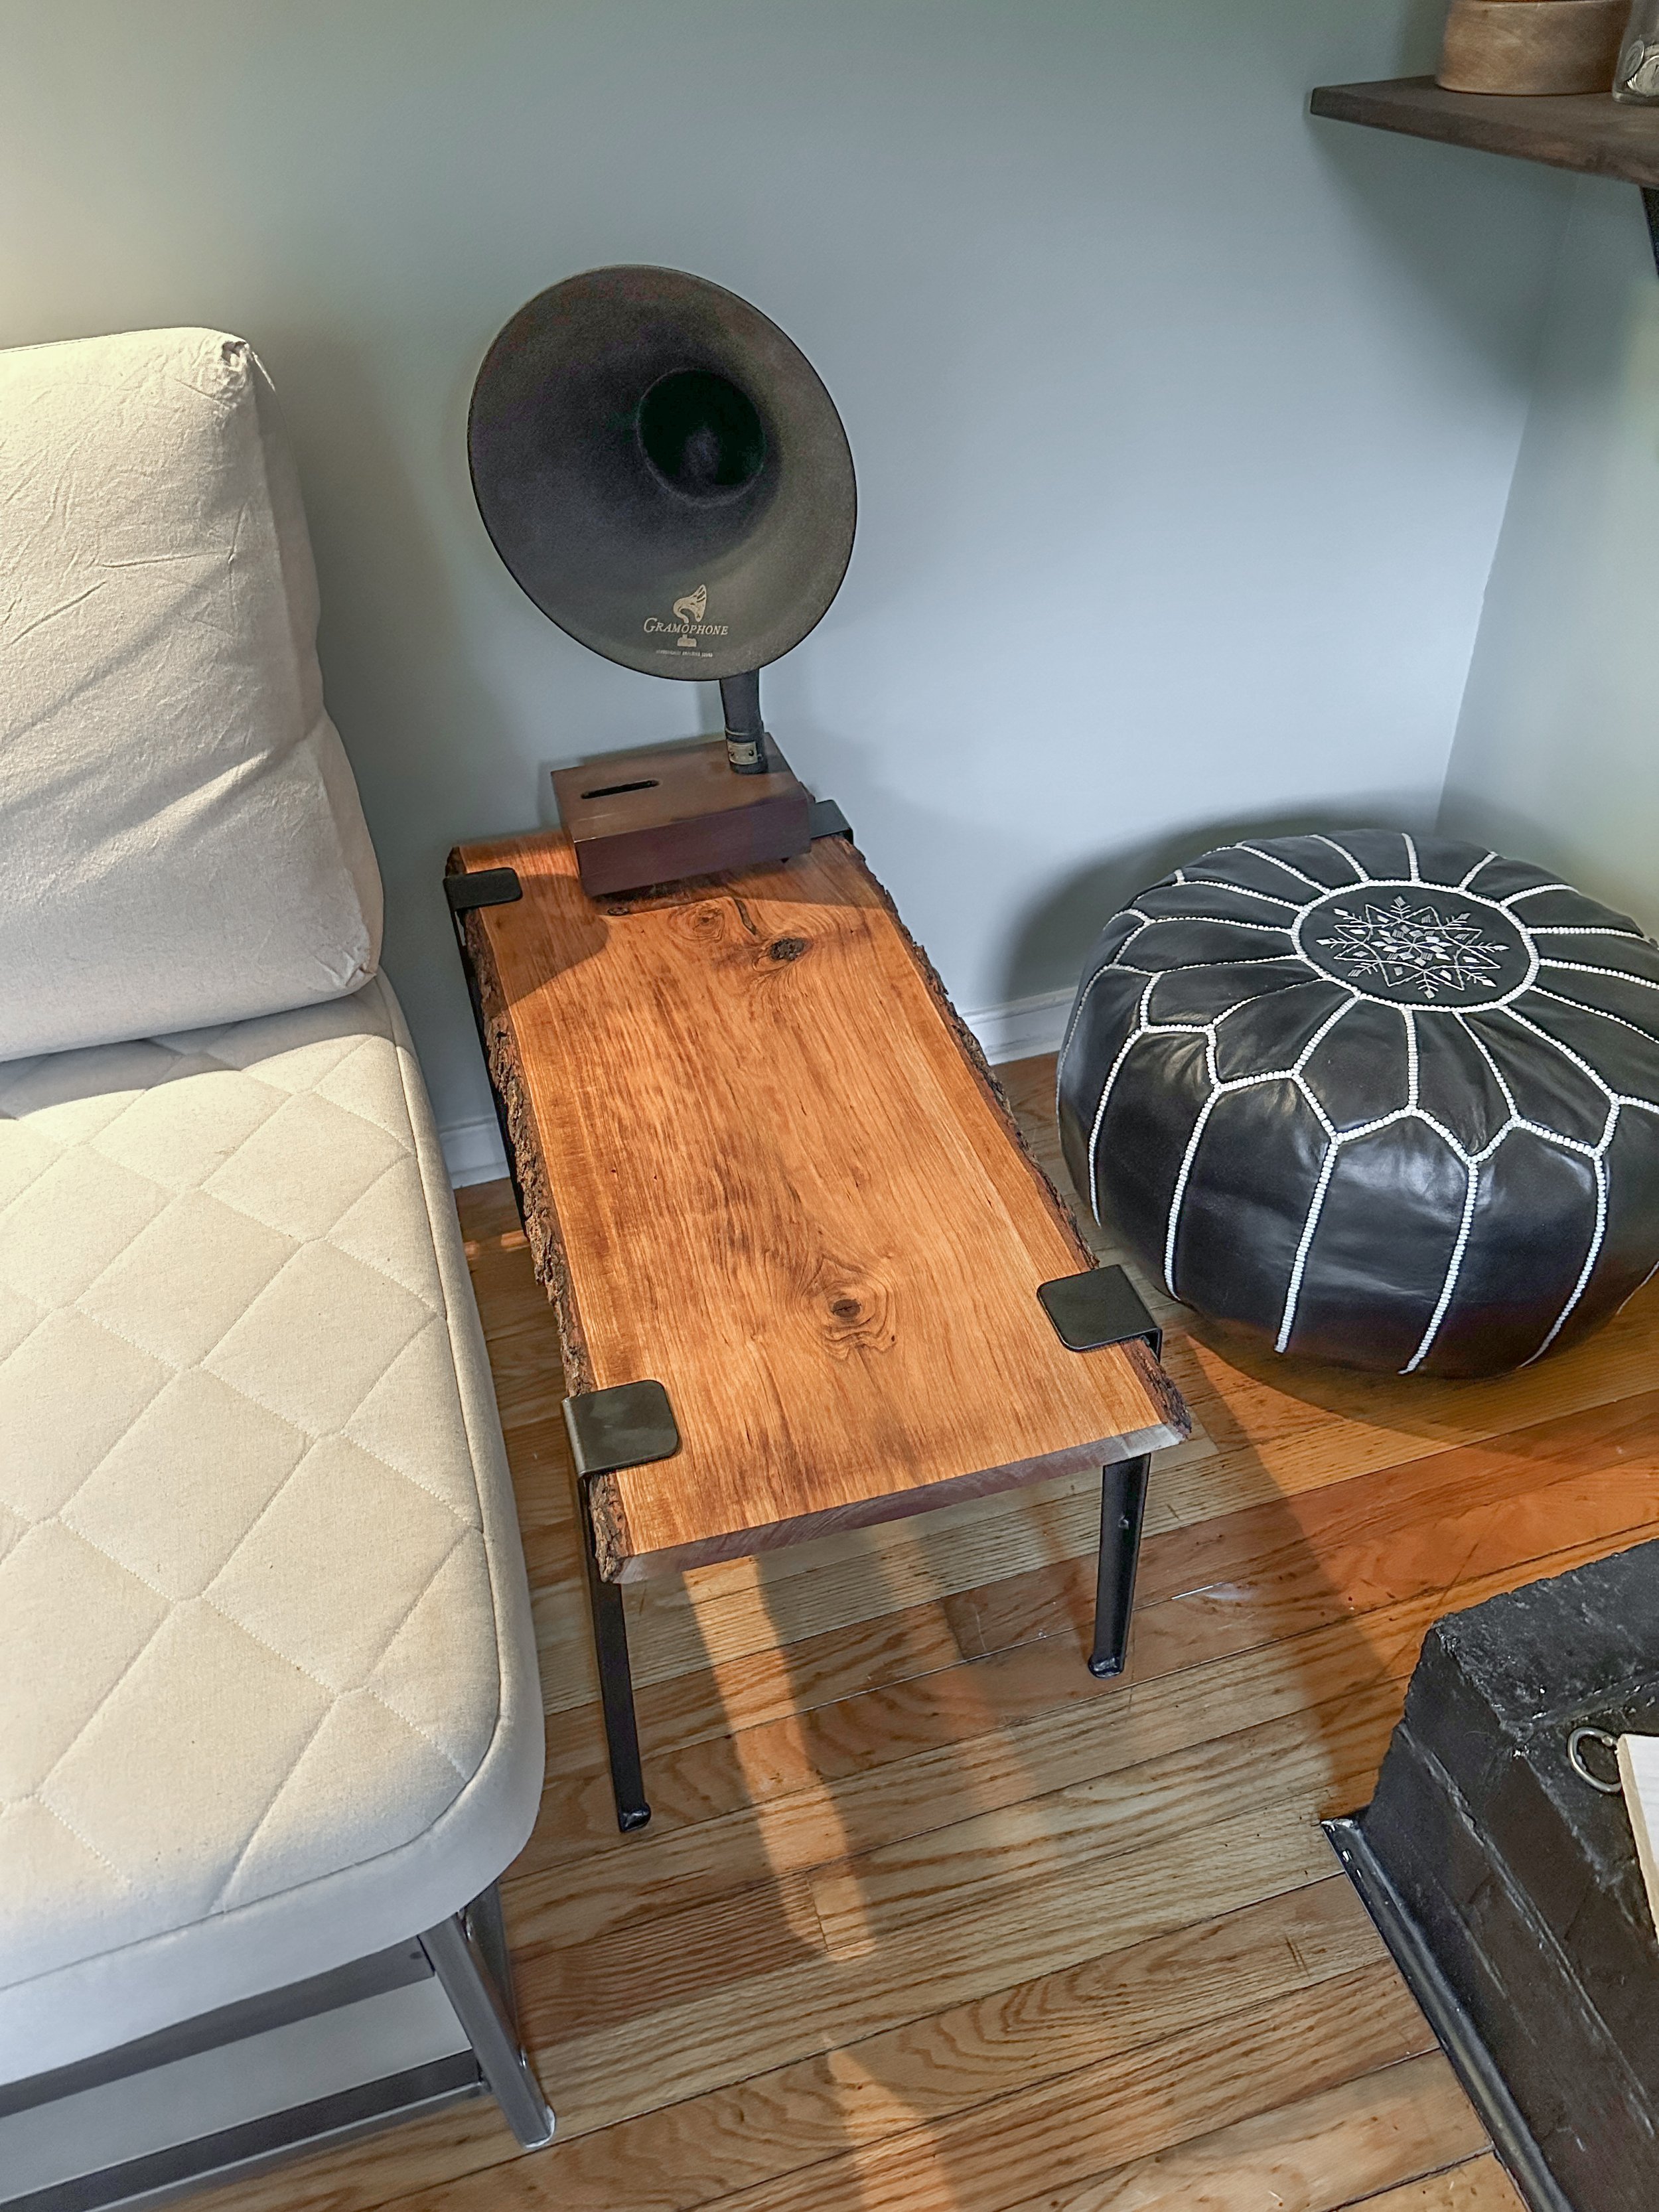
I stained it with simple tung oil to really let the cherry color shine. Then I affixed minimal steel legs that I can reattach to anything or move around if I want to cut it shorter in time. I am very happy to pull a live edge into this room to match the one in my kitchen.

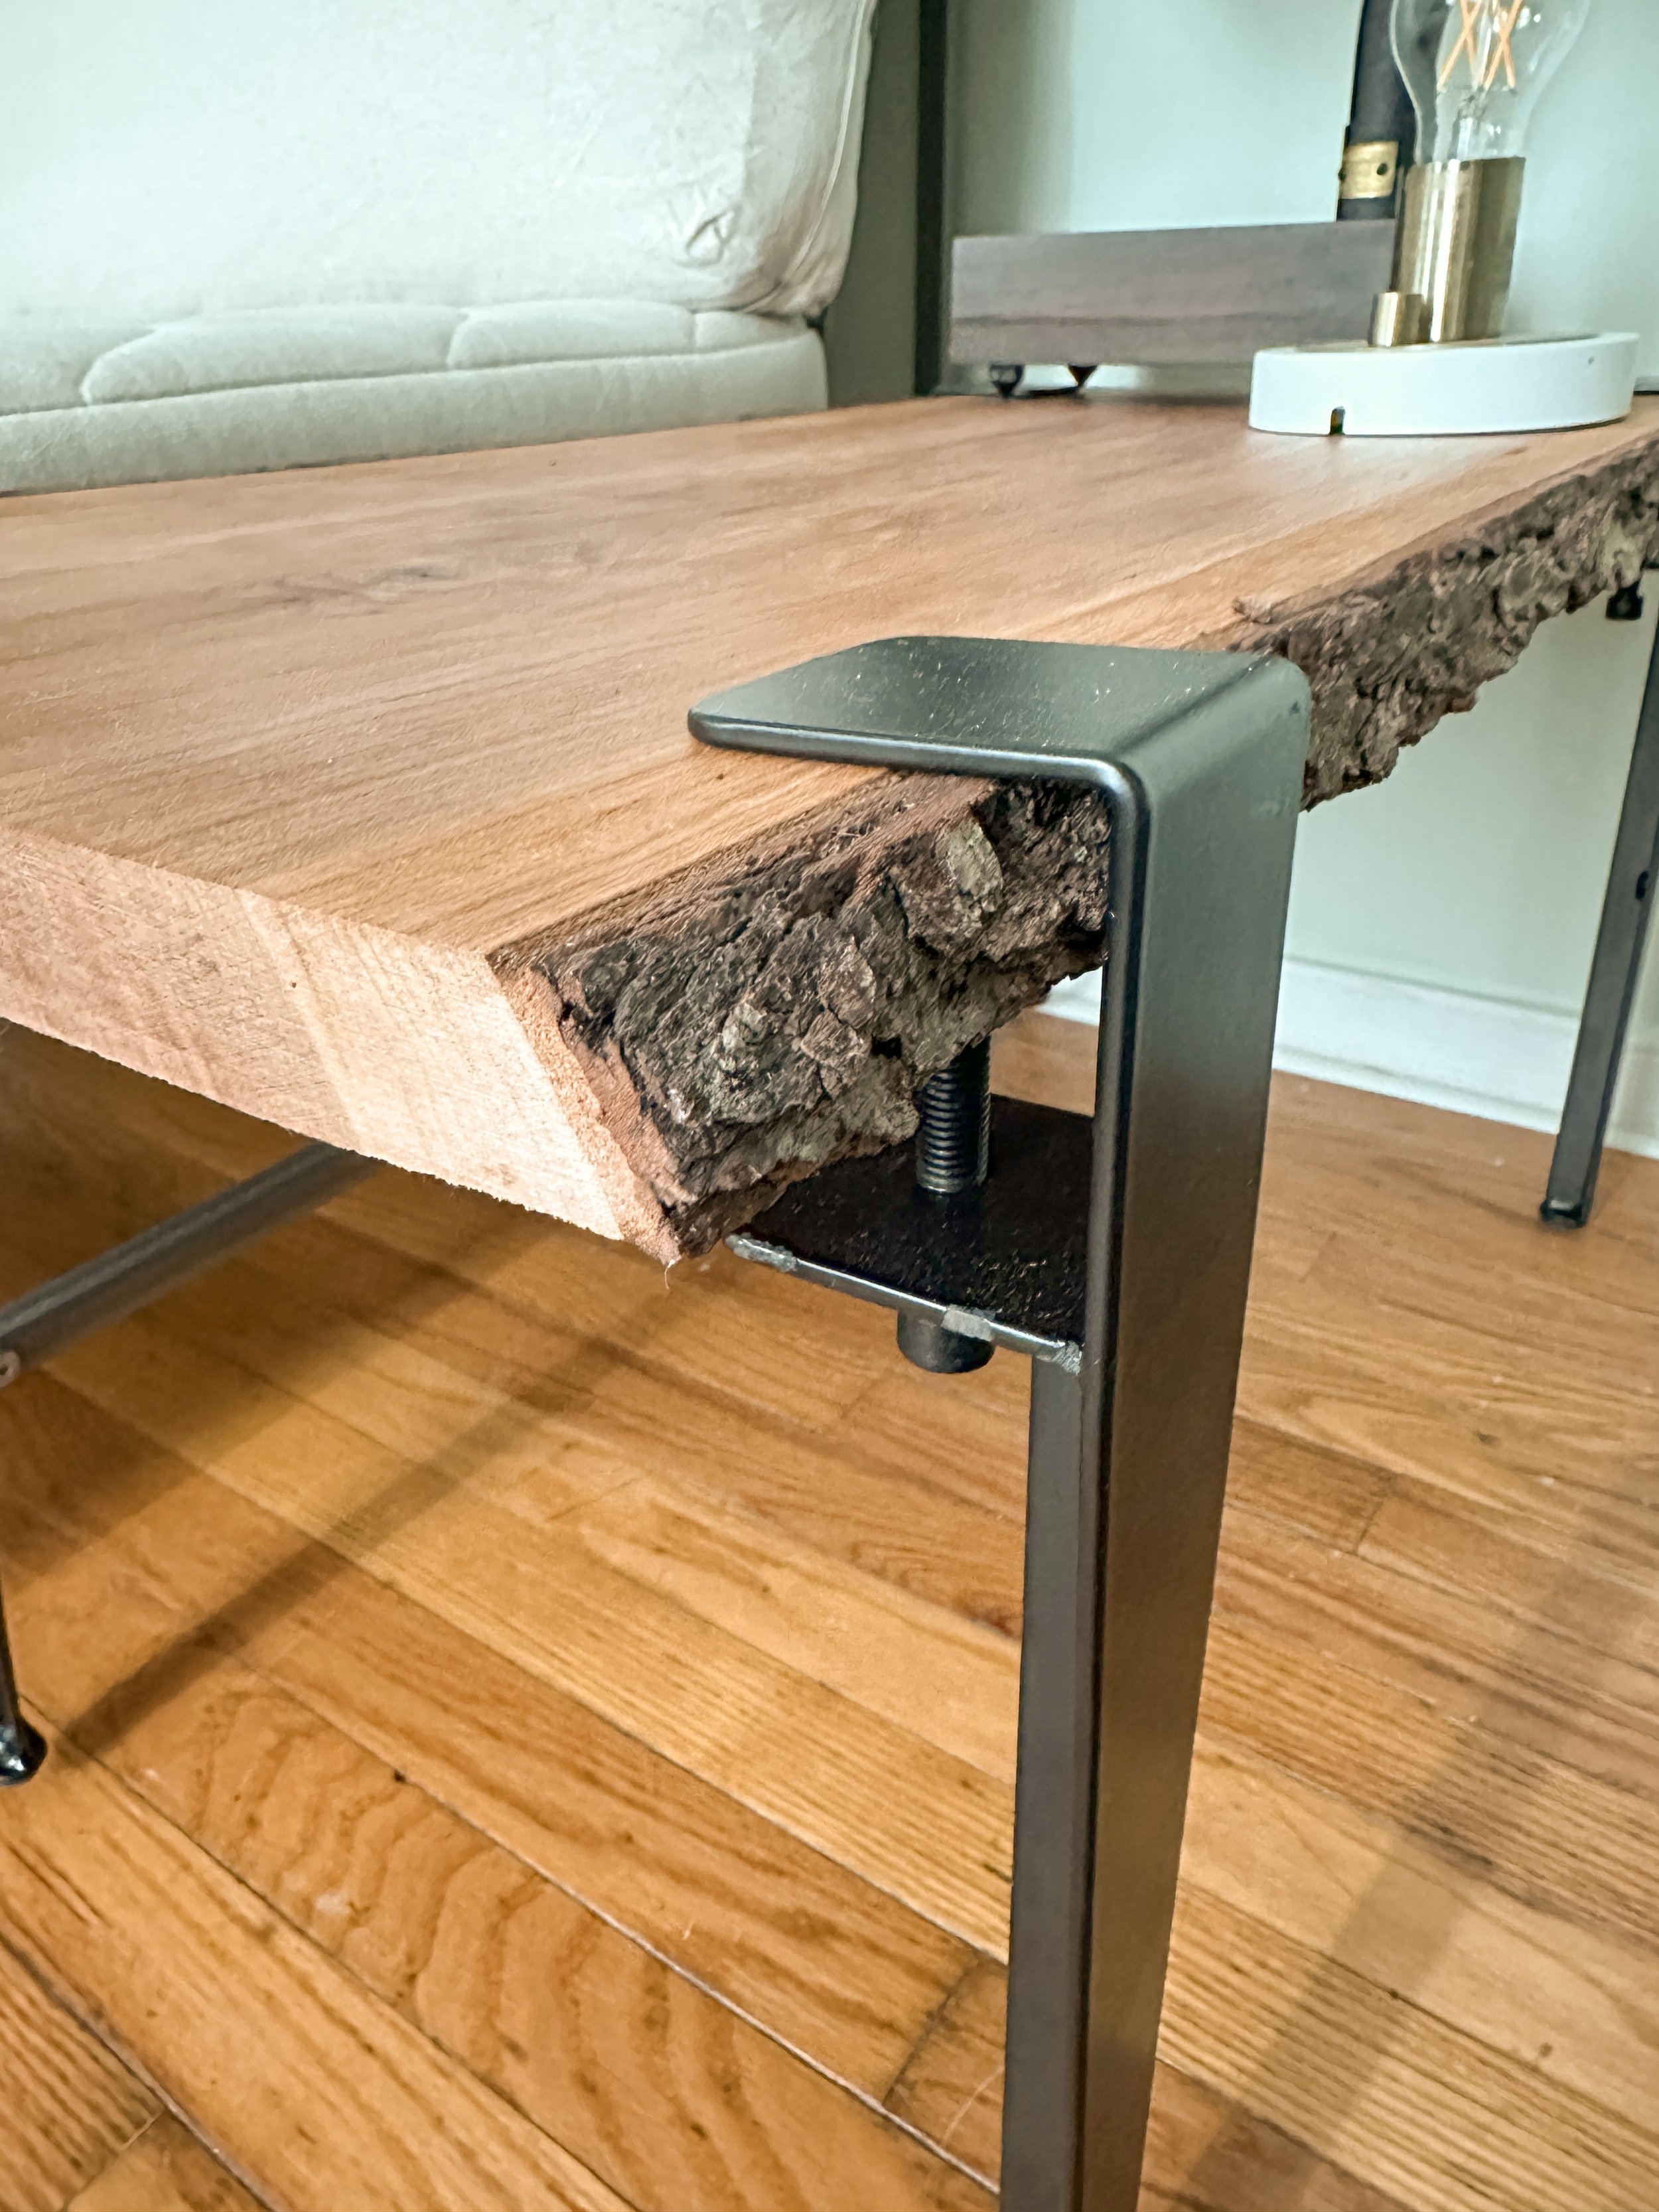
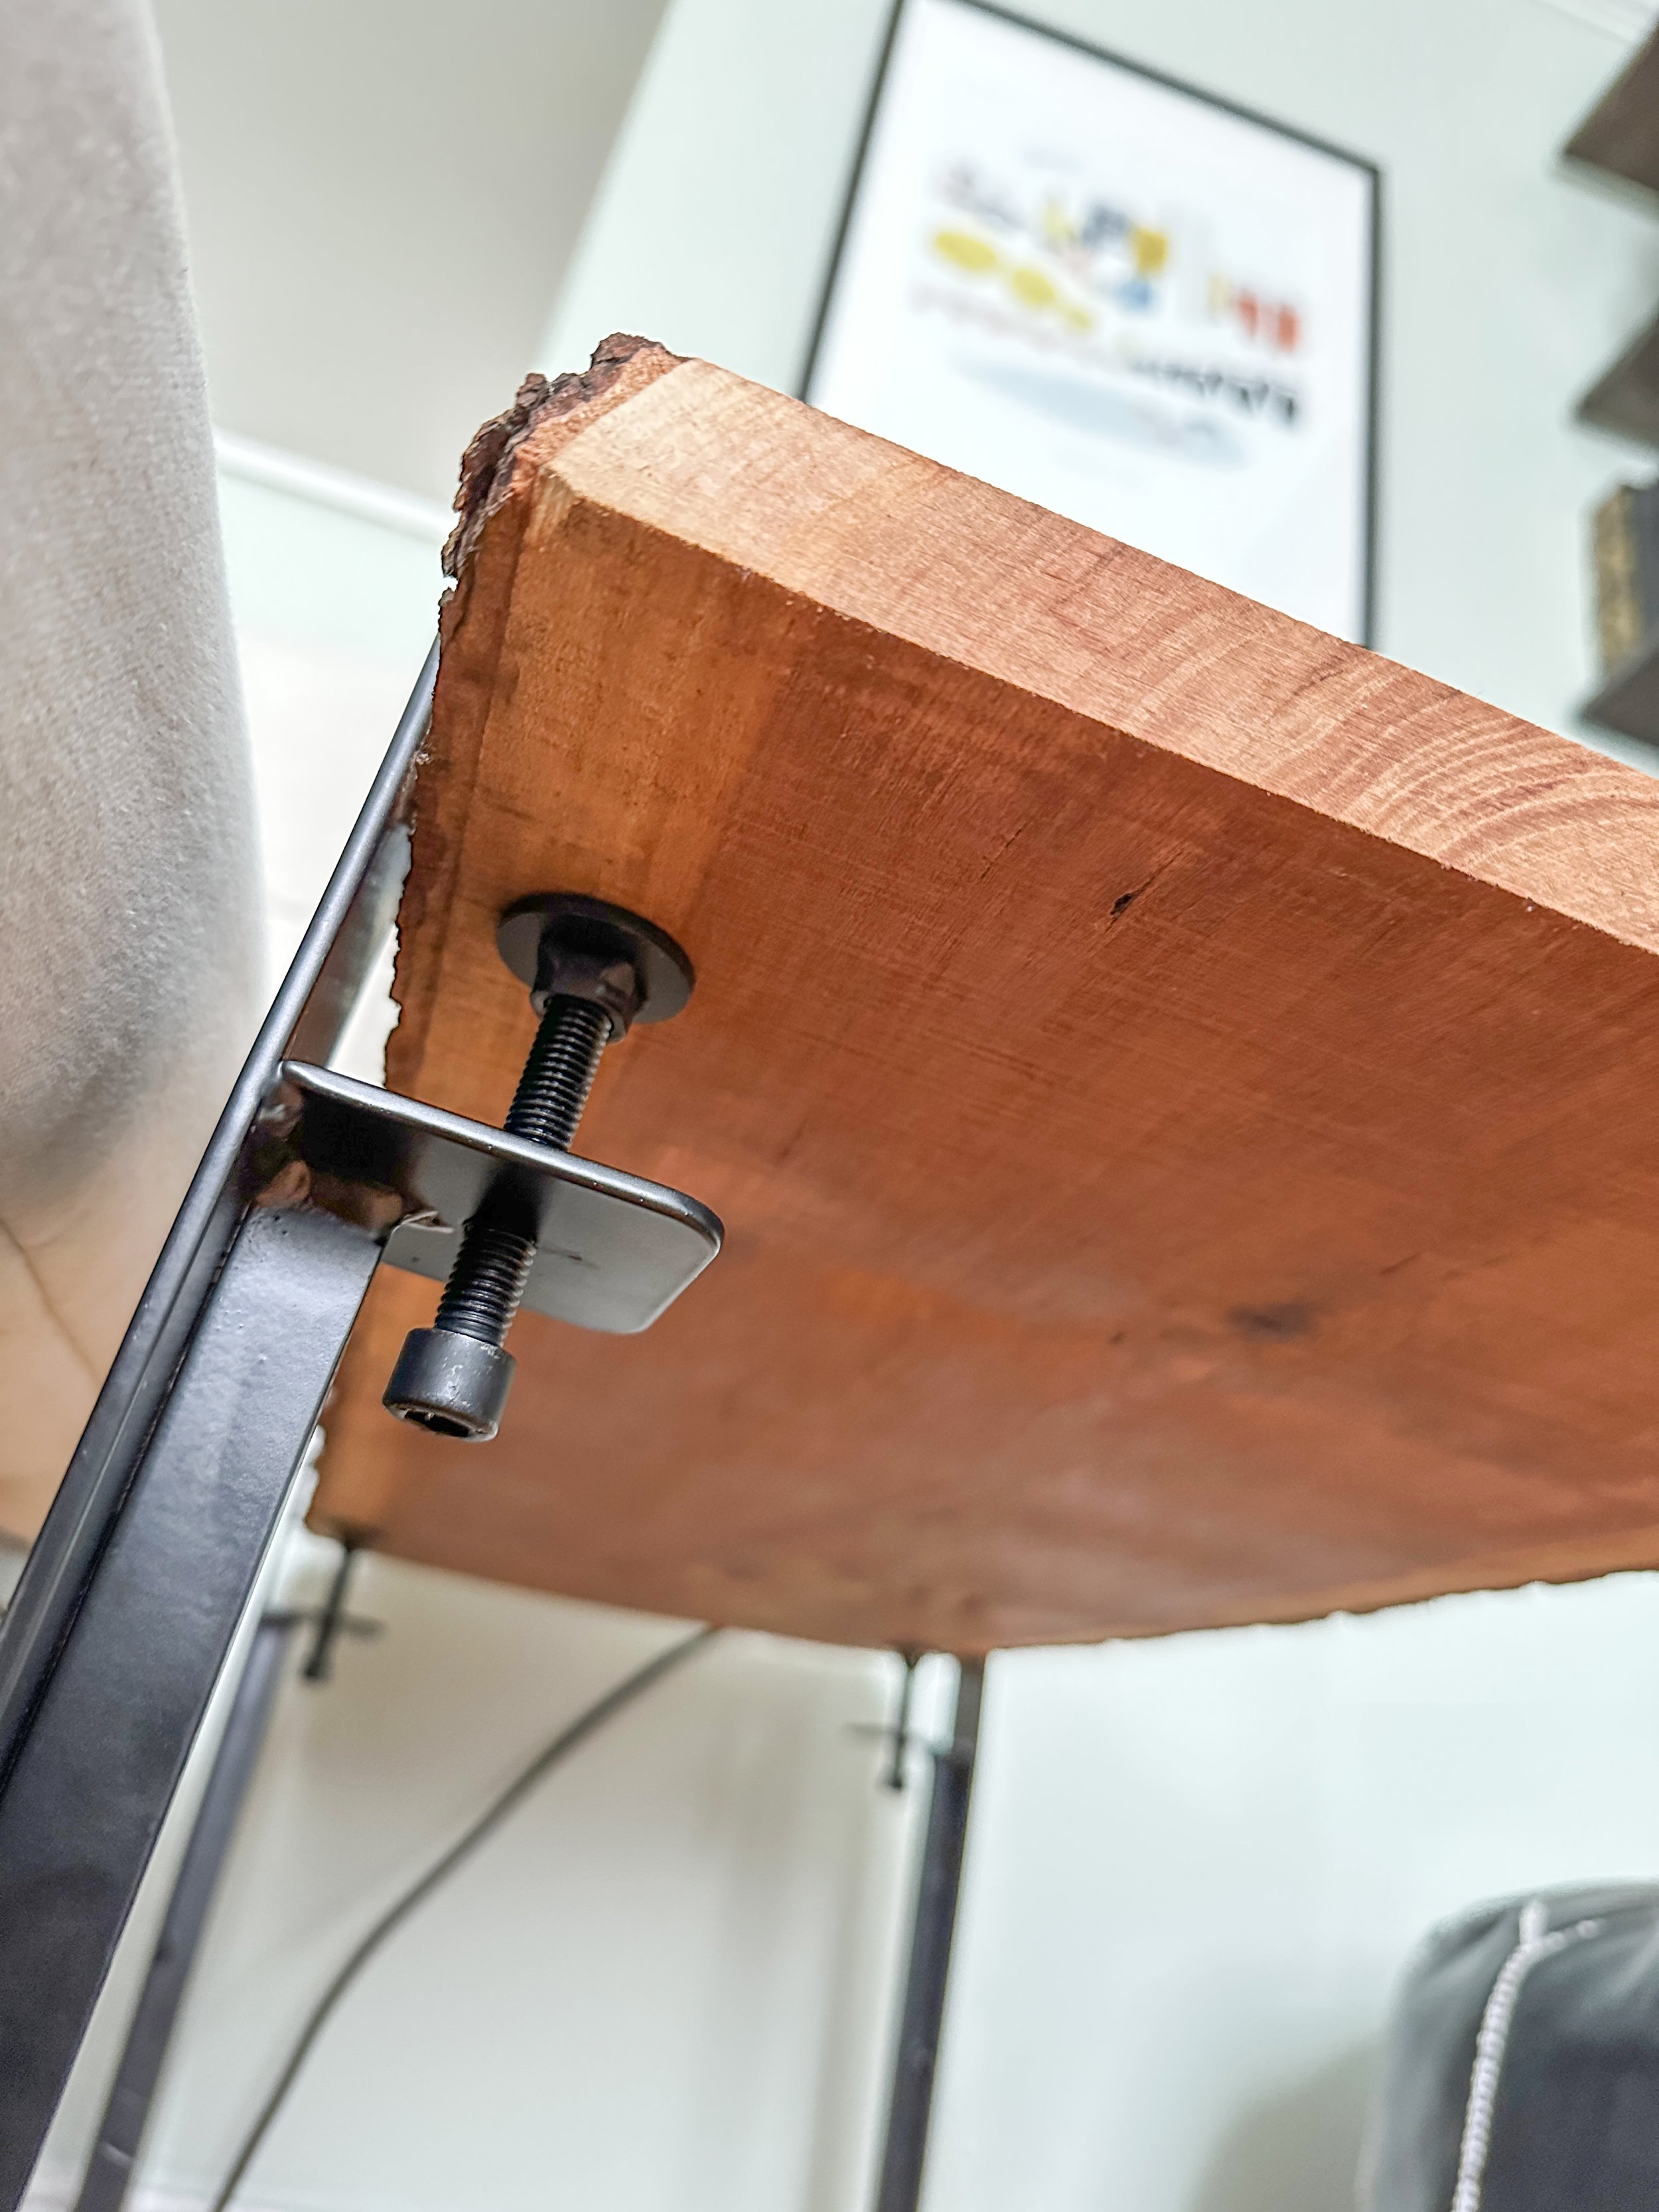
Here are some details of how the legs quickly attach on the wood. No tools needed and the wood can be up to 2 inches thick.
With these two projects done, my living room is feeling much more settled. I’ll post some before and afters of the whole space in a few weeks. Stay tuned.