How to print a letterpress circle
Letterpress: All Circles | offthebeatenpress.com
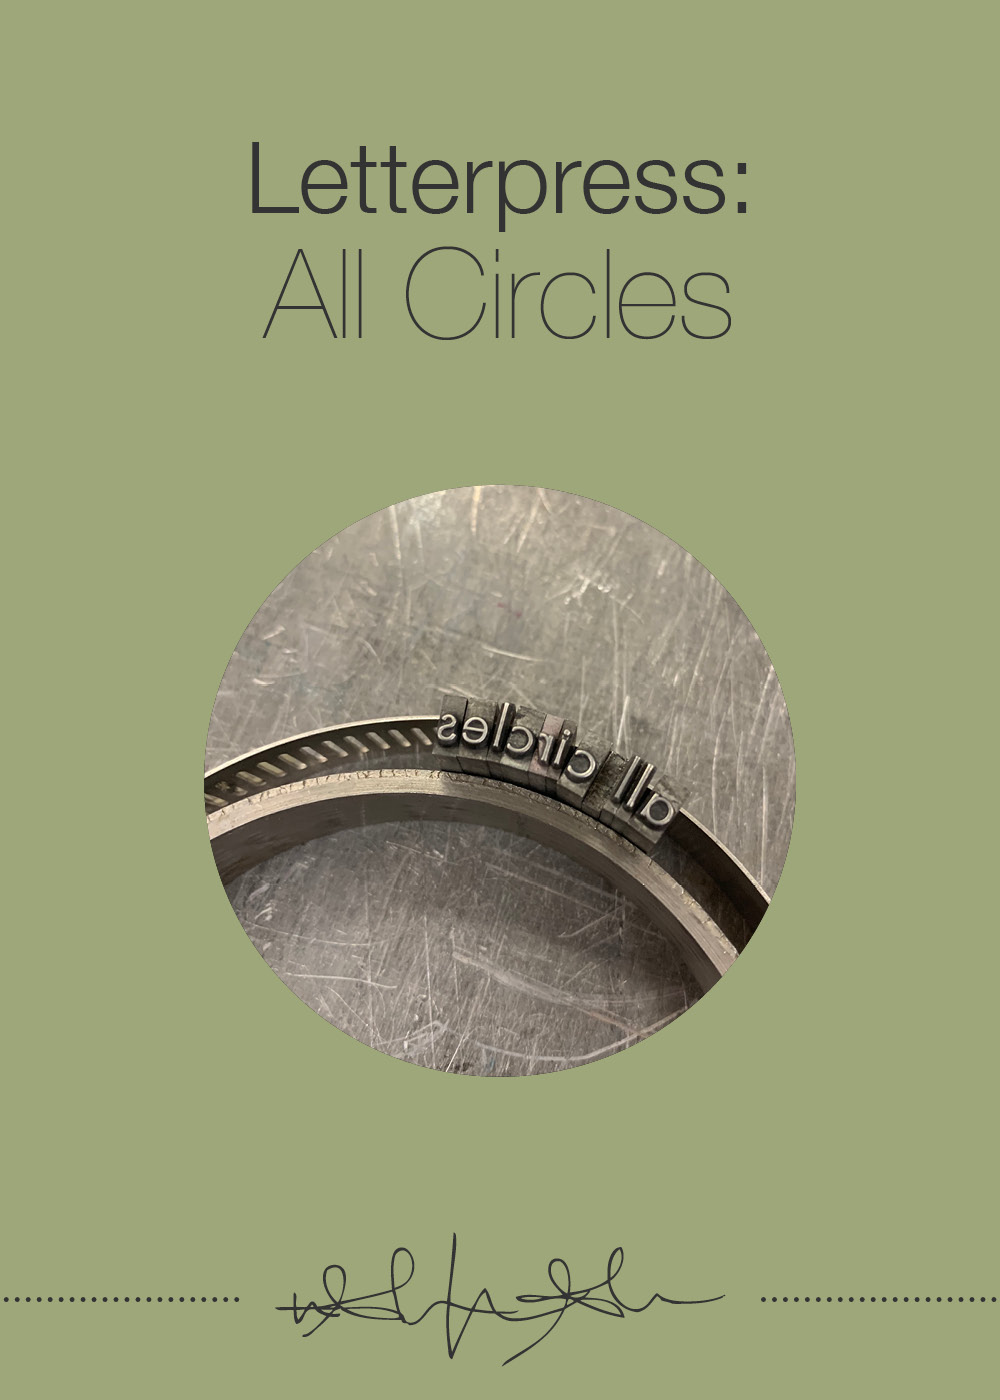
Each time you go to letterpress hand set type, you face an array of unique challenges. Letterpressing type in a circle shape is no different. I've seen people set type circular ways before, so I knew I wanted to give it a go for myself. There were a lot of challenges during the process that I did not anticipate. To begin, I measured the circumference of the circle to make sure the phrase (and size type) I was setting would fit. Even with the advanced planning though, this took a lot of work.
The first thing I did was lay out all the type in straight line all before getting it in a true ring. To start setting it in the final circle, I used a plumbing pipe to keep it all together. It stopped the letters from falling over and tipping while I worked to get it all tight.
All Circles | offthebeatenpress.com
After that, I had to use string to lock it up for the actual printing process. Believe me when I say, this was one of the hardest lock ups that I have ever done. In this photo you can see the pieces of white cotton sticking out on the sides of the circle!
Then I had to add a lot of awkwardly placed furniture to keep it from moving. I also ended up bending some leading to hold it in place while it was running through the press.
Printing it didn't go super smooth either. The letters were all on different baselines so it was a little jumpy. You can particularly see this on the word "circle" itself when the L leaps upwards!
All Circles | offthebeatenpress.com
The words I selected are lyrics from a song called All Circles by the band Mewithoutyou. I love this song and when I realized the line would fit perfectly, I knew I had to use it.
All Circles | offthebeatenpress.com
Not only was it challenging to print, but it was hard to keep it all even while printing. I plan on trying it again sometime, but will plan even more the next time.


